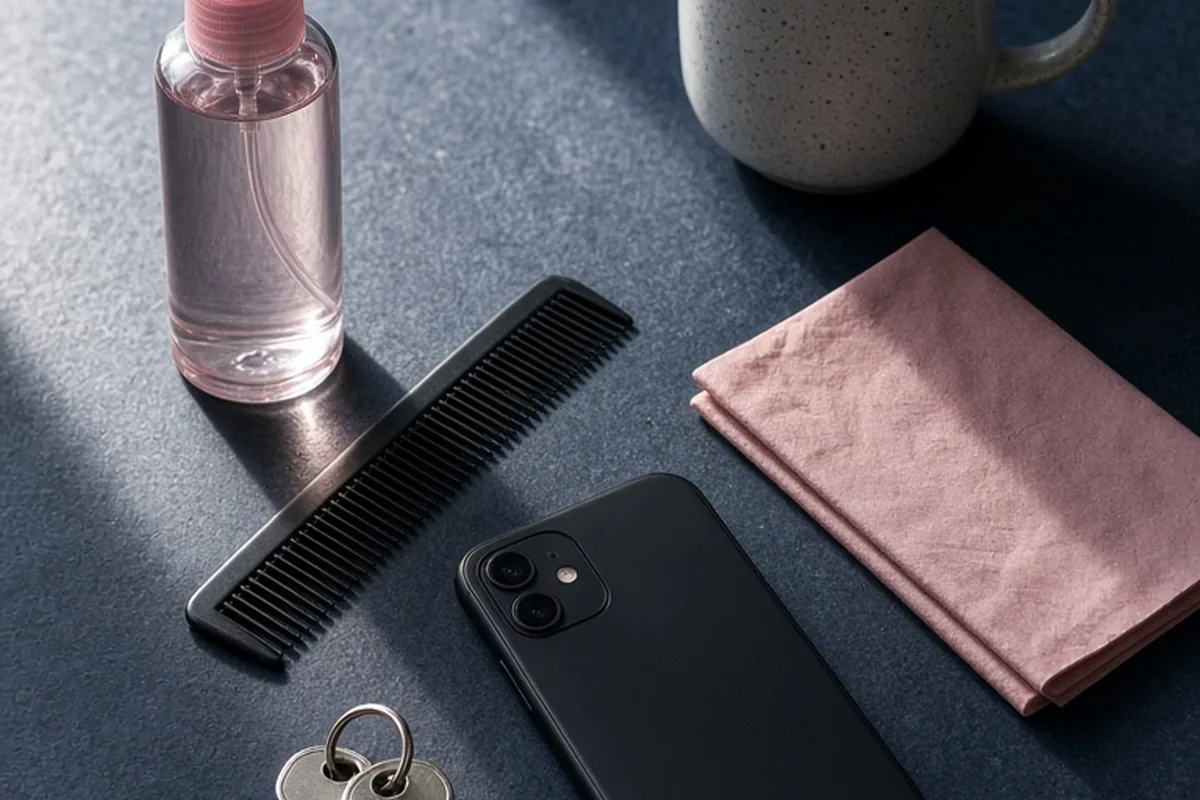
To use heat protectant as a beginner, apply your chosen formula to clean, damp hair before blow-drying, or onto completely dry hair before using flat irons or curling wands. Divide your hair into four manageable quadrants to ensure even coverage from mid-lengths to ends. Comb the product through thoroughly to coat every strand, allow wet mists to dry completely before touching hot tools to the hair, and keep styling temperatures at or below your hair texture's recommended threshold.
Thermal styling tools can transform your hair in minutes, but unprotected heat exposure strips essential moisture, degrades structural keratin proteins, and leads to split ends and breakage. Establishing a consistent heat protectant routine is the single most effective way to safeguard your hair shaft while achieving smooth, long-lasting results.
Choosing the Right Heat Protectant Formula for Your Hair Type
Not all heat protectants perform the same way across different hair textures, porosities, and styling goals. Heat protectants work by depositing a microscopic, thermal-dissipating barrier over the hair cuticle. This barrier slows down heat conduction from the styling tool into the inner cortex, softens moisture loss, and smooths the outer cuticle scales. Matching the product's vehicle—whether a weightless spray, a conditioning cream, or a nourishing serum—to your specific hair density and strand diameter determines both your styling finish and the level of protection you receive.
Fine, straight, or easily weighed-down hair benefits most from lightweight aerosol sprays or watery pump mists formulated with hydrolyzed wheat proteins, panthenol, and lightweight silicones like cyclopentasiloxane. These formulas distribute evenly across delicate strands without leaving greasy residues or causing limp roots. In contrast, thick, coarse, curly, or tight coily textures require richer barrier creams, lotions, or leave-in butter blends containing dimethicone, amodimethicone, or botanical oils with high thermal stability. These heavier formulations provide the slip, hydration, and substantial coating needed to prevent coarse cuticles from snagging and drying out under high heat.
When purchasing a heat protectant, always check the product packaging for its verified thermal protection limit. Most commercial salon-grade and drugstore protectants clearly state a maximum temperature rating, typically ranging between 350°F (177°C) and 450°F (232°C). Selecting a formula that matches or exceeds the heat setting you plan to use on your hot tools ensures the protective polymers will not break down prematurely during styling.
Step-by-Step Damp Hair Routine Before Blow-Drying
The ideal time to build your primary thermal defense is immediately after washing, while your hair is still clean and damp. Begin by gently pressing excess moisture out of your hair using a soft microfiber towel or a smooth cotton t-shirt. Avoid rough, vigorous rubbing with standard terrycloth towels, as wet hair exists in a weakened, elastic state where friction easily frays the cuticle layer. Applying protectant to soaking-wet hair dilutes the active protective polymers and causes the product to drip off rather than adhere to the strand.
Once your hair is damp, divide it into at least four distinct sections: two in the front on either side of your natural part, and two in the back. Working section by section prevents you from accidentally coating only the outer canopy while leaving the inner layers unprotected. If you are using a spray protectant, hold the bottle roughly six to eight inches away from your head and mist each section evenly from the mid-lengths down to the ends. If using a cream or serum, rub a nickel-to-quarter-sized amount between your palms to emulsify the formula, then rake your fingers smoothly through each section.
After applying the protectant, use a wide-tooth comb or a flexible detangling brush to gently distribute the product from your roots to your tips. Combing ensures that every individual strand receives uniform coverage. When you begin blow-drying, keep the nozzle pointed downward along the direction of hair growth to seal the cuticle flat, and maintain a distance of at least two to three inches between the dryer nozzle and your hair to prevent localized hot spots.
Applying Heat Protectant Before Dry Styling with Flat Irons and Curling Wands
Blow-dry heat differs fundamentally from direct-contact hot tools like ceramic flat irons, titanium curling wands, and hot rollers. While blow-drying relies on dispersed hot air, flat irons and curling irons clamp or press heating elements directly against the hair fiber at intense temperatures. If several hours or days have passed since you applied your damp-hair protectant, or if you washed and air-dried your hair naturally, you must apply a fresh layer of thermal protection specifically designed for dry hair.
The most critical safety rule for direct-contact dry styling is to never apply a hot iron to hair that is damp from a newly sprayed protectant. Touching heated metal or ceramic plates to damp strands instantly boils trapped water inside the hair cortex, causing a structural condition known as bubble hair, which permanently weakens and snaps the fiber. If you use a liquid spray on dry hair, let it air-dry completely for one to two minutes, or run a quick blast of cool air from your blow-dryer over the section before letting the iron touch your strands.
For maximum control on dry hair, use an aerosol thermal mist or an ultra-fine dry heat shield. Work in small horizontal sub-sections no wider than the width of your styling tool's plates. Mist the sub-section lightly from mid-shaft to ends, smooth the hair with a fine-tooth heat-resistant carbon comb, and follow immediately behind the comb with your flat iron or curling wand in a smooth, continuous pass.
Managing Hot Tool Temperatures and Pass Technique
A common beginner misconception is that higher heat settings yield faster, longer-lasting styling results. In reality, excessively high temperatures scorch the protective product layer and cause irreversible thermal degradation to your hair's natural protein matrix. Modern styling tools reach temperatures up to 450°F (232°C), but these maximum settings are rarely necessary for home styling and are primarily intended for specific professional chemical treatments.
Calibrate your tool temperature according to your individual hair characteristics. Fine, chemically lightened, bleached, or fragile hair should generally be styled at temperatures between 250°F and 325°F (120°C to 163°C). Normal, medium-density, or wavy hair performs best between 325°F and 375°F (163°C to 190°C). Coarse, thick, or tightly textured coily hair that resists thermal shaping can safely handle temperatures between 375°F and 410°F (190°C to 210°C), provided a heavy-duty thermal protectant has been thoroughly applied.
Alongside temperature selection, your mechanical pass technique determines the health of your hair. Aim for a single, steady, deliberate pass per section under moderate tension rather than rapidly swiping the tool over the same section three or four times. Multiple quick passes accumulate friction and heat, degrading the cuticle far more than one controlled, continuous motion that allows the heat to evenly reshape the hair bonds.
Layering Heat Protectants with Leave-Ins, Styling Creams, and Oils
Creating a complete hair care routine often involves multiple styling products, making the order of application crucial for product absorption and thermal efficacy. As a universal rule, apply products based on their consistency, moving from the thinnest, most water-based liquid formulas to the thickest, most occlusive creams and oils. This ensures that hydrating ingredients penetrate the hair shaft before barrier-forming polymers seal the surface.
Begin your post-wash routine with your lightest hydrators, such as liquid leave-in conditioning toners or detangling mists. Follow with curl creams, smoothing lotions, or volumizing mousses designed to build texture and shape. If your heat protectant is a separate cream or serum, apply it next to wrap the hair in protective silicones and polymers. If your leave-in conditioner already includes a certified heat protection rating up to your desired temperature, you can streamline your routine by skipping a redundant standalone product.
Be cautious when incorporating natural, unformulated plant oils like pure coconut, argan, or olive oil prior to hot tool styling. Pure raw oils lack the thermal dispersion chemistry of cosmetic-grade heat protectants and can reach smoke points that fry the hair cuticle if subjected to direct flat iron heat. Save pure finishing oils and glossing serums for the final step of your routine after all thermal styling is complete to lock in moisture, eliminate flyaways, and add shine.
Common Heat Protectant Mistakes Beginners Make and How to Fix Them
Even with high-quality products, improper application habits can leave your hair vulnerable to heat damage. The most frequent beginner error is surface-only application, where a user sprays a light cloud over the top of their head and immediately begins styling. This leaves the underside and middle layers completely bare. Fix this by always clipping your hair into sections before spraying, ensuring your thermal defense is evenly distributed across every layer.
Another common mistake is applying heavy creams or silicone-rich heat serums directly onto the scalp and roots. Unless you are using a dedicated root-lifting spray designed for thermal blowouts, concentrated protectants should be concentrated from the mid-lengths down to the ends, where hair is oldest, driest, and most susceptible to heat splitting. Applying heavy protectants near the scalp clogs follicles, weighs down natural volume, and makes hair look greasy within hours of washing.
Finally, do not treat heat protectants as an absolute shield that makes hair impervious to heat. Protectants significantly reduce heat transfer and cuticle damage, but they cannot prevent breakage if you clamp an iron in one place for several seconds, pull on tangled strands, or style wet hair. Treat your protectant as a defensive buffer that works in tandem with gentle handling, quality tools, and moderate heat settings.
Frequently asked questions
Can I use heat protectant on dry hair?
Yes, you can use heat protectant on dry hair, but make sure the product is labeled for dry application, such as an aerosol heat mist or lightweight dry oil shield. If you use a pump spray that leaves the hair damp, wait until the hair has air-dried completely or use a cool blow-dryer before touching flat irons or curling wands to your strands.
Do I need to reapply heat protectant every day?
You should reapply a lightweight dry thermal protectant if you are touching up your style with direct-heat tools like flat irons or curling wands on second- or third-day hair. If you are not using additional heat tools, there is no need to reapply product between washes.
How much heat protectant should I use?
For sprays, 3 to 5 light pumps per quadrant of hair is generally sufficient to coat the strands without saturating them. For creams or serums, start with a pea-sized amount for fine or short hair, or a nickel-to-quarter-sized amount for thick, coarse, or long hair, adjusting upward only if your ends still feel dry.
Can leave-in conditioner replace heat protectant?
A leave-in conditioner can only replace a heat protectant if its product packaging explicitly states a thermal protection temperature threshold. If the leave-in conditioner only claims hydration or detangling without verified heat defense, you must layer a dedicated heat protectant over it.
Your next step
Inspect your heat protectant's label for its stated temperature limit, set your styling tool at or below that threshold, and section your hair before your next blowout or iron session.