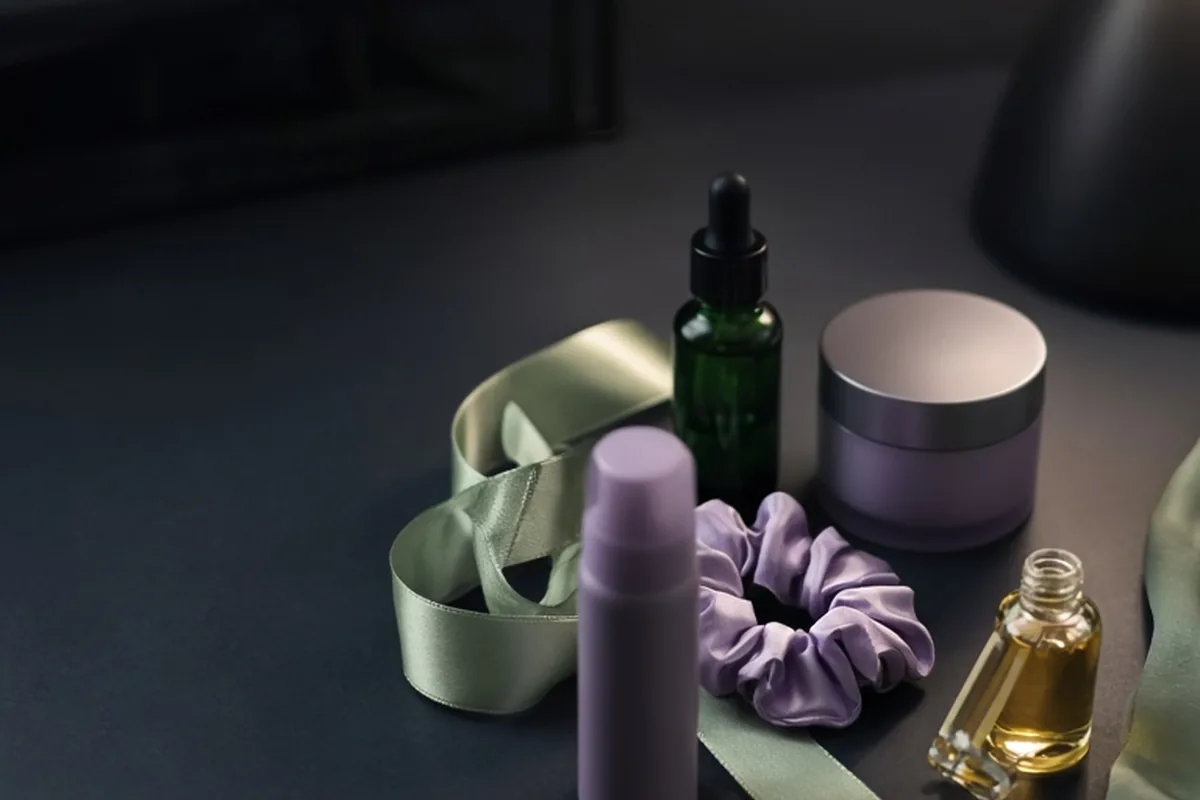
To achieve heatless curls as a beginner, start with hair that is roughly eighty to ninety percent dry. Apply a lightweight leave-in conditioner followed by a light styling mousse or setting foam to give the strands grip and memory. Secure a satin or silk curling ribbon along your center part, wrap neat sections away from your face, and fasten the ends with satin scrunchies. Sleep with a protective bonnet or allow the wrap to air dry for several hours before gently unraveling and separating the curls with a few drops of hair oil.
Heat styling provides immediate results, but frequent exposure to high temperatures gradually depletes moisture, weakens protein bonds, and causes split ends. Heatless curling methods offer a practical alternative, allowing you to create defined waves, soft curls, or classic bouncy volume using physical tension, strategic dampness, and gentle setting products rather than thermal tools.
Selecting Heatless Curling Ribbons, Flexi Rods, and Socks
The market for heatless hair tools has expanded dramatically, offering beginners several distinct options depending on desired curl size, sleeping habits, and hair length. The most popular entry-level tool is the long satin curling ribbon, also known as a heatless curling rod. This tool sits across the crown of the head like a headband while hair is wrapped around each side. Satin ribbons work best for mid-length to long hair and yield soft, voluminous waves that resemble a salon blowout. Satin and silk materials minimize friction, which helps reduce morning frizz and prevents cuticle snagging during sleep.
For tighter curls or shorter layers, foam flexi rods and soft mesh rollers are often more effective than a single long ribbon. Flexi rods bend easily into custom shapes, allowing you to control the exact angle, base placement, and diameter of each curl. If you have shoulder-length hair or uneven layers that slip out of long ribbons, smaller individual rods keep shorter pieces securely locked in place overnight. Meanwhile, simple household items like clean athletic socks or soft cotton bathrobe belts offer an accessible starting point if you want to practice tension and sectioning before purchasing dedicated styling tools.
When choosing beginner hardware, prioritize soft cores made from EVA foam, cotton, or plush batting covered in smooth satin. Rigid plastic cores can cause scalp soreness when sleeping on your side or back. Pay close attention to the width of the tool as well: narrower rods create defined ringlets, while wider rods produce loose, cascading waves. Beginners often find standard one-inch satin rods to be the most versatile middle ground for everyday styling.
Preparing Hair Moisture and Prep Products Before Wrapping
The single most critical factor in heatless styling success is managing the balance of moisture and hold. Wrapping hair when it is soaking wet is a frequent beginner mistake; hair wrapped while fully saturated takes too long to dry overnight, leading to limp, undefined, or damp strands in the morning. Conversely, wrapping bone-dry hair without any product yields weak curls that drop within an hour. Aim for hair that is approximately eighty to ninety percent dry to touch, containing just enough residual dampness to mold around your chosen tool.
Your prep product lineup should provide two essential functions: hydration to prevent dry frizz, and polymer hold to lock in the shape once dry. Begin with a light leave-in conditioner or hydrating mist distributed evenly through the mid-lengths and ends with a wide-tooth comb. Follow this immediately with a medium-hold mousse, setting foam, or lightweight curl cream. Mousse is ideal for straight, fine, or silky hair because it builds structure and grit without weighing down the root area. Curl creams and nourishing leave-in lotions suit coarser or drier textures that require extra softening and moisture control.
Avoid heavy butters, thick silicone serums, or greasy pomades prior to wrapping. Excessively heavy coatings slow evaporation, prevent the hair from fully setting, and make the hair slippery, causing wrapped sections to unravel during sleep. Reserve smoothing hair oils and gloss serums for the final takedown step rather than the prep phase.
Step-by-Step Wrapping Technique for Satin Ribbon Curls
Begin by creating your preferred parting using a rat-tail comb, as heatless curls set your roots firmly along whichever line you choose. Place the satin curling ribbon across the top of your head, aligning the center of the rod with your crown so that both tails hang down evenly on each side. Anchor the ribbon firmly to the crown using a large claw clip to keep it from sliding while you manipulate the hair sections.
Starting on one side near the hairline, take a small section of hair about one inch wide. Comb it smooth, pull it forward, and wrap it over the ribbon and around the back toward the nape of your neck. Once that first piece passes under the ribbon, gather a new section of loose hair and merge it with the original piece, exactly like creating a continuous French braid. Pull each wrap firmly against the satin rod to maintain consistent tension, but avoid pulling so hard that you strain your scalp.
Continue adding sections progressively down the side of your head until all the hair from that side is incorporated around the rod. Secure the tail at the bottom using a soft satin scrunchie, leaving roughly one to two inches of ends free. Repeat the exact same wrapping sequence on the opposite side of your head, ensuring both sides have similar tightness and section thickness. Once both sides are fastened, remove the top claw clip.
Troubleshooting Common Beginner Issues Like Frizz and Denting
Beginners often experience uneven results during their first few attempts. One common complaint is unwanted denting or creasing, typically caused by securing the ends with tight, thin elastic bands. Always use wide satin scrunchies or soft fabric ties at the base of your wraps, and avoid tying them down with excessive tension. If you notice a visible horizontal line where the scrunchie rested, gently mist that specific spot with warm water and smooth it downward with your fingers in the morning.
Frizzy or messy curls usually result from wrapping tangled sections or handling the curls too aggressively during takedown. Ensure every section is thoroughly detangled with a fine-tooth comb immediately before it touches the rod. When releasing the curls in the morning, resist the urge to yank the rod straight downward. Instead, remove the bottom scrunchies and slowly lift the ribbon upward from the crown, allowing the wrapped spirals to unravel naturally around the smooth satin surface.
If your curls drop quickly within a few hours of styling, your hair likely had too much moisture remaining when wrapped, did not fully dry before takedown, or lacked sufficient hold product. Test your hair by touching the core of the wrapped sections before unraveling; if any section feels cool and damp, use a hairdryer on a low, cool setting for three to five minutes to finish the evaporation process before taking the wrap down.
Adapting Heatless Methods for Fine, Thick, and Naturally Textured Hair
Different hair densities and textures require specific adjustments to achieve consistent results. Fine or naturally straight hair tends to struggle with curl retention and root volume. To support hold, fine-haired individuals should apply a volumetric mousse directly to damp roots before wrapping and use smaller, tighter sections around a narrower rod. A light misting of flexible-hold hairspray over the wrapped ribbon before going to bed will reinforce curl memory without creating stiffness.
Thick, high-density hair presents the opposite challenge: it holds moisture for extended periods and may not dry completely if gathered into a single bulky wrap. Those with dense or long hair achieve better results by dividing hair into four quadrants rather than two, using two separate ribbons or four individual flexi rods. Thinner sections allow air circulation through the bundle, ensuring the hair dries entirely and sets evenly from root to tip.
Naturally wavy, curly, or coily hair benefits from heatless techniques as an effective stretching or uniform-curling method. For naturally textured patterns, begin on freshly washed, thoroughly conditioned hair that has been detangled and treated with a rich leave-in cream. Wrapping natural textures smooths the cuticle and defines uniform spirals without requiring heat-stretching or flat-ironing first. Ensure the tension remains even throughout to stretch the natural coil pattern smoothly around the ribbon.
Nighttime Comfort and Preservation Techniques for Longer Wear
Sleeping comfortably in heatless curlers requires a few strategic positioning tweaks. If you are a side sleeper, crossing the dangling tails of the satin ribbon behind your head and tying them together at the base of your neck or atop your crown keeps the rods from pressing uncomfortably into your temples. Covering the entire wrap with a silk or satin sleep bonnet keeps the structure intact, prevents loose hairs from escaping, and stops pillow friction from generating surface frizz overnight.
In the morning, after gently releasing the ribbon upward, allow the spirals to rest untouched for two to three minutes so they cool and settle. Dispense two to three drops of a lightweight hair oil, such as jojoba or argan oil, into your palms and rub your hands together to warm the product. Lightly rake your fingers through the curls to separate the coils into soft, natural waves, or use a wide-tooth comb for a relaxed blowout finish.
To make your heatless curls last across multiple days, protect your hairstyle each night by loosely gathering your hair at the crown in a high pineapple ponytail using a soft silk scrunchie, or sleep inside a lined satin bonnet. On day two or three, refresh loose waves by lightly misting the mid-lengths with water or a curl refreshing spray and using two soft rollers around your face for twenty minutes while getting ready.
Frequently asked questions
Can I do heatless curls on completely dry hair?
Yes, you can do heatless curls on completely dry hair, but the style will hold significantly longer if you lightly mist the lengths with water, a leave-in spray, or a light setting lotion before wrapping. Dry hair lacks the temporary hydrogen-bond flexibility needed to lock in a new curl pattern securely.
How long do heatless curls need to stay in to set properly?
Heatless curls typically require at least four to six hours to set, though leaving them in overnight for seven to eight hours yields the most resilient results. The critical factor is that the hair must be completely dry before you remove the wrapping tool.
Will heatless curling cause breakage or hair damage?
Heatless curling is far gentler than thermal styling, but tension damage can occur if hair is wrapped too tightly or secured with thin rubber bands. Using smooth satin-covered tools, soft scrunchies, and moderate wrapping tension ensures your hair remains healthy and protected.
What should I do if my heatless curls turn out too tight in the morning?
If your curls appear tighter than desired, do not brush them aggressively with a fine-bristle brush, which can cause frizz. Instead, apply a drop of smoothing oil to your hands and gently comb through the lengths with a wide-tooth comb or your fingers, allowing gravity to naturally relax the waves over fifteen to thirty minutes.
Your next step
Assess your hair density and length today to select either a one-inch satin ribbon or multi-rod flexi set, and test your first wrap on damp hair tonight using a light styling mousse.