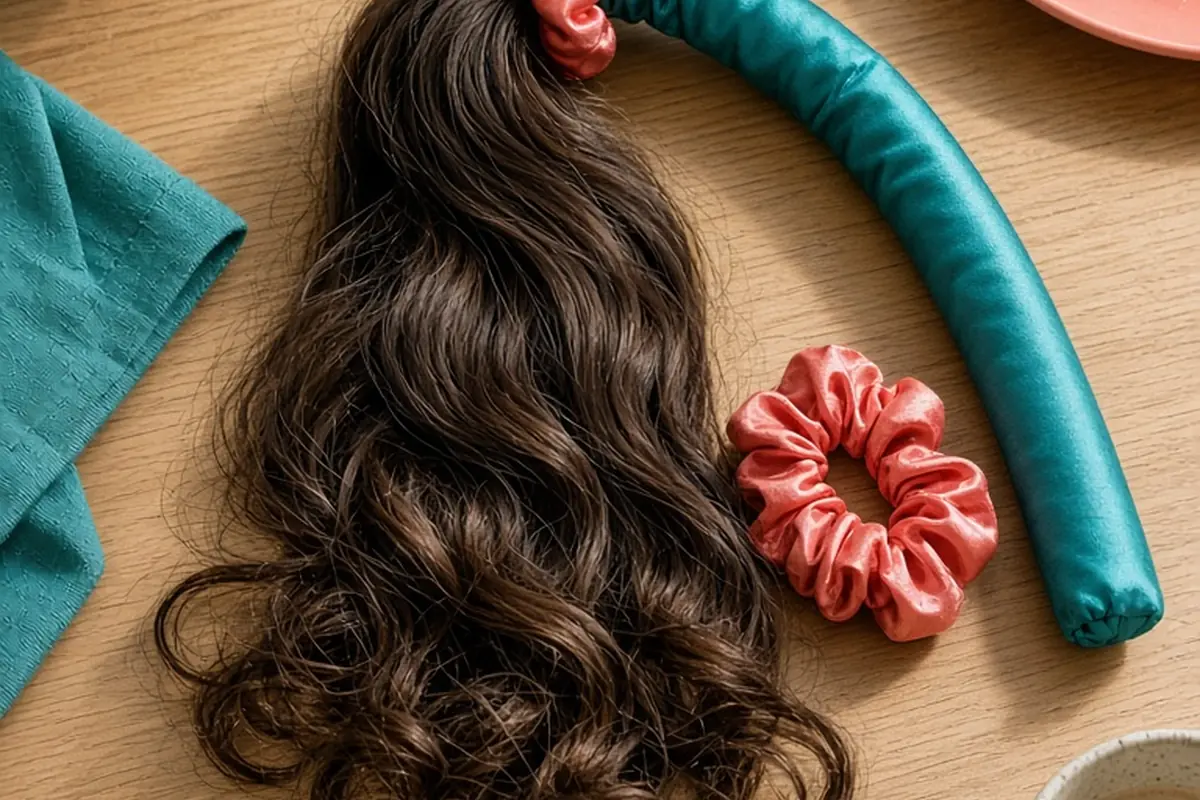
You can safely style heatless curls two to three times per week rather than every single night. Daily wrapping can cause mechanical friction, root strain, and scalp moisture buildup. For the best results, wrap hair that is roughly eighty to ninety percent dry around a flexible silk or satin rod, secure the ends loosely with soft scrunchies, and allow four to eight hours to set before gently unraveling and styling.
Heatless curling methods offer an effective way to achieve defined waves and bouncy curls without subjecting delicate strands to thermal damage from curling irons or blow dryers. While removing high heat protects the outer cuticle layer from blistering and protein degradation, repetitive mechanical wrapping introduces its own set of considerations for hair and scalp wellness.
Determining Your Ideal Weekly Heatless Curling Frequency
Finding the right frequency for heatless curling depends primarily on your individual hair texture, porosity, strand density, and overall scalp health. If you have fine, fragile, or chemically processed strands, rolling your hair tightly every night can cause friction along the cuticle and stress at the follicle base. For most hair profiles, using heatless curlers two to three times each week provides an optimal balance, allowing you to enjoy defined styles while giving your scalp and hair shaft adequate rest between physical manipulations.
Your natural wash schedule plays a significant role in establishing this routine. Setting heatless curls directly after wash day gives the set a fresh foundation, while a mid-week refresh can revive fallen curls without requiring another wash. If you notice persistent tenderness at your roots, excess shedding along your hairline, or general dryness along your mid-lengths, reduce your curling sessions to once or twice a week and focus on looser wrapping techniques to relieve structural tension.
The Step-by-Step Silk Curling Ribbon Technique for Balanced Hold
Executing a clean heatless set requires proper preparation, dampness calibration, and smooth wrapping tension. Begin by thoroughly detangling clean hair with a wide-tooth comb or flexible paddle brush. Your hair should never be soaking wet; aim for hair that is mostly dry with just a faint touch of residual moisture, or lightly mist completely dry hair with a fine-mist water spray. Apply a nickel-sized amount of lightweight leave-in conditioner or a pump of styling mousse through your mid-lengths and ends to provide flexible hold and minimize surface friction.
Place a cushioned silk or satin curling rod across the crown of your head, securing it temporarily at the top with a claw clip to keep it stable. Working from the front of your face downward, take a small horizontal section of hair from the hairline, bring it over the rod, and wrap it tightly around toward the back. With each subsequent turn around the rod, gather an additional section of loose hair into the strand, much like creating a French braid. Continue this pattern down the length of the ribbon until all hair on one side is incorporated, then secure the tail with a gentle satin scrunchie. Repeat the entire process on the opposite side, remove the top stabilization clip, and let the hair set for at least six hours or overnight.
Matching Heatless Curling Tools to Your Hair Length and Texture
The market offers numerous heatless styling implements, ranging from long cylindrical satin ribbons to flexible foam rods, fabric-wrapped rollers, and traditional pin-curl methods. Choosing the right tool prevents uneven curl distribution and unwanted creasing. Long, dense hair benefits most from wide-diameter satin rods that distribute bulk evenly, preventing the ends from bunching into tight, unpredictable rings. Shorter bobs and shoulder-length cuts often respond better to flexible multi-point rods or flat ribbon strips that hold closer to the scalp without slipping loose.
Texture also dictates which tool material works best. Coarse or highly textured strands require smooth silk or high-grade satin sheathing to glide effortlessly over the hair shaft, reducing static electricity and cuticle roughing. Fine or slippery hair may require a slightly textured cotton-blend rod or soft velvet wrapper to prevent sections from unraveling during sleep. Evaluate the diameter of the tool relative to your desired outcome: larger rods produce soft, voluminous blowout-style bends, while narrower rollers create defined, tighter coils.
Avoiding Scalp Tension, Traction Stress, and Follicle Strain
A common issue with overnight heatless styling is excessive mechanical tension applied directly to the scalp and hairline. When you wrap hair too tightly against the scalp, the continuous pulling force can cause discomfort, disrupt sleep quality, and potentially lead to traction-related thinning over extended periods. Pay close attention to how your roots feel immediately after securing the rod; if your scalp feels tight, itchy, or visibly pulled, loosen the first few wraps around your face to relieve the strain.
Sleeping posture and head positioning also influence the mechanical load placed on your hair follicles. If you sleep on your side or stomach, a rigid rod resting against your temple or ear can compress hair against the pillow, creating friction hotspots and broken strands. Position the ends of your curling rod toward the back in a low loop or wrap the entire head in a smooth satin bonnet to keep everything secure without pressing the rod directly into your scalp.
Managing Moisture Levels to Prevent Hygral Fatigue and Scalp Issues
One of the most frequent errors in heatless curling is wrapping hair while it retains too much water. When hair is wet, its internal hydrogen bonds are broken and the strand is at its most elastic and vulnerable state. Bundling damp hair tightly against a non-porous satin rod restricts airflow and prevents water from evaporating naturally. This prolonged wet state can cause hygral fatigue, a condition where the hair cuticle swells and contracts excessively, ultimately weakening strand elasticity and promoting split ends.
Trapping moisture against the scalp overnight inside wrapped fabric can also disrupt your scalp microbiome, encouraging yeast overgrowth, flaking, or unpleasant damp odors. Always ensure your roots are completely dry before setting your tools. If your lengths need extra malleability, apply a targeted styling spray or foam rather than saturating the hair with tap water. If your hair is naturally slow to dry due to low porosity, allow it to air-dry almost entirely or give it a brief cool-air blow-dry before wrapping.
Extending and Refreshing Heatless Curls Between Styling Days
To minimize daily manipulation and keep your curling frequency to two or three times a week, focus on preserving your existing curls across multiple days. At night, gather your curls high on the crown of your head using a loose silk scrunchie in a classic pineapple arrangement, or gently tuck them inside a roomy satin bonnet. This prevents tossing and turning from crushing the wave pattern and eliminates rough friction against standard cotton pillowcases.
When waking up on day two or three, release your hair and let it settle for ten minutes before touching it. If specific face-framing pieces have flattened, you can spot-refresh them without doing a full overnight wrap: lightly mist just those strands with a curl-reactivating spray, wrap them loosely around two fingers, pin them flat against your head with a creaseless clip, and remove the clip after twenty minutes. A light application of dry shampoo at the roots combined with a single drop of lightweight jojoba or argan oil smoothed over the ends restores volume and gloss without resetting your entire style.
Troubleshooting Common Mistakes: Dents, Uneven Waves, and Frizz
Achieving consistent results with heatless methods requires troubleshooting minor technique errors. If you notice sharp dents or crimps near your temples, the issue is usually caused by placing securing clips or elastic bands too close to the hair roots. Always anchor your rod near the crown with an open claw clip that sits gently over the top rather than pinching tightly into the strands, and remove the clip before going to sleep once the base wraps are anchored.
Uneven wave patterns from front to back typically occur when section sizes vary during the wrapping process. When taking hair from the back of your head, keep the section widths consistent with those taken from the front. If your finished curls appear frizzy or unraveled upon removal, you may be unwinding the rod too aggressively. Instead of pulling the rod downward through your lengths, slide the securing scrunchies off first, then lift the rod upward and out from the top of your head, letting the curls naturally unfurl around your shoulders before gently separating them with your fingers.
Frequently asked questions
Can I do heatless curls on completely dry hair?
Yes, you can do heatless curls on dry hair, though adding a light styling foam, texturizing spray, or leave-in conditioner helps the shape hold significantly longer. Completely dry hair wrapped without any styling product may yield softer, looser waves that drop faster throughout the day.
How long do heatless curls need to stay in to set properly?
Most heatless curl methods require roughly four to six hours to set fully, making overnight wear convenient. If you are styling during the day, you can accelerate the setting process slightly by ensuring your hair starts with minimal dampness and using a firm-hold setting mousse.
Are heatless curls truly zero-damage for all hair types?
While heatless curls eliminate thermal injury, they are not entirely risk-free. Pulling sections too tight, wrapping soaking wet hair, or doing the technique nightly can cause mechanical friction, strand breakage, and scalp tension. Practicing moderate frequency and gentle tension keeps the method safe.
Your next step
Assess your current hair elasticity and scalp comfort tonight, then schedule your next heatless curling set on slightly damp hair using loose tension no more than three times this week.