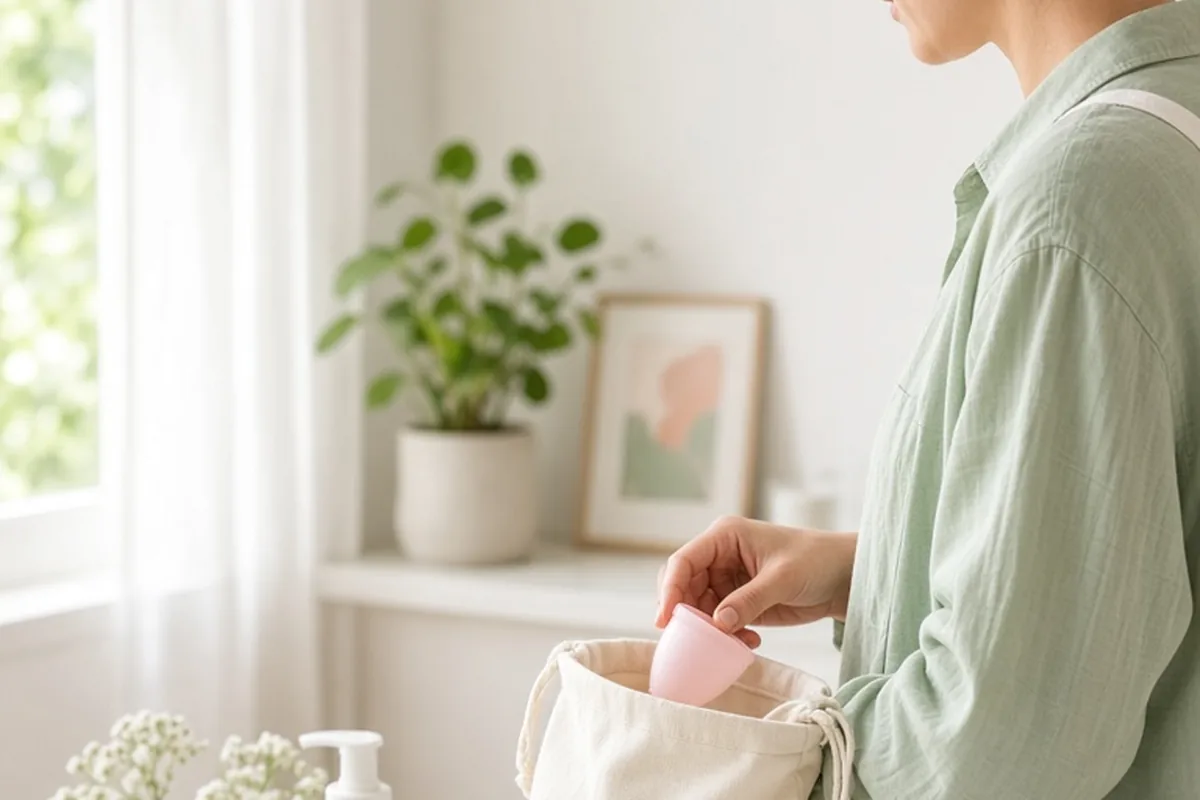
To clean a menstrual cup during your cycle, rinse it thoroughly with cool tap water to prevent staining, wash it with a mild, oil-free, fragrance-free soap, and rinse away all residue before reinserting. Between menstrual cycles, sanitize the cup by submerging it in a rolling boil of water on the stove for five to ten minutes, then air-dry completely before storing it in a breathable cotton pouch.
Switching to a reusable silicone or elastomer cup offers long-term convenience and reduces monthly waste, but developing a steady hygiene routine is what keeps the device comfortable, intact, and safe to use. While the basic process takes only minutes, small oversights like using harsh soaps, trapping boiling silicone against hot metal, or storing a damp cup in an airtight container can lead to skin irritation or material breakdown.
Daily Washing Routine During Your Period
Emptying and washing your cup during an active cycle requires only clean hands, running water, and an appropriate soap. Each time you remove the device, empty the collected fluid into the toilet, then rinse the cup under cool tap water first. Cool water is essential because hot water can cause the proteins in menstrual blood to bind to silicone surfaces, resulting in stubborn discoloration and lingering scents over time. Once the residual fluid is washed away, lather the cup inside and out using warm water and a small amount of liquid wash designed specifically for silicone, or an oil-free, scent-free facial cleanser with a balanced pH.
Thorough rinsing after washing is just as critical as the soap you choose. Leaving soap film on the rim or interior walls can alter your vaginal flora and cause tissue irritation or discomfort once the cup is repositioned against sensitive mucous membranes. Run water over every crevice, flexing the cup gently between your fingers to ensure no cleanser remains trapped inside the base grip or inner rim. If you find yourself in a rush between work meetings or morning errands, taking thirty extra seconds to rinse under running water prevents chemical residue from creating itching or burning later in the day. Keep in mind that antibacterial hand soaps, moisturizing bar soaps, and dish detergents should never be used, as their moisturizing oils, perfumes, and harsh surfactants can degrade medical-grade silicone and trigger vaginal yeast or bacterial overgrowth.
Sanitizing Between Cycles with Boiling Water
At the start or conclusion of each monthly period, your cup needs a complete thermal sanitization to reduce microbial load before long-term storage or initial insertion. The standard and most reliable method is boiling the cup in plain water on a stovetop. Fill a small saucepan with enough tap water to completely submerge the cup, bringing it to a steady, rolling boil. Carefully lower the cup into the water and keep it submerged for five to ten minutes, setting a kitchen timer so you do not accidentally forget the pot on the burner. High heat kills common bacteria and fungal spores without requiring harsh chemicals or specialized equipment.
The primary risk during boiling is allowing the silicone to touch the bottom or sides of the pot, where direct contact with the heated metal can scorch, melt, or permanently deform the material. To avoid this, place the cup inside a metal kitchen whisk or suspend it with stainless steel tongs before placing it in the boiling water. The wire cage of the whisk acts as a physical barrier, allowing boiling water to circulate freely around the cup while preventing it from settling on the hot base. Once the timer rings, remove the pot from heat, carefully fish the cup out with clean tongs, and set it on a fresh paper towel or clean drying rack to cool and dry completely. Resist the urge to boil the cup for longer than ten minutes; extended exposure to boiling temperatures offers no added hygiene benefit and can gradually shorten the elasticity and lifespan of the elastomer.
Handling Restrooms and Travel Without Direct Sink Access
Navigating public restrooms, airplane lavatories, or communal facilities without a private sink inside the stall can feel intimidating, but simple preparations make the task manageable and discrete. Before entering a stall, wash your hands thoroughly at the communal sink using warm water and soap. Once inside, you have two practical choices: wipe the cup clean or rinse it using a portable water source. Many experienced users carry a small, dedicated squeeze bottle or standard water bottle into the stall. After emptying the cup into the toilet bowl, hold the cup over the water and squeeze a gentle stream over the rim and basin to wash away the majority of blood before folding and reinserting.
When carrying water into a stall is not feasible, unfragranced, water-based cup wipes or ordinary clean toilet tissue serve as temporary solutions. Simply wipe the exterior and interior surface of the cup until clean, check that the air holes are clear of debris, and reinsert it immediately. The vaginal canal is not a sterile environment, so as long as your hands are freshly washed and the cup does not touch exterior surfaces like the toilet seat or floor, a temporary wipe-down is sufficient until you return home to a sink. If your cup ever falls onto the restroom floor or into the toilet bowl, do not reinsert it after a quick wipe; retire it for the day, switch to a backup product, and boil the dropped cup before wearing it again.
Unclogging Air Holes and Scrubbing Fine Details
Most menstrual cups feature several tiny perforations angled just below the upper rim, which allow air to release when you break the seal for removal and help the cup pop open securely against the vaginal wall. Over several days of use, these holes can easily fill with dried blood, mucus, or tissue particles, preventing the cup from creating an airtight seal and increasing the likelihood of leaks. Inspect these tiny openings every time you empty the cup. If you notice buildup, do not reach for sewing needles, toothpicks, or safety pins, as sharp metal points can puncture the silicone, create microscopic tears, or scratch your fingers.
A safe and effective way to clear blocked air holes involves using water pressure and simple manipulation. Fill the cup to the brim with clean warm water, place the flat palm of your clean hand over the opening to form a tight seal, invert the cup over a sink, and squeeze the flexible base firmly with your other hand. The trapped water will shoot outward through the pinholes under pressure, dislodging trapped particles instantly. For stubborn clogs that resist water pressure, submerge the rim in warm soapy water and use a soft-bristled baby toothbrush dedicated exclusively to your cup to gently brush the edges. You can also bend the rim outward and gently roll the silicone between your thumb and forefinger under running water to loosen any remaining debris.
Removing Stains and Persistent Odors Safely
Even with consistent washing, silicone naturally absorbs hemoglobin pigments and vaginal scents over months of regular use, turning yellowed or brownish and developing an earthy or sour smell. While surface staining is purely cosmetic and does not mean the cup is dirty or unsanitary, many users prefer to restore the original appearance of their cup. The most reliable method for lifting discoloration is a mild hydrogen peroxide soak. Submerge the cup in a clean glass jar filled with a one-to-one mixture of standard three percent hydrogen peroxide and clean water, allowing it to sit for eight to twelve hours in a safe spot away from direct sunlight. After soaking, rinse the cup thoroughly and boil it in plain water for five minutes to eliminate any remaining peroxide residue.
To combat persistent odors without using oxidizing soaks, natural sunlight and baking soda offer gentle alternatives. Leaving a clean, dry cup on a sunny windowsill for a few hours allows ultraviolet light to naturally neutralize odors and lighten stains without damaging the silicone matrix. Alternatively, mix a tablespoon of food-grade baking soda into a bowl of warm water and soak the cup for two hours before rinsing thoroughly. Never attempt to remove odors or stains with chlorine bleach, rubbing alcohol, scented vinegar solutions, tea tree oil, or castile soaps. These harsh substances can break down the integrity of medical-grade silicone, leave toxic residues that cause chemical vaginitis, or void the manufacturer warranty. Limit deep stain treatments to once or twice a year, as frequent soaking in chemical agents may prematurely age flexible polymers.
Storage Between Cycles and What Products to Avoid
How you store your menstrual cup during the weeks between your periods directly affects its longevity and cleanliness. Once your cycle finishes, complete your boiling routine, allow the cup to air-dry completely on a clean surface, and place it in a breathable container. Most cups come packaged with a drawstring pouch made of unbleached cotton or linen, which allows ambient air to circulate while protecting the surface from household dust, lint, and pet dander. Never store a silicone cup in an airtight container, such as a sealed plastic bag, Tupperware container, or glass jar with a tight lid. Trapping moisture without ventilation creates an ideal breeding ground for mold and mildew, which can permanently ruin the device and introduce health risks.
Maintaining your cup also means avoiding well-intentioned cleaning habits that inadvertently degrade silicone or harm vaginal health. While commercial microwave sterilizers or electric steam pods designed for menstrual cups offer convenient alternatives to stovetop boiling, regular household dishwashers should never be used. Dishwasher detergents contain aggressive abrasives, enzymes, and rinse aids that can etch the smooth silicone surface, leaving microscopic crevices where bacteria can harbor. Furthermore, the residual rinse chemicals cannot be easily purged from flexible elastomers. Take note of the recommended cleaning supplies:
- Use fragrance-free, oil-free liquid washes or gentle facial cleansers with a mild pH.
- Use clean tap water or filtered drinking water for all rinsing and daily washing steps.
- Use a dedicated soft-bristled toothbrush to scrub grip rings and rim openings gently.
- Store exclusively in breathable fabric pouches kept in a dry, room-temperature cabinet.
Frequently asked questions
Can I use boiling water from an electric kettle instead of a stovetop pot?
Yes, pouring freshly boiled water from an electric kettle over your cup in a heat-safe ceramic mug is a practical option, provided the cup stays submerged for at least five to seven minutes. However, cover the mug with a clean lid or small plate to trap heat, as open water cools rapidly compared to a simmering pot on an active stove.
What should I do if my menstrual cup accidentally drops into the toilet?
Retrieve the cup immediately, empty any fluid, and give it a thorough scrub with warm water and fragrance-free soap. Do not reinsert it during the current cycle; instead, boil it vigorously in rolling water on the stove for a full ten minutes to ensure complete thermal sanitization before using it again.
How often do I need to wash my cup during an active cycle?
You should empty and wash your cup at least every eight to twelve hours, depending on your flow and the cup manufacturer guidelines. Washing the cup twice a day—typically once in the morning and once before bed—maintains hygiene and keeps the seal working smoothly.
Why does my menstrual cup smell bad even after I wash it with soap?
Silicone is a slightly porous material that can absorb proteins and normal vaginal bacteria, especially if washed in hot water before the blood is fully rinsed away with cold water. Soaking the cup in a half-and-half mixture of three percent hydrogen peroxide and water or setting it in direct sunlight for an afternoon will neutralize the trapped organic compounds.
Your next step
Set aside a designated small pot, a breathable cotton pouch, and an oil-free cleanser today so your cleaning supplies are ready before your next period begins.