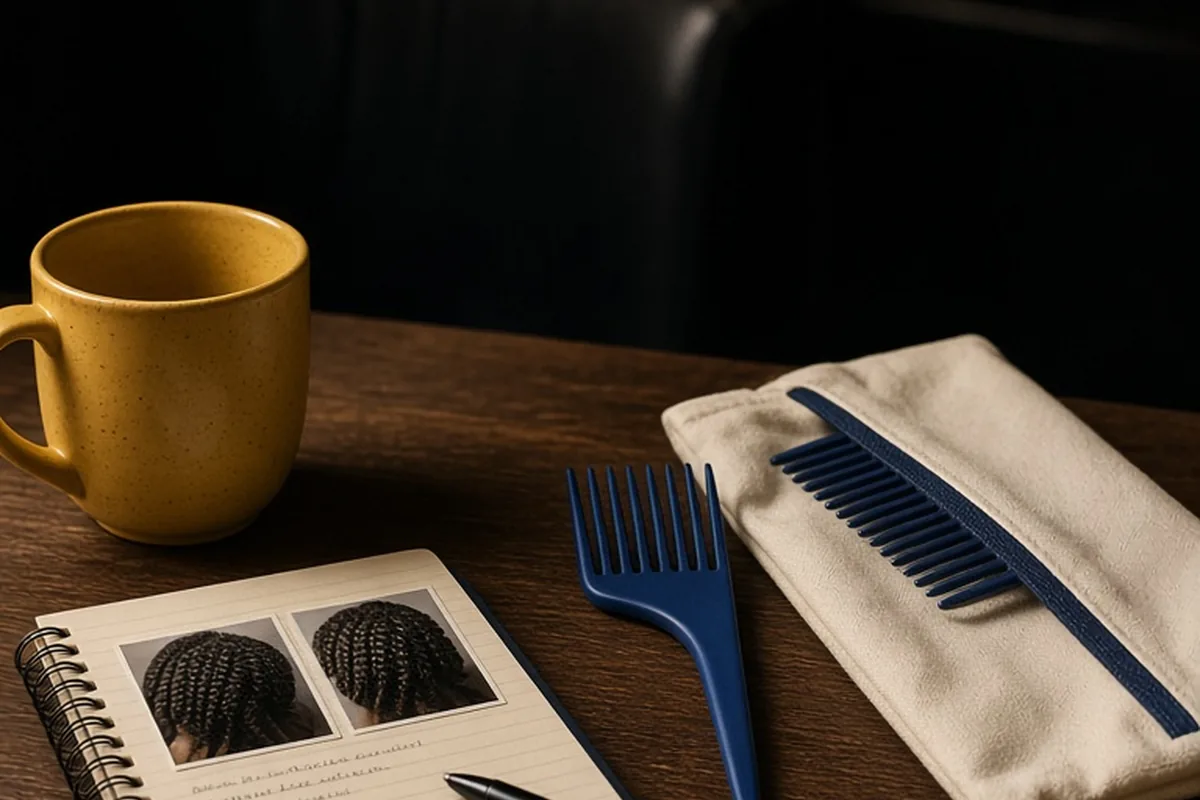
To explain protective hairstyles for natural hair to a hairstylist, clearly state your primary goal—such as tucking away fragile ends, length retention, or low daily maintenance—and bring two or three clear reference photos showing the exact style, parting size, and finished length. Specify your boundaries regarding tension along your hairline, ask what products they plan to apply, and confirm whether you must arrive washed, detangled, and stretched or if they provide professional prep before installing the style.
A protective style should safeguard delicate textured coils from chronic manipulation, environmental dryness, and mechanical friction, but miscommunications in the salon chair can lead to the exact opposite outcome. When expectations around installation techniques, tension limits, and scalp care remain unspoken, a style intended to preserve fragile strands can turn into weeks of scalp discomfort, breakage, or hairline thinning. Successfully collaborating with a braider or natural hair specialist requires breaking down vague aesthetic terms into measurable, mechanical preferences that both you and your stylist can verify before, during, and after installation.
Clarifying Your Hair Goals Before Booking the Appointment
Before scheduling an appointment, define what protection actually means for your specific curl pattern, density, and lifestyle. For some people, a protective style is meant to promote length retention by completely encasing dry ends inside synthetic fibers or twists for several weeks. For others, protection simply means having an active, athletic routine where sweat can be rinsed away regularly without requiring daily re-styling, blow-drying, or comb manipulation. If your primary objective is low-effort styling for an upcoming vacation, your stylist might suggest a different density, parting grid, or synthetic fiber than if your objective is nursing heat-damaged perimeter edges back to full density.
When contacting a stylist or scheduling through a booking platform, articulate your goal directly rather than simply selecting a service menu option. Tell them your natural hair density, whether your strands are fine or coarse, and if you have sensitive scalp areas that react poorly to heavy pulling or prolonged heaviness. A stylist who understands that your focus is follicle health over razor-sharp, ultra-snug parting can adapt their technique, opting for lighter sectioning, softer gel applications, or looser root attachments. This upfront conversation also allows the professional to tell you honestly whether their standard braiding or twisting method supports your objective or if a modified approach is needed.
Using Reference Photos to Define Parting, Length, and Volume
Visual references bridge the gap between subjective terminology and technical reality. A term like medium box braids or shoulder-length twists can mean vastly different measurements to different stylists based on their training and salon culture. To avoid surprises, bring two or three photos that clearly show the roots, the profile angle, and the full back. Choose images featuring people who share a similar hair density and head shape to your own, as fine hair will naturally produce a different fullness than high-density coarse hair even when parted into identical grid sizes.
Point to concrete elements in each image while explaining your preferences. Rather than saying you want natural-looking parts, point out that you prefer clean square sections with slightly soft, unraked perimeters rather than aggressive triangular lines secured with drying edge controls. Point directly to the parting diameter, explaining whether you want pencil-thick bases, quarter-sized squares, or micro-sections. Discussing the exact resting position of the ends—such as bra-strap length, mid-back, or waist-length—prevents disputes over hair package counts, appointment duration, and pricing tiers before the first braid begins.
Communicating Tension Boundaries to Protect Your Hairline and Scalp
Excessive tension is the single greatest risk during protective styling, capable of converting an otherwise beneficial routine into traction alopecia, follicle inflammation, or immediate strand snapping. Many clients hesitate to speak up when pulling feels too forceful, assuming that severe tightness is required for neatness or longevity. However, a clean installation never requires painful pulling. Explain to your stylist early that you prioritize root comfort and scalp circulation over absolute flatness, particularly along delicate areas like the nape of the neck and the front temples.
Establish an explicit boundary for perimeter hair before the stylist begins sectioning. Let them know whether you prefer to leave fine baby hairs entirely out of the braids, or if you want them incorporated with zero upward torque. You can say: 'My hairline is prone to thinning under tension, so please leave a soft quarter-inch perimeter loose, or braid those edges with minimal grip.' If you feel your scalp lifting, stinging, or throbbing during the process, speak up immediately. A skilled professional will gladly adjust their hand angle, loosen their grip, or reduce extension weight rather than risk permanent follicle damage.
Aligning on Wash-Day Prep, Detangling, and Cleansing Expectations
Misaligned expectations about wash-day preparation frequently cause salon tension and unexpected add-on fees. Stylists generally fall into two categories: those who insist on performing a full shampoo, deep condition, and blowout themselves to ensure a clean base, and those who require clients to arrive with their hair pre-washed, detangled, and stretched dry. Clarify this protocol before your appointment day so you neither arrive unprepared nor waste hours completing extensive prep work that the salon intends to redo at the shampoo bowl.
If you are responsible for preparing your hair at home, ask which stretching method the stylist prefers. Some braiders require a flat, tension blow-dry using a paddle brush or comb attachment to ensure seamless blending with extension hair, while others work well with heatless banding, African threading, or large chunky twists. Inform the stylist about any scalp sensitivities to heavy oils or heavy holding waxes. If your scalp is prone to flaking or build-up, request that they avoid applying thick petroleum-based pomades or synthetic beeswax directly along your exposed parts, opting instead for water-soluble gels or lightweight leave-in mists.
Selecting Extension Hair Types and Managing Finished Weight
The physical weight of added synthetic or human hair plays a massive role in whether a style remains truly protective or becomes a structural burden on your natural roots. Heavy, waist-length box braids constructed with standard synthetic fibers create downward gravitational drag that strains natural strands at the scalp interface. When discussing your style, ask what fiber options are compatible with your desired aesthetic, contrasting traditional kanekalon, lightweight prestretched synthetics, human hair blends, and water-wave or marley textures.
If you want significant length or high density, discuss knotless or feed-in techniques rather than traditional knotted installations. Knotless methods distribute the weight of the extension hair gradually down the braid shaft rather than anchoring a heavy bundle directly onto the root with an initial tight knot. Additionally, if you have experienced itchy, inflamed scalp reactions from synthetic hair in the past, inform your stylist beforehand. You may need to provide pre-rinsed, apple cider vinegar-soaked braiding hair to remove alkaline manufacturing coatings, or choose brands certified free from chemical residue to prevent allergic contact dermatitis.
Discussing In-Salon Adjustments and Installation Checkpoints
A smooth styling session relies on open, continuous communication rather than waiting until the entire head is finished to evaluate the work. Propose a quick checkpoint after the stylist installs the first two or three braids or twists in the back. This trial allows you to feel the tension level, check the size of the parting, and evaluate the weight and neatness while adjustments can be made in seconds without requiring hours of unraveling.
Frame these checkpoints collaboratively rather than critically. You can say: 'Can we check the first couple of braids together to make sure the size and tension feel right on my scalp?' If the installation feels too tight as the stylist works, address it in real time by pointing out the specific spot: 'That section near my temple feels like it is pulling tight on the follicle; could we loosen the root grip slightly on that one?' Stylists appreciate immediate feedback over post-appointment complaints, and a mutual understanding early in the appointment sets a comfortable, respectful tone for the remainder of the session.
Confirming Wear Duration and Safe Removal Timelines
A hairstyle ceases to be protective the moment it is kept in past its functional lifespan. Even the most expertly installed braids, locs, or twists will accumulate shed hair, lint, and product residue at the root base over time, creating dense tangles that can cause extensive breakage during takedown. Before leaving the chair, ask your stylist for their professional recommendation on the maximum wear window for your specific hair density and chosen style size.
While styles with larger parting grids typically require removal within four to six weeks to avoid root matting, smaller, lighter installations might safely last six to eight weeks with proper scalp hygiene. Ask your stylist to demonstrate how you should clean your scalp between appointments—such as using witch hazel pads, targeted clarifying rinses, or diluted shampoo nozzles—without frizzing the installation. Finally, discuss safe takedown practices, ensuring you have a clear plan, appropriate detangling slip, and sufficient time reserved to unravel each section gently without cutting or ripping through your natural ends.
Frequently asked questions
What should I say if a protective style feels too tight while being installed?
Speak up immediately by identifying the exact section and asking the stylist to ease their grip or re-part the hair with less tension. You can say, 'That spot near my temple is pulling tightly on my scalp; could we loosen the tension on that braid?' Legitimate stylists understand that follicle health comes first and will adjust their hand placement right away.
How do I ask for knotless braids instead of traditional box braids?
Ask your stylist if they offer feed-in or knotless braiding, explaining that you want your natural hair to form the base before extension hair is gradually incorporated. Confirm that they do not create a bulky knot directly against your scalp, which reduces initial root pulling and allows the braids to hang naturally from day one.
Can I bring my own products to a protective styling appointment?
Yes, but you should verify salon policies in advance. Inform your stylist during booking if you have specific product allergies or scalp conditions that require your own water-soluble gels, scalp oils, or pre-washed hypoallergenic braiding hair. Most stylists are happy to accommodate personal products as long as they do not hinder the styling process.
Your next step
Take two clear photos of your desired parting size and finished length, write down your tension limits, and message your stylist today to confirm whether they provide the wash and blow-dry or expect you to arrive pre-stretched.