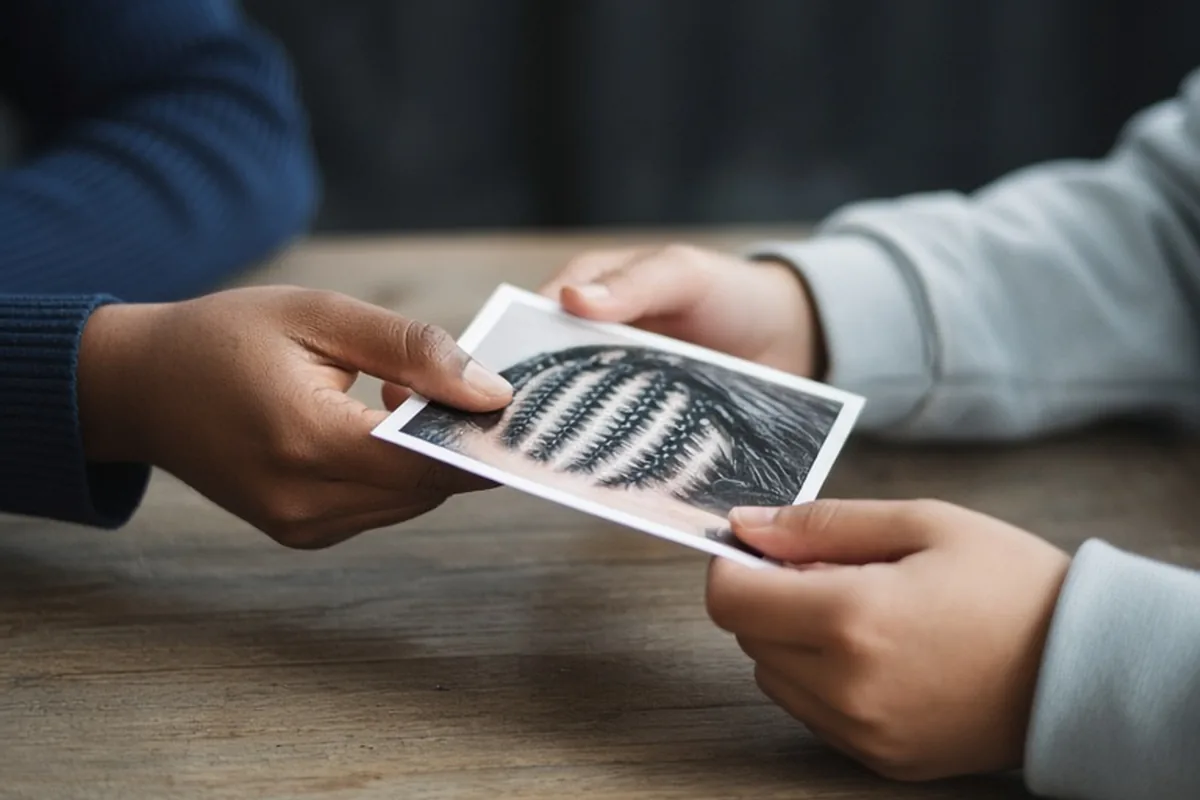
To explain protective hairstyles to a hairstylist, clearly state the specific look you want, such as box braids, flat twists, or sewn-in weaves, while establishing your boundaries regarding tension, part size, and added hair weight. Bring clear reference photos showing the root, length, and perimeter, and explicitly describe your natural hair texture, scalp sensitivities, and intended wear duration.
Booking an appointment for a protective style requires open, proactive communication to ensure your natural hair remains healthy and intact underneath. While stylists bring professional technical skill to the chair, they rely on your direct guidance regarding your comfort level, daily routine, scalp health, and hair history to execute a look that protects rather than strains your hair follicles.
Define Your Desired Technique and Intended Wear Duration
The term protective hairstyle covers a broad spectrum of techniques, ranging from knotless braids, traditional box braids, and cornrows to flat twists, crochet installs, and sewn-in weaves. Because each method places different demands on your scalp and natural hair, you should name the precise technique you want during your initial consultation rather than using broad generalizations. For instance, explaining that you want medium knotless box braids with human hair curls conveys specific requirements for installation time, weight distribution, and foundational braiding technique that a generic request for braids fails to communicate.
Equally important is sharing how long you plan to keep the style in place. A style meant to protect your hair during a two-week vacation requires different structural considerations than an installation intended to last for six to eight weeks. If you plan to wear the style longer, mention this upfront so the stylist can create clean, uniform parts and secure the base appropriately. Keep in mind that aiming for extended wear time can sometimes tempt stylists to increase root tension for longevity, so you must emphasize that preserving scalp comfort and hairline integrity takes priority over keeping the style looking fresh for an extra week.
Select and Present Targeted Reference Photos
Visual references bridge the gap between technical hairdressing terms and your personal expectations. When choosing photos, select images that showcase the specific details you care about most, including part shape, braid thickness, overall density, and perimeter styling. Avoid relying solely on heavily edited photos with dramatic lighting or angles that obscure the roots. Instead, look for clear, well-lit images showing the style from the front, side, and back so your stylist understands the complete profile you are envisioning.
During your consultation, walk your stylist through the photos systematically by pointing out the exact elements you want to replicate. For example, explain whether you want square, triangle, or freeform parts, and clarify whether you prefer full density throughout or a lighter look that allows for natural movement. Be receptive when your stylist explains how your individual hair density or head shape might alter the final appearance of the reference photo. A good stylist can adapt the reference image to flatter your natural features while keeping the overall aesthetic intact.
Communicate Scalp Sensitivity and Tension Limits
Mechanical tension is one of the most significant factors affecting natural hair health during and after protective styling. Excessive pulling can lead to folliculitis, headaches, and long-term issues like traction alopecia, particularly around the delicate hairline. You should clearly explain your sensitivity level to your stylist before they begin working. If you have a sensitive scalp, have experienced bumps in the past, or have thinning edges, tell them directly that you require low-tension installation methods.
To communicate this effectively, use straightforward phrasing that establishes a collaborative boundary. You might say that you prioritize follicle health over ultra-sleek roots and request that they avoid gripping the fragile baby hairs along your temples and nape. Acknowledge the trade-off that gentler tension may result in the style appearing slightly less crisp over time, but emphasize that protecting your natural hair density is your main objective.
Discuss Hair Extensions, Part Sizes, and Added Weight
If your chosen protective hairstyle involves adding synthetic or human hair extensions, discuss the fiber type, length, and volume with your stylist beforehand. Heavy synthetic packs can place significant downward drag on your natural roots, especially if you opt for waist-length or knee-length styles. Inform your stylist if you have sensitivities to alkaline coatings commonly found on synthetic braiding hair, and discuss whether the hair needs pre-washing or if you should supply hypoallergenic pre-stretched fibers.
Part size and extension weight must remain in balance to protect your natural strands. Large partings paired with excessive extension hair can cause the root to bend and snap under strain, whereas micro parts installed too tightly can create concentrated stress points on fine hair. Ask your stylist to calibrate the thickness of each braid or twist to match the density and strength of the natural hair within that specific section. This tailored balance ensures the extension is securely anchored without placing undue stress on the root base.
Align on Pre-Appointment Cleansing and Moisture Prep
A successful protective style relies heavily on the condition of your hair and scalp prior to installation. Clarify expectations with your stylist well before appointment day regarding who will wash, detangle, and blow-dry your hair. Some stylists include clarifying shampoo treatments, deep conditioning, and heat-stretching in their service packages, while others require clients to arrive with their hair freshly washed, completely detangled, and stretched with a blow dryer.
Discuss the foundational products your stylist plans to use during the braiding or styling process. If you prefer to avoid heavy waxes, drying edge controls with high alcohol content, or mineral oils that cause buildup on your scalp, let them know in advance. Suggesting lightweight, water-based leave-in conditioners and natural plant oils ensures your scalp stays nourished and free from flaking or itchiness throughout the lifespan of the style.
Advocate for Comfort Throughout the Styling Session
Clear communication does not end once the consultation is over; it continues throughout the entire appointment. Many people hesitate to speak up mid-service because they do not want to disrupt the stylist's rhythm, but voicing discomfort immediately is crucial for preventing damage. If a particular braid feels too tight or if the heat from a blow dryer is uncomfortable, inform the stylist right away rather than hoping the tension will ease after a few days.
Use polite, direct statements during the install, such as asking the stylist to loosen the tension on the perimeter or checking the mirror periodically to confirm the parting size matches your expectations. Stylists appreciate timely feedback because adjusting a single braid in the moment is much simpler than redoing multiple rows at the end of a long appointment. Active participation ensures you leave the salon with a style that looks great and feels comfortable immediately.
Frequently asked questions
How do I tell my stylist that a braid is too tight without offending them?
Speak up immediately by using calm, polite language focused on your scalp sensation. You can say that the specific section feels too tight at the root and ask if they can release and reinstall it with slightly less tension to keep your scalp comfortable.
Should I wash my hair right before getting a protective hairstyle?
Ask your stylist about their specific salon policy, as some include washing and conditioning in the service while others require clean, dry, and stretched hair. If you are preparing at home, thoroughly clarify and deeply moisturize your strands prior to arriving.
How long should I realistically keep a protective style installed?
Most protective styles are best kept for four to eight weeks, depending on the technique, your hair texture, and your scalp health. Keeping a style in longer than recommended can lead to matting, product buildup, and natural hair breakage at the roots.
Your next step
Collect two clear reference photos showing both the parting and overall density, and write down your specific tension preferences before booking your styling consultation.