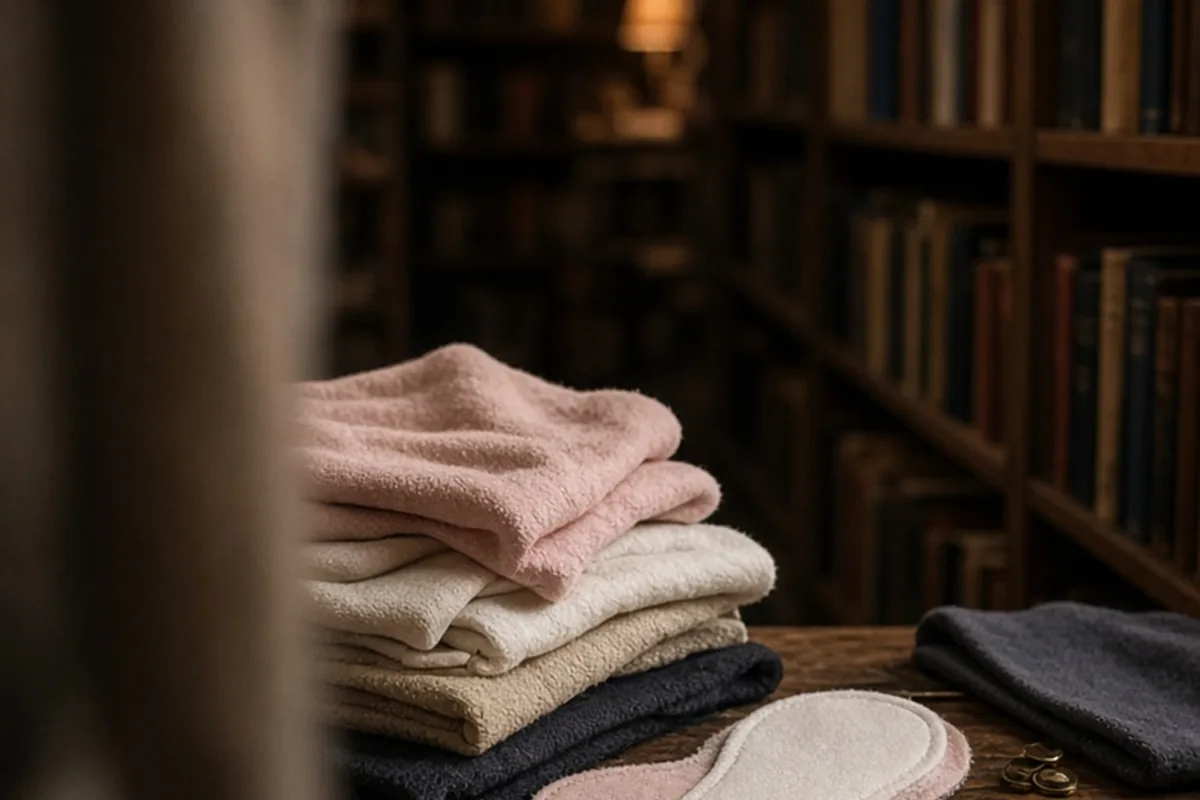
To make washable menstrual pads, cut a moisture-wicking top layer like cotton flannel, an absorbent core of cotton fleece or bamboo terry, and a leak-resistant backing like polyurethane laminate. Layer the core inside the outer fabrics, sew the edges right-sides together leaving a small turning gap, turn the pad right-side out, topstitch the perimeter, and attach snap fasteners to the side wings for secure placement.
Sewing reusable cloth menstrual pads allows you to customize absorbency levels, dimensions, and fabric textures to match your personal body shape while reducing single-use household waste.
Choosing the Best Fabrics for Each Layer
A functional reusable pad relies on three distinct material zones working together: the top topper that rests against your skin, the internal absorbent core, and the exterior backing that faces your underwear. The top layer should prioritize breathability, softness, and moisture transfer. Natural fibers such as unbleached cotton flannel, cotton jersey, and organic bamboo velour offer gentle skin contact with minimal irritation, whereas synthetic athletic wicking jersey quickly pulls fluid downward to keep the surface feeling dry throughout the day.
The internal core requires dense, thirsty textiles capable of retaining liquid without excessive bulk. Heavyweight cotton flannel, bamboo French terry, and specialized microfiber or Zorb materials excel here. For the outer base, you need a barrier that prevents moisture transfer without sacrificing breathability. Polyurethane laminate (PUL) is the industry standard for a fully waterproof backing, while polar fleece serves as a water-resistant, breathable alternative that works well for light to moderate flow days.
- Topper layer: 100% cotton flannel, bamboo velour, or athletic wicking jersey
- Core soaker: Bamboo-cotton fleece, heavy hemp fleece, or layered cotton flannel
- Backing layer: Polyurethane laminate (PUL) or anti-pill polyester fleece
- Fasteners: Size 16 or 20 resin plastic snaps
Drafting Patterns and Sizing Dimensions
Before cutting your materials, drafting an accurate paper pattern ensures a secure, comfortable fit. You can trace the outline of a disposable pad you already like, widening the central body slightly to accommodate fabric seam allowances. Standard daily pads typically measure eight to nine inches in total length, with a center width of two and a half inches between the wings when fastened around the underwear gusset. Overnight or postpartum versions generally extend between eleven and fourteen inches, featuring a flared rear design for extra coverage when lying down.
When drawing the side wings, curve them smoothly outward from the narrowest point of the center body so they fold naturally without bunching the fabric. Always add a quarter-inch seam allowance around your outer shape template. Prepare a separate, smaller pattern piece for the internal core that sits one-quarter inch inside the outer stitching lines. This offset reduces bulk along the outer edges, enabling your sewing machine to glide smoothly through the perimeter seams without skipped stitches.
Calculating Core Layers for Flow Requirements
Matching the pad's internal thickness to your specific flow requirements prevents both unnecessary stiffness and unexpected leaks. A panty liner requires only one or two internal layers of lightweight cotton flannel or bamboo fleece, which provides flexible daily protection with almost no visible profile under fitted clothing. Moderate daytime pads typically incorporate two to three layers of dense bamboo French terry or hemp fleece, offering dependable absorption for regular fluid volume.
Heavy flow and overnight options necessitate three to four dense layers, or a specialized absorbent core fabric combined with an extra central contour strip. Because natural fibers like hemp and bamboo shrink substantially upon exposure to hot water, always pre-wash and dry your fabric yardage on high heat before measuring or cutting. Failing to pre-shrink materials can cause the internal core to warp and pucker inside the pad during its first laundry cycle, which distorts the flat fit against your body.
Assembling and Sewing the Pad Components
Assembly begins by securing the inner core to the wrong side of your top fabric layer. Center the core piece and sew straight or serpentine channels down its length using a standard straight stitch or gentle zigzag. This quilting step prevents the internal layers from shifting or clumping during repeated washings and helps guide moisture lengthwise along the pad rather than letting it pool in one localized spot.
Next, align the prepared topper and your backing fabric with their right sides facing together, trapping the quilted core on the exterior side of the topper. Pin or clip the edges securely to prevent slippery fabrics like PUL from shifting under the presser foot. Stitch around the entire perimeter using a quarter-inch seam allowance, leaving a two-inch opening along one of the side edges between the wings to allow for turning.
Finishing, Turning, and Installing Hardware
Carefully notch the curved edges of your seam allowance with sharp scissors, cutting tiny triangles into the excess fabric without clipping your stitch line. This relieves mechanical tension, allowing the wings and rounded ends to lay completely flat once inverted. Turn the pad right-side out through the two-inch opening, gently pushing out each curved edge using a blunt point turner, wooden dowel, or chopstick.
Press the outer edges with a warm iron, making sure to use a pressing cloth if you are using heat-sensitive PUL backing. Fold the raw edges of the turning gap inward to align with the rest of the seam. Topstitch around the entire perimeter roughly one-eighth of an inch from the finished edge, which simultaneously seals the opening and reinforces the structural durability of the pad. Finally, install plastic resin snaps on each wing tab using snap pliers, placing the socket component on one wing and the stud component on the opposing wing.
Washing, Stain Prevention, and Maintenance
A straightforward laundry routine keeps cloth pads fresh, hygienic, and fully absorbent across years of regular use. After wear, rinse soiled pads in cold running water until the runoff is clear; using hot water at this initial stage must be avoided because heat sets blood proteins into fabric fibers, causing permanent discoloration. You can store rinsed pads in a breathable, mesh wet bag or a dry pail until wash day.
Launder your pads in a standard washing machine using warm or cool water and your regular laundry detergent. Avoid fabric softeners, dryer sheets, and excessive liquid bleach, as these additives coat textile fibers with a waxy chemical residue that severely reduces fabric absorbency over time. Tumble dry on low to medium heat, or hang them in direct sunlight, which naturally deodorizes fabric and gently fades residual discoloration without degrading the waterproof backing.
Troubleshooting Fit and Preventing Shifting
The most common issue with handmade cloth pads is slipping or shifting during physical activity. Because reusable pads lack adhesive strips, their stability depends entirely on friction and a snug fit against your underwear. If your pad tends to slide backward or forward, pairing it with well-fitted underwear made from cotton or textured knit fabric provides better traction than slick synthetic fabrics like satin or smooth nylon.
If the pad bunches in the center, the wing span may be too narrow for your underwear gusset, pulling the pad into a trough shape. You can remedy this on future pads by adding a second snap set to the wings to create adjustable width settings. Adding a textured fleece backing or a tiny patch of silicone grip dots to the underside can also help anchor the pad firmly in place during active movement.
Frequently asked questions
How long do homemade washable menstrual pads typically last?
With proper laundering and care, well-constructed cloth pads made with quality materials usually last between three and five years. Avoid fabric softeners and high dryer heat to keep the waterproof layers and fibers intact.
Can I use old towels or t-shirts to make cloth pads?
Yes, clean upcycled cotton t-shirts work nicely for soft top layers, and old cotton terry cloth towels make effective absorbent cores. Ensure that you still use a moisture-resistant fabric like fleece or PUL on the back to avoid leaks.
Why is my cloth pad leaking through the sides?
Side leaks usually occur when the internal core reaches maximum saturation before changing, or when the wing width causes the center body to bunch upward. Adding an extra absorbent layer or widening the pattern base will resolve this issue.
Your next step
Gather scrap flannel and a soft backing fabric today to sew a single test liner, allowing you to check the fit and snap placement before producing a full personal collection.