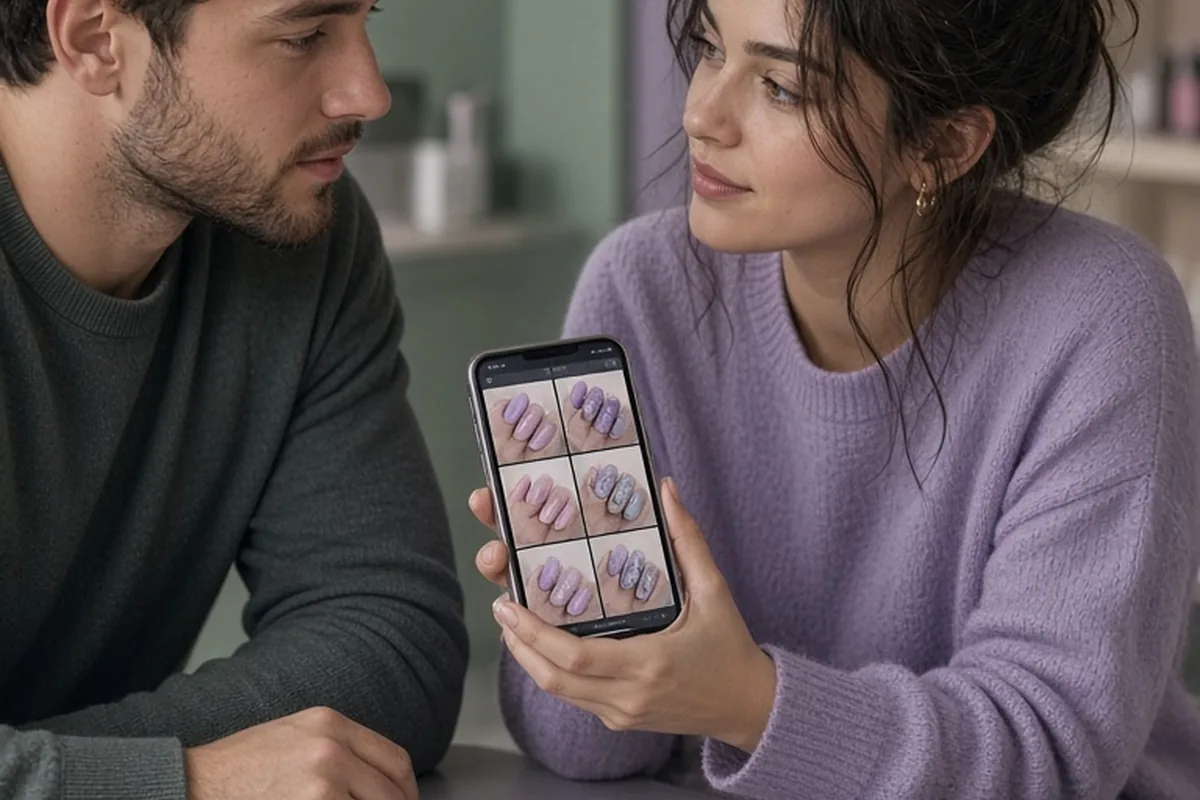
To prepare for a nail art appointment, arrive with clean, product-free nails and gather clear visual references showing your desired style, color palette, and finish. Communicate your current nail condition and booking details in advance so the technician can reserve adequate time. Avoid trimming your cuticles or applying heavy oils right before the visit, as clean, healthy nail beds ensure optimal product adhesion and cleaner artwork.
A successful nail art session is a collaborative effort between you and your nail technician. Taking a few deliberate preparation steps before you sit in the salon chair helps ensure the appointment runs efficiently, protects your natural nail health, and results in durable, well-executed artwork.
Curating Clear Reference Photos and Setting Expectations
Gathering visual inspiration before your visit is essential, but translating an online image to your hands requires thoughtful selection. Instead of saving dozens of conflicting styles, narrow your references down to two or three cohesive images. Identify the specific elements you appreciate in each photo, such as the color combination, line precision, negative space placement, or specific embellishments. Communicating what you like about each image prevents ambiguity and helps your artist understand your visual goals.
It is equally important to account for differences in nail shape, length, and surface area between your hands and the reference model. A complex hand-painted portrait or intricate geometric pattern designed for long almond extensions will look significantly different on short, square natural nails. If you prefer to keep your natural length, discuss with your technician how the design can be scaled down or adapted. For instance, you might choose minimalist accent lines or micro-French tips rather than full-surface coverage.
Additionally, distinguish between different artistic mediums such as freehand painting, stamping, airbrushing, chrome powders, or three-dimensional charms. Knowing the underlying technique helps you confirm that your chosen technician specializes in that style. Sending your inspiration photos to the salon ahead of time gives the artist an opportunity to verify they have the necessary pigments, brushes, and accessories in stock.
Booking the Correct Service Tier and Appointment Duration
Mismatched scheduling is one of the most common challenges in professional nail services. Standard manicure time slots usually range from forty-five to sixty minutes, which is only sufficient for basic shaping, cuticle cleanup, and a single solid color application. Detailed nail art, structural overlays, or multi-finger encapsulations often require an additional thirty to ninety minutes depending on the intricacy.
When scheduling your appointment, review the salon booking menu for dedicated nail art tiers or add-on options. Selecting the appropriate tier guarantees that the technician has adequate time to work without feeling rushed. If a booking system does not provide clear art categories, contact the salon directly with your reference photos to ask how much time they recommend blocking out for that specific look.
Underestimating the required time can force your technician to simplify your chosen design, omit complex accents, or decline the art entirely to avoid delaying their next client. Clear, proactive booking ensures a relaxed atmosphere where the artist can focus on precise execution, clean line work, and thorough curing.
Caring for Natural Nails and Cuticles Before Your Visit
Preparing your hands at home establishes a clean canvas for your technician while preserving the protective barriers around your nail beds. In the days leading up to your appointment, refrain from performing aggressive self-maintenance. Avoid cutting, nipping, or tearing your cuticles at home. Professional technicians use sterilized implements to gently tidy the eponychium and proximal nail fold without creating cuts or irritation.
If you arrive with broken skin, open hangnails, or active inflammation, salon hygiene protocols may limit the technician from applying certain chemical products, primers, or acrylics near the compromised area. Gentle hand washing and daily hydration in the week prior will keep the skin supple, but you should adjust your routine on the day of the appointment.
On the day of your service, do not apply rich hand creams, thick balms, or cuticle oils right before walking into the salon. Heavy moisturizers leave oily residues on the nail plate that can interfere with dehydrators and bonding agents, potentially causing gel or acrylic enhancements to lift prematurely. Thoroughly wash your hands with plain soap and warm water upon arrival, allowing the technician to properly prep the natural nail surface.
Managing Removals, Repairs, and Existing Enhancements
Transparency regarding what is currently on your nails is critical for proper time management and nail plate preservation. If you are wearing gel polish, hard gel, builder gel, or acrylics from a prior appointment—particularly from a different salon—you must schedule a removal service in advance. Different product formulations require specific removal methods, whether through targeted acetone soaking or electric filing.
Never peel, pry, or bite off old enhancements before your appointment. Forcibly stripping product pulls away microscopic layers of natural keratin, resulting in thinned, sensitive nail plates that are prone to painful heat spikes under UV or LED curing lamps. Arriving with undamaged natural nails allows the new product to adhere securely and wear longer.
If you have a broken, split, or bruised nail, point it out to your technician before they begin shaping. They can evaluate whether to apply a reinforcement wrap, construct a small extension to match the surrounding fingers, or trim the overall length for symmetry. If a nail displays signs of trauma, severe lifting from the nail bed, or discoloration, the technician may recommend leaving that finger bare until the tissue recovers.
Aligning Shape, Length, and Finish with Your Daily Routine
While dramatic nail shapes look striking in photographs, your chosen design and architecture should align with your daily lifestyle demands. Individuals who spend hours typing on keyboards, working in healthcare, handling mechanical equipment, or engaging in high-impact sports often benefit from shorter lengths with softer contours. Shapes like short oval, squoval, or rounded almond distribute physical pressure evenly across the nail plate, reducing the chance of chipping or corner fractures.
Consider your daily exposure to pigments, moisture, and cleaning chemicals when choosing colors and topcoats. For instance, matte topcoats feature a slightly textured, porous surface that can absorb pigments from denim dye, spices, or hair coloring products. High-gloss topcoats provide a smooth, non-porous shield that offers superior resistance against staining and everyday abrasion.
Discussing your occupational demands and daily habits with your artist allows them to reinforce stress points using builder gels or structured bases. Tailoring the structural foundation to your lifestyle helps prevent accidental breaks and keeps your artwork intact throughout its wear cycle.
Navigating Pricing Structures, Add-Ons, and Salon Budgets
Nail art pricing varies widely depending on artist expertise, regional overhead, material costs, and time requirements. Salons typically structure their pricing through tiered packages based on complexity, hourly rates, or individual item charges for specific embellishments like chrome powder, hand-painted accents, foil, or crystals. Inquiring about pricing before the service begins ensures full transparency and prevents unexpected totals at checkout.
When planning your budget, remember that foundational services are often billed separately from decorative art. Essential steps such as detailed cuticle work, extension removals, nail repairs, or structured base overlays may carry individual fees. Having an open conversation about your budget allows the technician to suggest design modifications, such as focusing intricate artwork on two accent fingers while keeping the remaining nails in coordinating solid colors.
It is also customary in many regions to include a gratuity of fifteen to twenty percent for customized, attentive service. Factoring in both the base costs and potential add-ons enables you to enjoy the creative experience without financial uncertainty.
Collaborating Smoothly During the Appointment
Clear, respectful communication during the service is the best way to achieve the exact look you want. When the technician shapes and preps the first couple of nails, take a close look at the length, symmetry, and curve. Providing immediate feedback if you prefer a slightly shorter length or a narrower taper allows the artist to adjust their approach before product application begins, saving time for both of you.
Proper hand placement under the curing lamp is essential for longevity. Rest your hand flat and centered inside the lamp unit so the light reaches all fingers evenly, paying special attention to your thumbs, which can easily tilt and cure unevenly if not placed flat. If you feel a warm sensation or heat spike while curing, briefly ease your hand out of the lamp for two seconds to let the heat disperse before returning it to complete the cycle.
Finally, avoid touching your hair, face, clothes, or smartphone once the technician has cleansed and dehydrated your nail plates. Natural sebum, textile lint, and surface oils from personal items transfer quickly to prepped nails, creating barriers that cause bubbles, uneven polish leveling, or premature peeling.
Frequently asked questions
How far in advance should I share my nail art reference photos with my technician?
Sharing your reference photos two to three days before your appointment gives the technician sufficient time to evaluate the design complexity. This allows them to confirm they have the required materials and adjust your scheduled time slot if additional time is necessary.
Should I trim or file my nails before going to the salon?
It is best to leave your nails unfiled and untrimmed before your appointment so the technician has maximum natural length to work with. This allows them to create uniform shapes and balanced proportions across all ten fingers.
Can I get detailed nail art if I have very short natural nails?
Yes, nail art can be adapted to short natural nails using scaled-down patterns, negative space elements, or minimalist accents. If you desire extra surface area, you can also consult with your technician about adding soft gel tips or structured extensions.
Your next step
Select two or three clear reference photos and contact your salon in advance to reserve the correct service tier and duration for your desired design.