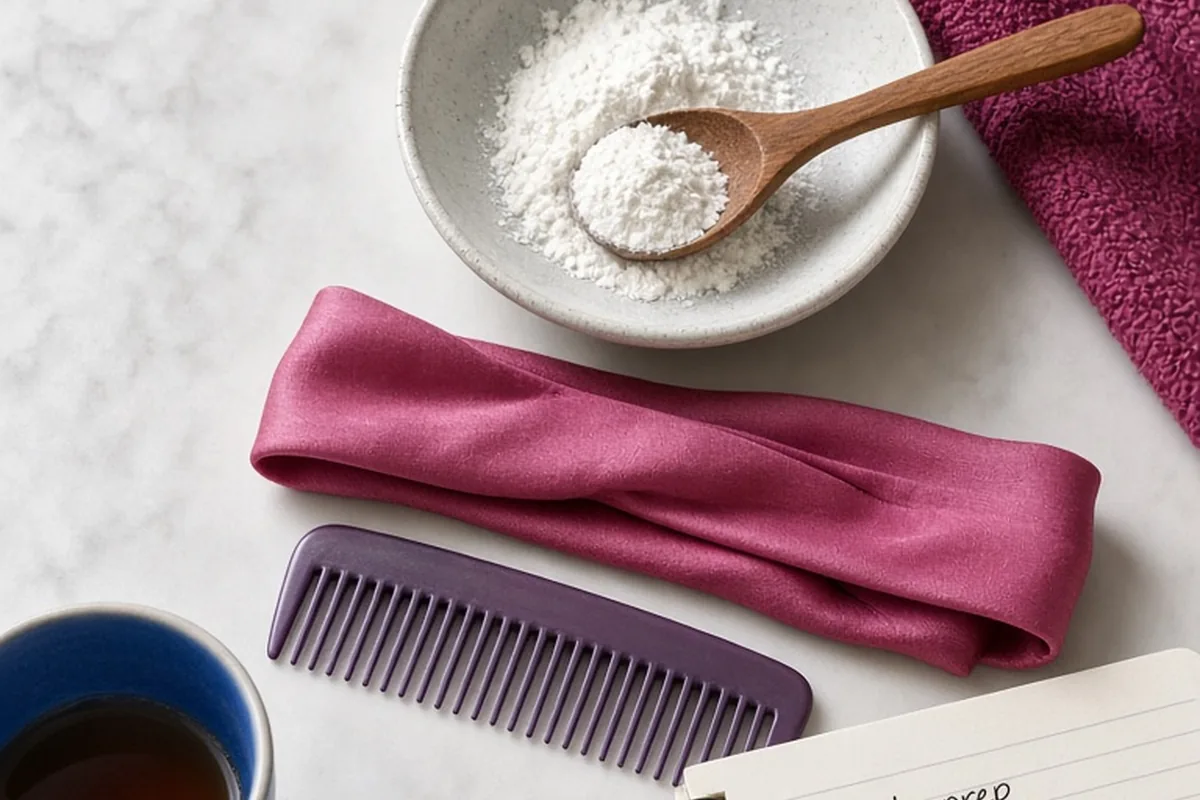
Preparing for relaxed hair care begins with assessing current hair health, establishing a strict pre-chemical timeline, and gathering the right moisturizing and protein-balancing supplies. At least one to two weeks before relaxing, halt all vigorous scalp scratching, heat styling, and clarifying washes to keep the scalp barrier intact. Build a regimen centered on gentle detangling, sulfate-free cleansers, deep conditioners, and heat protectants so chemically altered strands remain resilient against breakage.
Chemically relaxing hair alters the structural bonds within textured strands, swapping natural curl patterns for straightness while permanently reducing overall fiber strength. Because relaxed hair is naturally more vulnerable to moisture loss and physical breakage, preparation before chemical services and before committing to a maintenance regimen directly determines whether your hair thrives or suffers long-term damage.
Evaluating Scalp Integrity and Fiber Strength Before Application
Before applying any chemical relaxer or overhauling your maintenance routine, you need an honest assessment of your current hair condition. Chemical relaxers break roughly one-third of the disulfide bonds within hair fibers to straighten them permanently. If your hair is already suffering from split ends, severe breakage, or chemical fatigue from previous coloring sessions, applying a relaxer onto compromised strands can lead to rapid shedding. Examine your shedding patterns by looking closely at shed strands. A full-length strand ending in a small white bulb indicates natural follicular shedding, while short, blunt fragments without a root bulb signal active breakage that requires deep conditioning and protein reinforcement prior to any chemical treatment.
Your scalp condition is equally decisive. A chemical relaxer placed on an inflamed, broken, or irritated scalp will cause intense burning, scabbing, and potential follicle scarring that halts future growth. If you experience active conditions such as severe dandruff, seborrheic dermatitis, or open sores from scratching, postpone chemical services until your scalp returns to a calm, healthy state. In addition, perform a strand test on a small, discreet patch of hair near the nape. This check reveals how your specific texture reacts to the chemical formulation, how quickly it straightens, and whether the hair maintains reasonable elasticity after rinsing.
The Critical Seven-Day Scalp Protection Protocol
The week immediately preceding a relaxer application requires intentional restraint. Your scalp produces sebum, a natural lipid shield that buffers delicate skin against caustic relaxer active ingredients such as sodium hydroxide or calcium hydroxide. Discarding this lipid layer or scratching the surface of the skin creates direct pathways for chemical burning. Seven to ten days before your scheduled appointment or home application, eliminate any habits that cause scalp abrasion.
Physical manipulation should drop to a bare minimum. Avoid fine-tooth combs that drag across the skin, discontinue vigorous scalp massage, and never use your fingernails to alleviate an itch. If you exercise heavily, allow sweat to air-dry rather than rubbing your scalp with coarse towels, as salt accumulation paired with friction creates micro-tears. You should complete your final pre-relaxer wash five to seven days before processing. Cleansing the scalp within forty-eight to seventy-two hours of chemical application strips away vital oils and almost guarantees stinging during the application process.
- Stop all scalp scratching and replace it with gentle palm pressure to soothe itching.
- Refrain from tight braids, tight buns, or tension styles that irritate follicles during the final week.
- Complete your final shampoo at least five to seven days before applying chemical relaxers.
- Apply a protective petroleum-based base cream along the entire hairline, ears, and exposed scalp sections prior to chemical contact.
Essential Products and Tools for Relaxed Hair Maintenance
Preparation involves stocking your maintenance toolkit before the chemical service takes place. Once hair is relaxed, its open cuticles and altered internal architecture require specialized formulas to regulate moisture levels and seal porosity. Regular store shampoos containing harsh sulfates strip what little moisture the processed fiber holds, leading to immediate brittleness. You will need a clarifying shampoo used sparingly once a month, a gentle sulfate-free moisturizing shampoo for weekly cleansing, and a neutralizing shampoo with a color indicator if you are performing touch-ups at home.
Your physical tools are just as critical as your liquid products. Processed hair loses tensile strength when wet, making fine-tooth combs and rough bristled brushes primary culprits in snap breakage. Invest in a seamless wide-tooth comb made of hard rubber or smooth resin, which navigates detangling without snagging cuticle scales. Replace abrasive terrycloth bath towels with soft microfiber wraps or smooth cotton fabric to dry strands gently through blotting rather than rubbing. Sleeping accessories must include satin or silk bonnets, scarves, or pillowcases, which reduce surface friction and preserve essential moisture throughout the night.
Formulating a Long-Term Moisture and Protein Regimen for Relaxed Hair
The foundation of sustained relaxed hair health is the delicate equilibrium between moisture and protein. Moisture provides elasticity and flexibility, enabling strands to bend without fracturing. Protein provides structural backbone, filling microscopic gaps left along the damaged cuticle layer by the chemical straightening process. Focusing entirely on moisture leaves relaxed hair limp, overly soft, and vulnerable to hygral fatigue. Conversely, overusing strong protein treatments without adequate hydration makes fibers rigid, dry, and brittle, causing them to snap under mild tension.
Establish a rhythmic schedule that alternates deep hydration with moderate protein support. Most relaxed hair benefits from weekly or bi-weekly deep conditioning treatments applied under mild heat using a hooded dryer or thermal heat cap for fifteen to twenty minutes. Heat expands the hair shaft slightly, allowing rich emollients to penetrate beneath the exterior cuticle. For daily or mid-week refreshes, adopt the liquid-oil-cream layering technique using a water-based leave-in spray followed by a light sealing oil such as jojoba or argan. Avoid heavy mineral greases on the hair lengths, as these create an impermeable barrier that blocks subsequent moisture penetration.
Weighing At-Home Relaxer Kits Against Professional Salon Application
A central decision in your preparation plan is whether to relax your hair at home or hire an experienced professional stylist. Box relaxer kits sold in retail stores are primarily no-lye formulas containing calcium hydroxide. While no-lye relaxers tend to cause less initial scalp stinging for individuals with sensitive skin, they routinely leave behind mineral calcium deposits on hair shafts. Over repeated applications, these deposits create a dry, dull coating that resists moisture absorption unless counteracted with specialized chelating shampoos.
Professional stylists frequently use lye-based formulas containing sodium hydroxide. Sodium hydroxide breaks down faster and rinses clean without mineral residue, but it carries a higher potential for rapid chemical burns if applied improperly or left on too long. Working with a salon professional also eliminates the severe hazard of overlapping chemical relaxer onto previously straightened hair. At-home self-applications on the back of the head frequently lead to accidental overlapping, which permanently weakens the fiber and creates catastrophic breakage along the junction where new growth meets relaxed lengths.
- At-home no-lye kits offer convenient timing and milder scalp sensations but require regular chelating to prevent mineral buildup.
- Professional salon applications provide precise timing, even back-of-the-head coverage, and strict overlap prevention.
- Inquire with a stylist regarding their neutralization protocol and scalp base preparation before booking an appointment.
- Obtain clear local quotes, as professional relaxer costs fluctuate significantly based on hair density, salon tier, and included deep conditioning services.
Navigating the Line of Demarcation and Low-Manipulation Styling
The line of demarcation refers to the precise boundary where untreated new growth meets previously relaxed hair. As weeks pass following a relaxer service, this intersection represents the weakest physical point along your entire hair strand. The newly emerged hair has an intact, tightly coiled curl pattern, while the relaxed shaft is straight and chemically modified. These two drastically different structural patterns pull against each other whenever you comb, wash, or style your hair, generating intense mechanical stress at the boundary point.
Managing this transition zone requires patient, low-manipulation styling techniques. Never attempt to detangle hair when it is dry; always apply a slippery conditioner or detangling spray containing water and slip agents to soften the new growth. Work in small, controlled sections from the tips slowly upward to the roots, holding the base of each section to prevent pulling against the scalp. Lean heavily on low-tension styles such as loose low buns, roller sets, flexi-rod sets, or loose two-strand twists. Avoid tight braids, heavy synthetic extensions, or aggressive ponytail elastics with metal clasps that exert concentrated pressure directly across the fragile line of demarcation.
Illustrative Scenarios
Mitigating Demarcation Breakage Through Pre-Treatment Preparation
An individual preparing for their regular relaxer touch-up had accumulated ten weeks of dense new growth. Instead of detangling dry hair with a fine comb or using heat to force the two distinct textures together, they applied a high-slip pre-shampoo conditioning oil, sectioned the hair into four manageable quadrants, and used only a wide-tooth seamless comb. They halted all heat styling seven days before their touch-up and avoided scratching an itchy scalp, using gentle fingertips instead.
Key point: Thorough physical preparation and low scalp friction eliminate mechanical breakage at the line of demarcation and prevent chemical burns during relaxer application.
Frequently asked questions
How long should I wait between relaxer touch-up applications?
Most stylists recommend waiting eight to twelve weeks between relaxer applications. Applying relaxers sooner increases the likelihood of overlapping the chemical onto previously treated hair, while waiting much longer requires extra care to prevent snapping along the line of demarcation.
Can I wash my hair two days before getting a relaxer?
You should avoid washing your hair two days before a relaxer. Cleansing the scalp strips away natural sebum, leaving your skin defenseless against chemical irritation and burning. Complete your last pre-relaxer wash five to seven days before processing.
Should I apply a protein treatment right before getting a relaxer?
Intense protein treatments should be applied one to two weeks before a chemical service rather than immediately prior to it. Applying strong protein reconstructors directly before relaxing can leave strands too rigid to handle the chemical restructuring process.
Your next step
Assess your scalp today for any sensitivity or abrasions, and schedule your final pre-relaxer wash at least five days before your planned chemical service.