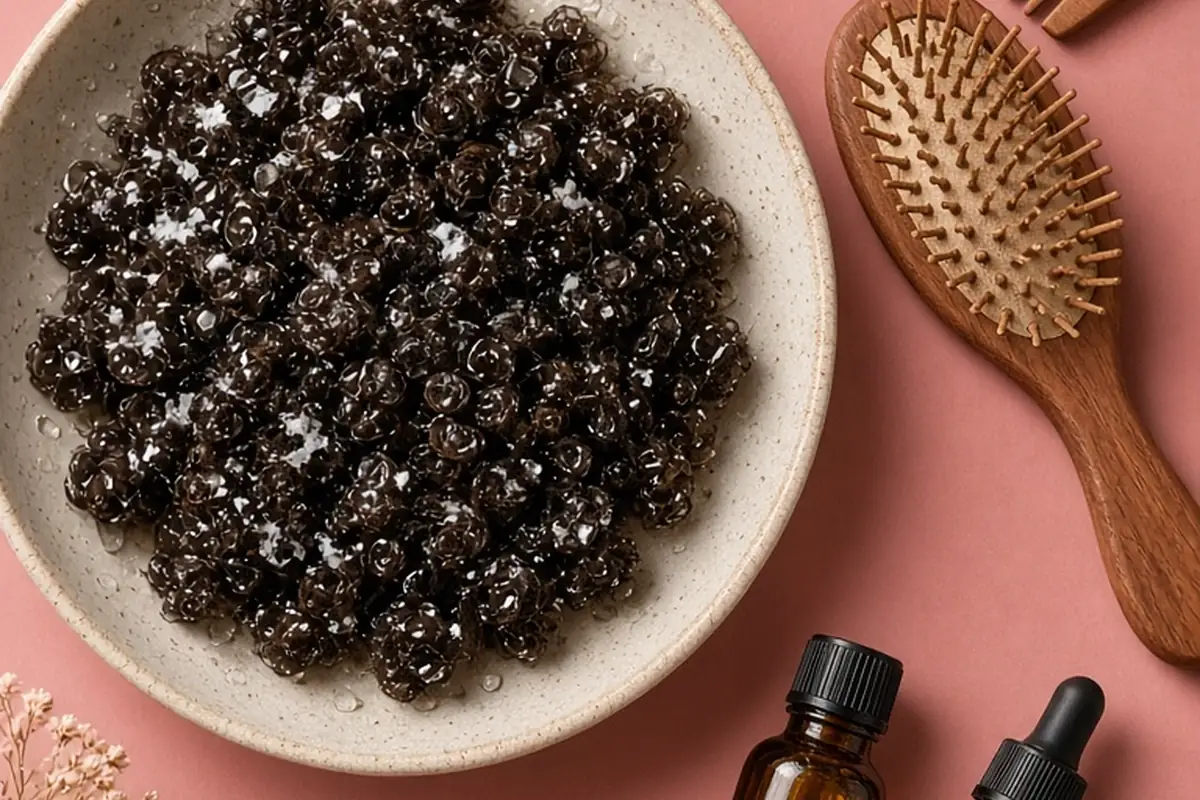
To prepare natural hair for protective hairstyles, thoroughly clarify your scalp and strands to remove buildup, restore moisture with a deep conditioner, balance porosity if needed, and gently detangle from ends to roots. Follow with a light leave-in conditioner and completely dry or stretch your hair using tension rather than high heat. A clean, hydrated base and trimmed split ends prevent tension breakage, matting, and moisture loss while your style is installed.
Protective styling encompasses a wide variety of techniques, including box braids, twists, faux locs, cornrows, weaves, and custom wig installs. While these styles are designed to give fragile ends a rest from daily manipulation and environmental stressors, they also lock your hair away for weeks at a time. Entering a long-term installation with dehydrated strands, an inflamed scalp, or lingering product residue can lead to excessive shedding, severe matting, and traction-related breakage during the wear and takedown phases.
Assessing Scalp and Strand Health Before Choosing a Style
Before scheduling an appointment or purchasing bundles of synthetic or human hair, examine your natural hair to ensure it is strong enough to bear the mechanical stress of an installation. Protective styles apply continuous tension and added weight to the hair shaft and root follicle. If your scalp currently shows signs of active irritation, such as severe flaking, soreness, open sores, or persistent itching, installing a tight or heavy style will exacerbate the underlying inflammation and increase the likelihood of folliculitis or traction-induced thinning.
Perform a strand test to evaluate your hair's elasticity and structural integrity. Take a single shed strand, wet it, and gently stretch it between your fingers. Healthy natural hair stretches slightly and returns to its original length without snapping. If the strand snaps immediately under light tension, your hair is brittle and requires a focused regimen of moisture and protein before it can safely withstand braiding or twisting. Similarly, if your hair sheds excessively from the root or breaks in small, uneven pieces whenever you comb it, prioritize strengthening your hair for a few weeks rather than concealing fragile strands beneath an intricate style.
Clarifying Your Scalp to Eliminate Buildup and Hard Water Minerals
A successful protective style relies entirely on an immaculate scalp foundation. Over time, heavy styling butters, edge controls, silicone serums, and natural sebum accumulate around the follicular openings and coat the hair cuticle. If you install extensions over this layer of residue, the trapped buildup will attract dust and lint, creating sticky, compacted knots at the base of your braids that make post-style detangling difficult and damaging.
Use a dedicated clarifying shampoo rather than a mild co-wash or gentle moisturizing cleanser for your pre-installation wash day. Work the clarifying formula directly into the scalp using the pads of your fingers, massaging in circular motions to lift stubborn debris without scratching the skin with your fingernails. If you live in an area with hard tap water, consider a chelating shampoo formulated with agents that bind to and strip away calcium and magnesium deposits. Rinse thoroughly with lukewarm water until the hair feels completely bare, lightweight, and squeaky clean, ensuring no lingering film remains on the hair fibers.
Deep Conditioning to Lock In Moisture and Balance Porosity
Because your natural hair will have limited exposure to regular deep conditioning treatments while tucked away, you must infuse maximum hydration into the cortex prior to installation. Clarifying cleansers temporarily raise the hair cuticle and strip away surface oils, leaving the hair thirsty and receptive to nutrient-dense conditioning agents. Skipping this step leaves strands vulnerable to chronic dryness, which makes hair brittle and prone to snapping when braided under tension.
Apply a penetrating deep conditioner evenly from the mid-lengths down to the ends, working in manageable sections to ensure every strand is thoroughly coated. For low-porosity hair, apply gentle heat using a hooded dryer, a thermal heat cap, or a warm steam towel to help open tightly bound cuticles and facilitate product absorption. For high-porosity or chemically treated hair, incorporate a conditioner that combines hydrolyzed proteins with emollient fatty alcohols to fill structural gaps in the cuticle layer and reinforce the hair shaft against prolonged friction.
Gentle Detangling and Stretching Techniques for Protective Styling
Thorough detangling is essential to prevent internal knots from turning into permanent mats while your hair is braided or twisted. Never attempt to detangle dry, unconditioned natural hair. Instead, separate your hair into four to six sections while it is damp and saturated with a slippery leave-in conditioner or detangling primer. Use a wide-tooth comb, a flexible-bristle detangling brush, or your fingers, starting strictly at the ends and slowly working upward toward the roots to release shed hairs without tearing the strands.
Once detangled, stretching the hair creates uniform tension, makes parting cleaner, and prevents the natural curl pattern from shrinking and tangling around extension fibers during installation. If you prefer heatless methods, stretch your hair using techniques such as African threading, large two-strand twists, banding with satin hair ties, or loosely plaiting the hair until it dries completely. If you choose to blow-dry, apply a silicone-based or botanical heat protectant to damp hair, select a low-to-medium heat setting with a tension comb attachment, and dry the hair only until it is elongated and pliable rather than bone-straight.
Trimming Damaged Ends to Avoid Severe Matting During Takedown
Split ends and single-strand knots (fairy knots) pose a significant hazard to the longevity and safety of protective styles. When damaged ends are braided or twisted together with other strands, the split fibers unravel further along the hair shaft, catching on adjacent hairs and extension materials. When the time comes to remove the protective style weeks later, these split ends frequently fuse into dense, felted clusters that cannot be combed apart, forcing you to cut away healthy hair.
Inspect your ends after detangling and stretching. If you notice thin, see-through perimeters, rough sandpaper-like textures, or small white bulbs indicating split points, perform a precise trim before your styling session. Use sharp, professional shears designed specifically for cutting hair; dull household scissors will crush the hair fiber and create fresh splits instantly. Focus on removing only the compromised, uneven ends so that each section terminates in a smooth, blunt edge that glides cleanly past neighboring strands during installation and removal.
Treating and Sanitizing Synthetic Braiding Hair to Prevent Scalp Irritation
Many synthetic braiding hair options, particularly standard kanekalon and toyokalon fibers, are manufactured with an alkaline chemical coating designed to improve heat resistance, reduce frizz, and inhibit mold during shipping. For many individuals with sensitive scalps, this alkaline film triggers allergic contact dermatitis, resulting in severe itching, redness, flaking, and tiny bumps along the hairline within days of installation.
To neutralize and remove this coating before your appointment, soak the synthetic hair bundles in an apple cider vinegar bath. Fill a basin with warm water and mix in roughly one cup of raw apple cider vinegar per gallon of water. Submerge the synthetic hair (keeping the rubber bands attached at the top) for twenty to thirty minutes until a white, cloudy residue surfaces on the water. Rinse the hair thoroughly in cool, clean water until the vinegar scent dissipates, and hang the bundles to air-dry completely before styling.
Establishing Clear Tension Boundaries and Style Longevity Expectations
A protective style is only truly protective if it preserves the integrity of your hair follicles. During the installation process, clear communication with your stylist is your best defense against traction alopecia and unnecessary breakage. The delicate baby hairs along your hairline and the nape of your neck are structurally weaker than the hair at the crown and should never be pulled tightly into heavy braids or cornrows. Request that your stylist leave out fragile perimeter edges or reduce the tension on those specific sections.
If you feel sharp pinching, burning, or throbbing during the braiding process, voice your discomfort immediately and ask the stylist to loosen their grip or remake the braid. Pain is a biological warning sign of follicle strain, not an unavoidable part of the process. Furthermore, set realistic boundaries for the duration of the style. Most protective installations should remain in place for no longer than six to eight weeks. Keeping styles installed past their intended lifespan allows shed hairs to lock with natural oils, creating dense build-up collars at the root that compromise new growth.
Frequently asked questions
Should my hair be completely clean and product-free when arriving at the stylist?
Yes. Most stylists prefer hair that is thoroughly cleansed, detangled, and stretched without heavy butters or thick oils. Applying heavy styling creams prior to your appointment can cause the extension hair to slip, make parting imprecise, and attract unwanted dust.
How long should I wait between taking down one protective style and installing another?
Give your hair and scalp at least one to two weeks of rest between consecutive protective styles. This break allows your hair follicles to recover from tension, gives you time to complete thorough cleansing and deep conditioning, and lets you assess your overall strand health.
Is it better to blow-dry or air-dry natural hair before getting braids?
Blow-drying on low or medium heat using a tension attachment stretches the hair evenly, making the braiding process faster, smoother, and less painful. However, if you are heat-sensitive, heatless stretching methods like threading or banding work equally well if the hair is dried completely before styling.
Your next step
Inspect your scalp and ends today, then perform a clarifying wash followed by a deep conditioning treatment 24 to 48 hours before your appointment to ensure your hair is clean, stretched, and fortified for styling.