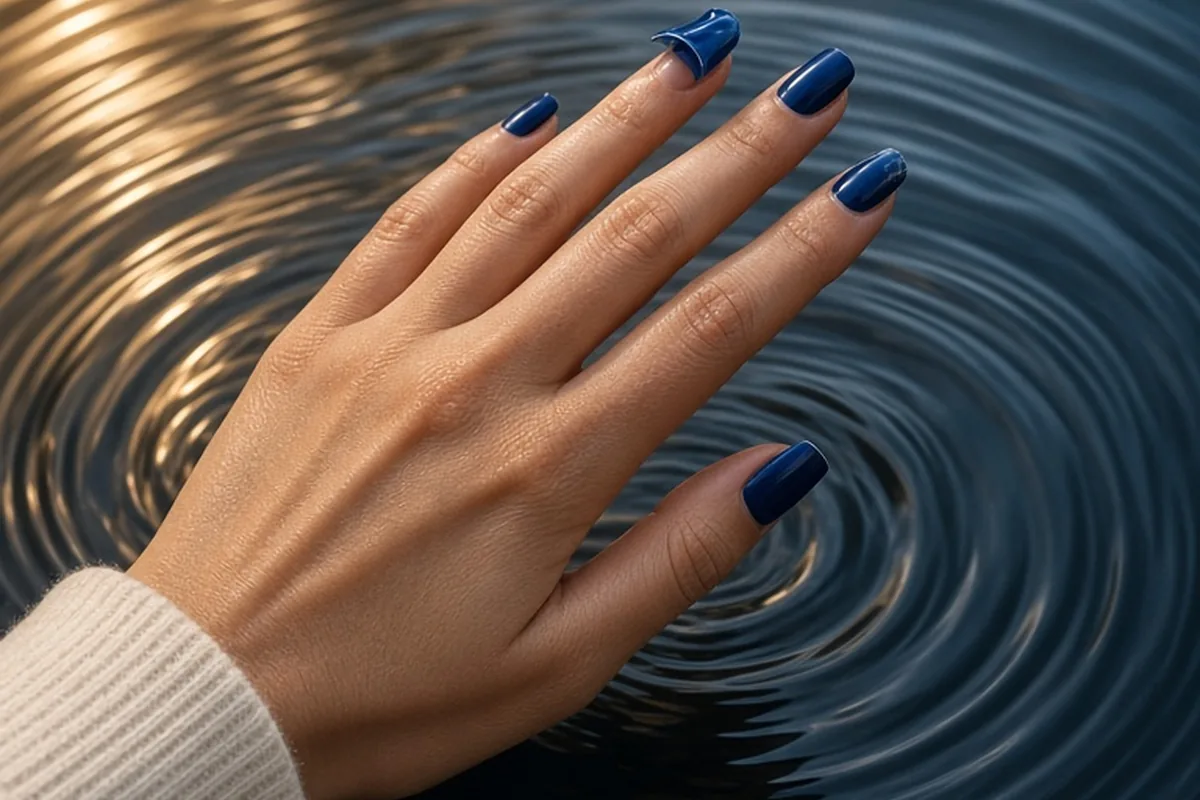
When gel polish begins lifting, never peel or pry it off, as this rips away protective natural keratin layers. Instead, carefully clip away the unattached edge with sanitized cuticle nippers to stop snagging, or soak the entire nail in pure acetone for safe removal. Keep the exposed area clean and dry to prevent trapped moisture, and apply cuticle oil daily to nourish the exposed natural nail plate.
A lifted gel edge can quickly become frustrating, catching on clothing, snagging in hair, and creating a pocket where moisture easily collects. While your immediate impulse might be to pull the peeling layer completely away, managing a lifted manicure with the right techniques preserves the strength and smoothness of your underlying nail plate.
Immediate Steps to Prevent Keratin Damage and Snagging
The chemical bond between a gel base coat and the natural nail plate is exceptionally strong. When lifting begins at the cuticle or sidewall, the gel separates in some areas while remaining firmly bonded to others. Pulling or peeling the loose portion mechanically rips off microscopic layers of natural keratin, resulting in thinned, uneven nail beds, noticeable white patches, and persistent sensitivity. Even if the lift feels loose enough to peel away with minimal effort, forceful removal almost always takes part of your natural nail structure with it.
If you cannot address the lifted nail right away, your primary goal is to prevent mechanical snagging. A loose edge caught in a sweater loop or while washing your hair can violently tear the bonded portion of the gel, taking natural nail layers along with it. If you are away from home, wrap a small adhesive bandage snugly over the fingertip to hold the lifted edge flat against the nail bed. Avoid soaking your hands in hot water or taking long baths until you can trim or remove the gel, as water will seep beneath the coating and loosen the surrounding bond further.
Safe At-Home Removal and Edge-Trimming Techniques
When dealing with a minor lift at the corner or edge while the rest of the nail remains securely attached, you can often perform a targeted trim rather than removing the entire manicure. Use sharp, sanitized cuticle nippers to gently snip away only the loose, unattached gel. Make precise cuts close to the bonded border without cutting into the natural nail. Once the detached flap is removed, take a gentle 180/240-grit nail file and lightly smooth down the remaining edge at a shallow angle so the transition between the gel and your natural nail feels smooth and cannot catch on fabric.
If more than one-third of the gel overlay has lifted, full removal is usually the safest option to protect the nail plate. Start by using a coarse nail file to break the shiny top coat, which allows solvents to penetrate. Place a piece of cotton saturated in one hundred percent pure acetone over the nail, wrap the fingertip securely in aluminum foil or a manicure clip, and wait ten to fifteen minutes. The gel will soften into a crumbly texture that you can gently glide off using a flat wooden orangewood stick. If any spots resist, re-wrap the nail for another five minutes rather than scraping forcefully with metal tools.
The Risks of Gluing Lifted Gel and Moisture Trapping
A common quick fix is squeezing a drop of regular nail glue under the lifted gel edge to press it back down, but this approach introduces significant hygienic risks. When gel separates from the nail plate, water, hand soap, and natural skin oils enter the microscopic space underneath. Sealing that gap with nail glue traps residual moisture and organic material inside an airtight, warm environment. This creates ideal conditions for bacterial growth, specifically common surface bacteria that cause greenish or dark discoloration on the nail surface.
If you discover a green or yellowish spot under a lifted gel enhancement, do not panic, but do keep the area exposed and clean. The discoloration is typically a superficial pigment stain caused by trapped moisture rather than an invasive infection. Safely remove all remaining gel on that finger, wash the area thoroughly with soap and water, and allow the natural nail to stay bare and completely dry. Avoid applying any polish, gel, or artificial tips over discolored areas until the stained nail plate has grown out entirely.
Investigating Common Causes of Premature Gel Lifting
Understanding why your gel lifted helps you adjust your preparation or communicate better with your nail technician. The most frequent culprit is improper nail plate preparation before base coat application. The cuticle consists of an invisible, thin layer of dead skin cells that adheres directly to the nail plate; if this pterygium is not completely cleared, gel applied over it will inevitably lift within days. Similarly, residual natural oils, lotion residue, or insufficient nail dehydration before application will prevent the base coat from forming a durable bond.
Application technique and curing dynamics also play a major role in how long gel manicures last. If base coat or color touches the proximal nail fold or lateral sidewalls, the cured gel creates a raised ridge that catches and lifts as the natural nail grows. Additionally, under-curing can occur if the UV or LED lamp bulbs have degraded or if the hand is placed into the lamp at an angle. Natural nail flexibility is another factor: people with very thin, bendable nails often experience lifting at the free edge because the flexible natural nail flexes away from the rigid cured gel overlay.
Adjusting Nail Prep and Application for Long-Lasting Gel
To achieve a lift-free manicure during your next set, focus on meticulous preparation and clean borders. Gently push back the proximal cuticle fold and use a fine cuticle bit or gentle buffer to clear all dead tissue from the nail surface. Thoroughly cleanse the nail plate with a lint-free wipe saturated in ninety-nine percent isopropyl alcohol or dedicated dehydrator. For individuals with naturally oily nail beds or hyperhidrosis, applying an acid-free primer creates a tacky, microscopic surface layer that significantly improves base coat adhesion.
During product application, maintain a hairline gap between the gel and your surrounding skin to prevent product flooding. Always cap the free edge of the natural nail with a very thin layer of base coat and top coat to seal the tip against water intrusion. Apply multiple ultra-thin layers of color instead of thick coats; thick gel layers can shrink during polymerization, pulling inward from the nail margins and curing incompletely underneath the surface.
Restoring Natural Nail Strength After Lifting Occurs
If a lifted gel manicure has left your natural nail feeling thin, bendable, or slightly rough, shifting your routine toward moisture restoration will accelerate recovery. Natural nail plates are made of tightly packed keratin layers held together by natural lipids and moisture. Applying a pure, high-penetration oil such as cold-pressed jojoba oil to the bare nail plate and cuticle area three to four times a day replenishes lost flexibility and helps the keratin layers bond tightly as new growth emerges from the matrix.
While your natural nails recover from peeling or thinning, keep them filed relatively short with smooth, rounded edges. Longer nails experience more mechanical leverage during everyday tasks, increasing the chance of bending and tearing damaged free edges. Wear lined rubber gloves whenever doing household chores, washing dishes, or working with household cleaners, as harsh detergents and prolonged water immersion strip natural lipids and weaken recovering keratin structures.
When to See a Professional Nail Technician for Repairs
While minor gel peeling can be managed at home, certain situations benefit from professional intervention. If your gel manicure involves hard builder gel or acrylic overlays, attempting to remove or file the product with basic emery boards can take hours and frequently leads to accidental over-filing of the natural nail. A qualified nail technician can use a controlled electric file to rebalance the apex, thin out the lifted area seamlessly, and apply a fresh overlay without stripping the entire enhancement.
Visiting your technician also provides an opportunity to reassess the products used on your nails. If standard gel polish routinely lifts despite clean prep, your technician can recommend structured manicures using rubber bases or flexible builder gels designed specifically to bend in harmony with flexible natural nails. Clearly explain which fingers lifted and how many days after application the separation started so they can adjust the prep steps, curing time, or product viscosity accordingly.
Frequently asked questions
Can I put a clear top coat over lifted gel to seal it back down?
Applying a clear top coat over lifted gel will not reattach the loose area because top coats only adhere to cured gel or properly prepped nail plates. It also risks trapping water and debris inside the pocket, which can lead to bacterial growth. The safer option is to trim away the loose flap or soak the gel off completely.
How long does a natural nail take to recover after peeling off gel?
A fingernail typically takes about four to six months to grow out completely from cuticle to free edge. While damaged, thinned areas cannot be instantly repaired once peeled, regular application of jojoba oil will keep the remaining nail flexible and prevent splitting as healthy nail grows in.
Why did my gel manicure lift after only two or three days?
Early lifting usually points to product touching the cuticle or sidewalls, leftover oils on the nail plate during prep, or under-curing in the lamp. If the gel floods the skin even slightly, the seal breaks as soon as the skin moves or sheds natural oils, causing the polish to lift away rapidly.
Your next step
Carefully trim away any loose gel edges with sanitized nippers to stop snags, keep the nail bed clean and dry, and commit to daily cuticle oil application before booking your next properly prepped manicure.