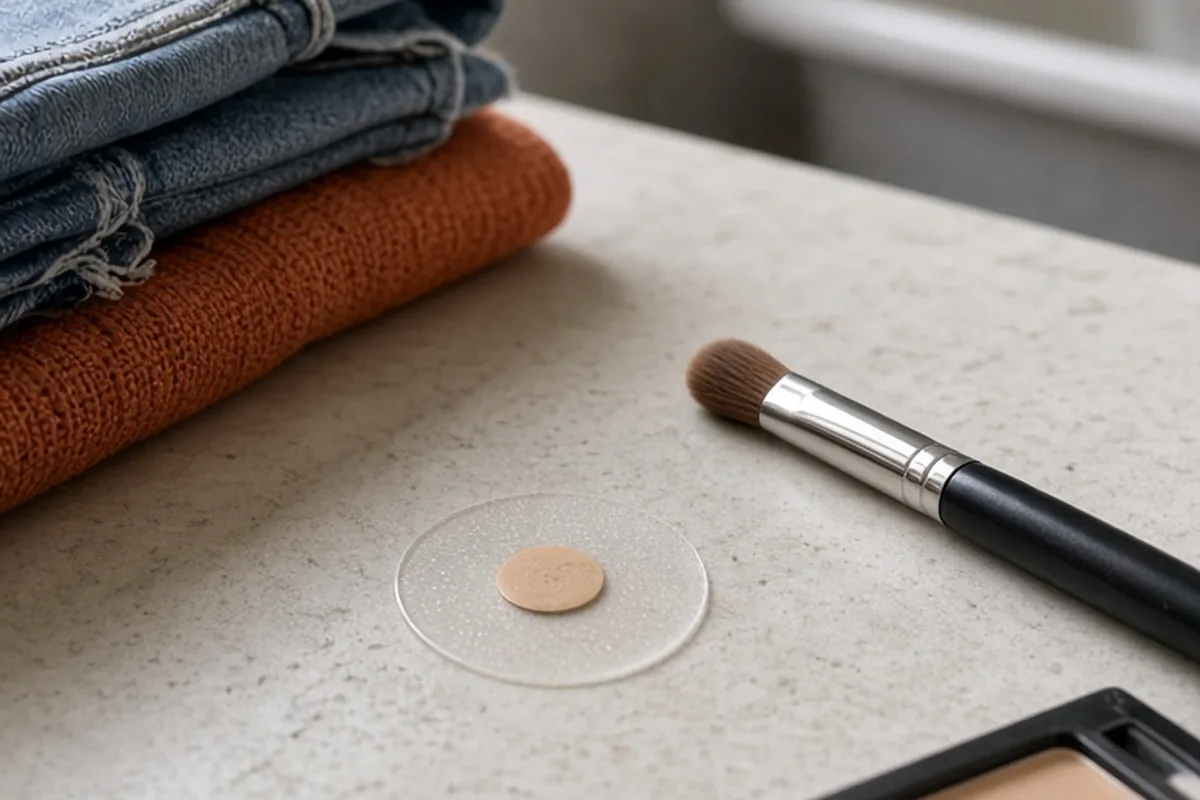
Yes, you can apply makeup over a pimple patch if you use an ultra-thin, matte hydrocolloid patch designed specifically for daytime wear. While thicker overnight patches will catch foundation and highlight texture, applying a tapered daytime patch directly to clean, dry skin allows concealer and setting powder to sit smoothly on top without disturbing the blemish.
Navigating a sudden breakout right before an event or workday can be frustrating, especially when choosing between treating the spot and wearing makeup. Pimple patches provide a physical shield against environmental debris and compulsive picking, but blending them beneath cosmetic layers requires intentional product selection and gentle application.
Selecting the Right Daytime Patch for Cosmetic Application
Not every pimple patch behaves the same under cosmetic layers. Standard nighttime hydrocolloid patches are intentionally thick to absorb maximum fluid while you sleep. However, those elevated edges and glossy plastic surfaces create an obvious ridge under foundation, causing liquid pigments to pool around the perimeter and draw unwanted attention to the breakout.
For daytime makeup wear, choose patches marketed as ultra-thin, invisible, or daytime-specific. These varieties feature beveled or tapered edges that gradually thin toward the outer border, helping the patch sit flush against your skin. Additionally, look for patches with a soft-matte or semi-sheer finish. A matte surface gives liquid and cream formulas subtle traction to grip onto, whereas a slick, shiny film will cause pigment to slide away immediately.
Prepping Skin to Ensure Patch Adhesion
The primary reason a pimple patch lifts or wrinkles under makeup is improper skin preparation. Hydrocolloid relies on direct contact with dry skin to create a secure seal. If you apply serums, facial oils, or rich moisturizers beforehand, the adhesive backing cannot grip the surface, and makeup application will quickly peel the patch off at the edges.
To get the strongest bond, cleanse your face thoroughly and allow the target area to dry completely. Apply the patch directly over the active blemish on bare skin before applying any toners, essences, or creams. Gently press and hold the patch in place for ten to fifteen seconds, allowing the warmth of your fingertip to activate the adhesive. Once the patch is firmly seated, apply your regular skincare routine around the patch, taking care not to rub greasy moisturizers over its edges.
Choosing Compatible Makeup Formulas
The texture and base of your makeup formulas play a major role in how well the patch remains hidden throughout the day. Heavy, oil-based foundations and thick balms tend to dissolve patch adhesives over several hours, which can cause the perimeter to curl up. Similarly, formulas with high silicone slip may slide off the smooth center of the patch, leaving the plastic backing exposed while the surrounding skin holds coverage.
Lightweight, water-based liquid foundations and soft-matte concealers generally perform best over hydrocolloid films. Highly pigmented, medium-coverage liquid concealers are particularly effective because you only need a microscopic dot to neutralize redness. By pairing a high-pigment liquid with a finely milled translucent setting powder, you set the finish without piling on heavy layers that emphasize skin texture.
A Step-by-Step Method for Applying Base Makeup
Applying cosmetics over a patch requires a tapping motion rather than dragging or buffing. Dragging a brush or sponge across a patch edge catches the lip of the hydrocolloid, lifting it from the skin and pushing a line of foundation underneath. Working in gentle vertical motions keeps the barrier intact and builds an even layer of coverage.
Follow this sequential approach to cover the patch without disturbing its seal:
- Apply your overall liquid base to the face first, lightly patting around the area where the patch sits rather than sweeping across it.
- Dot a tiny amount of high-coverage, soft-matte liquid concealer directly onto the center of the patch using the tip of a clean finger or a small synthetic brush.
- Feather the concealer outward past the patch borders using a damp precision beauty sponge, gently stippling to blend the boundary between the patch and natural skin.
- Dust a small amount of translucent setting powder over the spot using a flat, dense puff or small fluffy eyeshadow brush, pressing lightly to lock down shine.
Managing Texture and Visible Ridge Lines
While a properly applied patch neutralizes redness and shields active irritation, it cannot completely flatten three-dimensional texture. If a blemish is elevated, the patch will follow that contour. Setting your expectations around smoothing redness rather than erasing physical depth will help you avoid over-applying product in an attempt to make the bump disappear.
To minimize the visual impact of the patch edges, avoid highlighting products, shimmery bronzers, or dewy finishing mists directly on or around the blemish. Reflective particles bounce light off uneven surfaces, instantly exaggerating the circle of the patch. Instead, keep the area entirely matte, which allows the raised spot to recede visually under ambient lighting.
Handling Midday Changes and Swelling
As a hydrocolloid patch works throughout the day, it absorbs exudate, oil, and fluid from the pore, causing the center of the patch to turn white and swell slightly. When this occurs, makeup sitting directly over the center will naturally shift or turn lighter in color. This is a normal sign that the dressing is actively functioning, but it may require a quick adjustment if you are at work or an event.
If you notice the white pocket becoming visible beneath your concealer, avoid packing more powder over it, as this will result in a cakey, obvious buildup. Instead, decide whether to leave it untouched or replace it. If the patch is full and lifting, gently peel it off in a restroom, cleanse the spot with a gentle cleansing wipe or damp tissue, pat it completely dry, and place a fresh daytime patch before lightly tapping a fresh touch of concealer over top.
Safe Removal and Evening Cleansing
Removing a patch that has makeup over it requires care to prevent pulling on delicate, inflamed skin. Tearing a patch off quickly can aggravate the blemish, disrupt healing skin tissue, or cause lingering erythema. A measured removal process protects your skin barrier and ensures all residual cosmetic pigments are fully cleared away.
Begin your evening routine by gently lifting one corner of the patch with dry fingertips and slowly rolling it back parallel to your skin rather than pulling upward. Once removed, proceed with a gentle double-cleansing method: first use a cleansing oil or micellar water to break down the surrounding face makeup, followed by a gentle water-based foaming or gel cleanser to remove sweat and residue.
Frequently asked questions
Can makeup cause a pimple patch to become less effective?
Makeup will not stop a patch from absorbing fluid as long as the patch was applied directly to clean, bare skin first. The hydrocolloid material forms a sealed barrier underneath, so products applied on the outer surface do not touch the active pore.
Why does my foundation look separated or crusty around my patch?
Separation usually happens when skincare products like moisturizers were applied before the patch, causing the adhesive to slip. It can also occur if you drag a makeup brush across the edge, forcing liquid product to pool underneath the rim.
Is it better to use liquid concealer or powder over a pimple patch?
A combination of a soft-matte liquid concealer stippled over the center, followed by a light dusting of translucent powder, offers the best longevity. Liquid provides opaque color coverage, while powder removes the synthetic sheen of the patch material.
Can I wear setting spray over a pimple patch?
Yes, you can use setting spray, but avoid spraying it heavily or holding the bottle too close to your face. Excess moisture directly over the patch can soften the adhesive borders and create shiny reflection around the spot.
Your next step
For your next makeup application, inspect your patch collection to ensure you are using an ultra-thin, matte daytime patch, and apply it directly onto dry, unmoisturized skin before touching any other products.