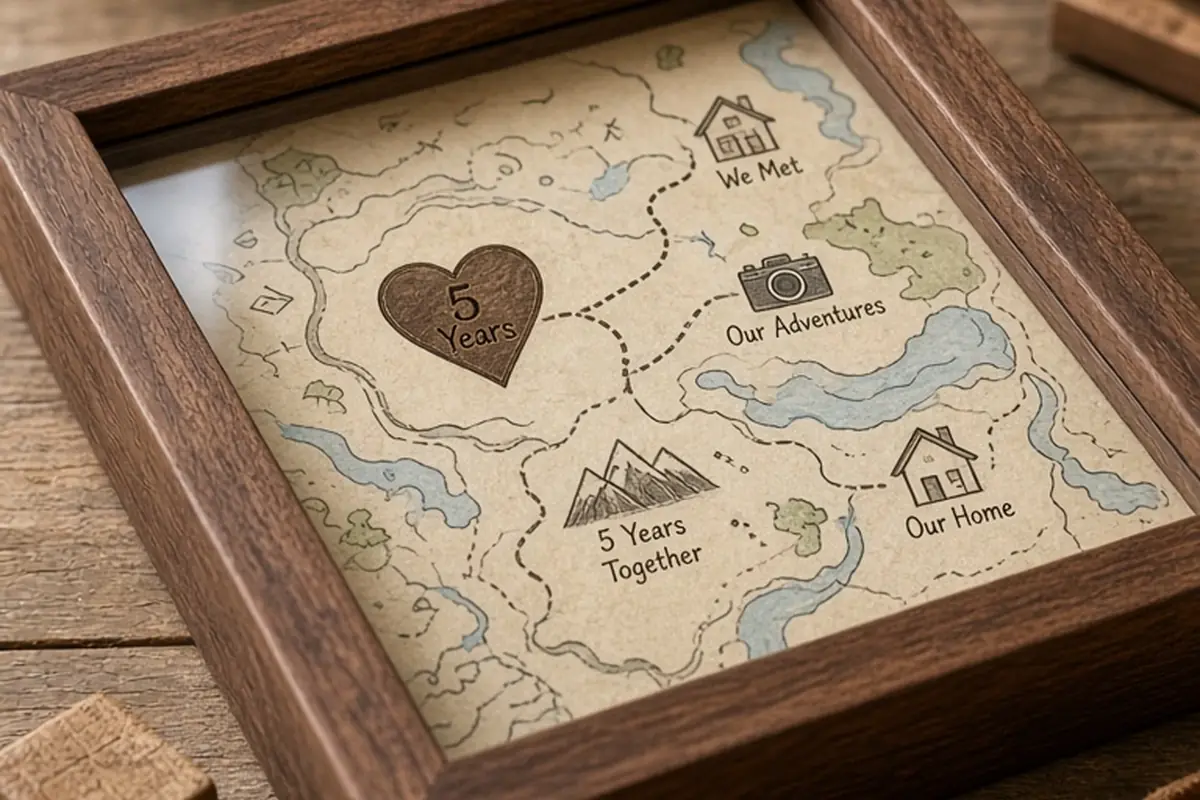
The traditional gift for a fifth anniversary is wood, symbolizing rooted strength and steady growth. Thoughtful DIY fifth anniversary gifts for your husband include a customized wooden catchall tray, an engraved cutting board, a framed map marking key milestones, or a handmade memory book detailing five years together. Focus on projects that match your crafting confidence and celebrate your shared rituals rather than chasing complicated perfection.
Reaching five years of marriage marks a transition from early adjustments to a settled, enduring partnership. Making something by hand honors that journey with intentional time and care, turning raw materials into everyday reminders of what you have built together.
Understanding the Traditional Wood Theme and Practical Alternatives
In relationship traditions, the fifth wedding anniversary is historically anchored by wood. Wood represents durability, deep root systems, and the organic flexibility needed to weather life changes together. Unlike delicate paper or fragile glass from earlier milestones, timber speaks to stability. When designing a do-it-yourself project, this material gives you a tactile, forgiving canvas that ages gracefully. Even small marks and grain variations mirror the natural texture of a shared history.
While traditional wood remains the most popular foundation, the modern five-year theme is silverware or cutlery, representing shared sustenance and the daily rhythm of dining side by side. If woodworking feels completely out of reach, you can easily blend both traditions or adapt modern elements into your build. For instance, crafting a rustic wooden cheese board paired with custom-stamped vintage spreaders creates an immediate link between both themes. The objective is never strict adherence to arbitrary gift lists, but rather selecting an adaptable material that helps you express genuine appreciation for your partner.
Handcrafted Wooden Valet Trays and Everyday Organizers
A customized valet tray is one of the most functional gifts you can build, offering your husband an item he interacts with every morning and evening. Men often appreciate practical utility; a catchall on a nightstand or entryway console keeps keys, pocket knives, rings, and watches in one dedicated spot. Because the project focuses on flat surfaces and clean joints, it requires minimal specialized machinery while still providing substantial room for personal detailing.
To construct a solid tray, start with a pre-milled hardwood plank such as walnut, cherry, or oak, which you can purchase cut to size from a local lumberyard or craft supply shop. Sand the wood through progressive grits, moving from 120-grit up to 220-grit to create an exceptionally smooth finish. You can line the interior base with a hand-cut piece of vegetable-tanned leather to soften the drop of metal keys. Before applying a protective coat of Danish oil or natural beeswax, use a simple wood-burning tool or metal stamping set to imprint your wedding date or initials onto the underside. The main trade-off with hardwoods is their density, which requires patience when sanding, but the final heirloom weight feels substantial and deliberate.
Rustic Wood Photo Transfers and Milestone Display Art
A photo transfer onto natural wood transforms a digital image from your wedding day or a memorable trip into tactile art. Rather than placing a standard print inside an off-the-shelf frame, transferring toner directly into the grain produces an organic, weathered appearance that highlights the knots and rings beneath the image. This approach works especially well for candid portraits, architectural shots of your first home, or landscape photography from a fifth-year anniversary getaway.
The process requires a laser-printed image reversed horizontally on standard copy paper and a jar of acrylic gel medium. Coat the surface of a smooth basswood slab or reclaimed pine plank evenly with the gel, lay your print face down, and firmly burnish out air bubbles with a plastic card. Allow the piece to cure completely for twenty-four hours before lightly misting the paper backing with water and gently rubbing it away with your fingertips. The delicate pulp rolls off, leaving the ink bonded directly to the wood fibers. A common challenge is peeling too aggressively, which can tear the transferred ink; working slowly in circular motions preserves the image while leaving a subtle, rustic perimeter that looks earned rather than manufactured.
Custom Barware, Bottle Openers, and Kitchen Utility Pieces
If your husband enjoys cooking, entertaining, or quiet evenings sampling craft beverages, a custom barware accessory combines practical utility with anniversary sentiment. Common examples include wall-mounted magnetic bottle openers, handheld wooden openers, charred cocktail smoking boards, or custom-carved grilling planks. These objects avoid gathering dust in a drawer because they serve an ongoing purpose during celebrations and weekend meals.
To make a wall-mounted opener, select a dense piece of reclaimed barn wood or exotic hardwood roughly ten inches long. Drill a shallow recess in the back to glue a heavy-duty neodymium magnet directly behind where the bottle cap will fall, allowing the wood to catch caps invisibly as they release. Screw a cast-iron opener mechanism to the front face, and sand the perimeter smooth. If you are making a kitchen-oriented piece like a cutting board or cocktail smoker, finish the wood exclusively with food-grade mineral oil and organic beeswax rather than chemical varnishes. The slight limitation is that natural oil finishes require occasional reapplication, but this simple maintenance routine keeps the wood supple and safe for food contact over decades.
Five-Year Memory Boxes and Written Reflection Projects
Woodworking does not require building an entire chest from rough lumber to be deeply heartfelt. Starting with an unfinished pre-assembled wooden keepsake box allows you to concentrate your creative energy on surface embellishment, interior organization, and curated written reflections. Five years of shared life often yields concert tickets, boarding passes, handwritten notes, and private jokes that deserve a permanent home rather than languishing inside shoeboxes or smartphone storage.
Consider staining the box exterior in a deep espresso or warm cedar tone, adding brass hardware, and partitioning the interior into five distinct compartments. Inside each section, place an envelope representing one year of your marriage, filled with a short letter outlining a specific challenge you overcame together, a favorite trip, and a quality you admire in him today. This project directly addresses emotional connection without feeling overly fragile or performative. The main consideration is emotional pacing: keep your writing focused on honest gratitude and specific memories rather than attempting an exhaustive summary of every single week.
Selecting Materials, Safe Finishes, and Workspace Essentials
Succeeding with any DIY gift depends largely on preparing the right materials before you begin. If you do not own a garage workshop, avoid buying rough-sawn lumber that demands heavy jointing and planing tools. Instead, visit a home improvement store or local hardwood supplier that sells surfaced-on-four-sides lumber, which arrives flat, straight, and ready for light sanding. Species like walnut, maple, and white oak offer superior grain patterns and natural resistance to denting, whereas softwoods like standard construction pine can dent easily if dropped.
Equally important is selecting safe and appropriate chemical finishes. High-gloss polyurethane can look synthetic and hide the natural warmth of the wood, while also releasing strong fumes during curing that make working inside an apartment difficult. Natural wiping oils, linseed oil, walnut oil, or simple carnauba waxes penetrate deeply into the fibers, enhancing grain contrast without forming a plasticky shell. Always apply finishes in thin, progressive coats, allowing adequate drying time between layers. Rushing the final clear coat is the most common reason homemade gifts end up sticky or uneven, so schedule your build to finish at least two days before your anniversary evening.
Presenting Your Handcrafted Gift With Warmth and Low Pressure
The way you give a homemade present sets the tone for how it is received. Sometimes, creators unintentionally attach subtle emotional pressure to handmade items, anxiously watching their partner for an exaggerated reaction to validate the dozens of hours spent crafting. This dynamic can make even a deeply grateful partner feel self-conscious or concerned about whether their verbal reaction matches your investment.
Present your gift casually during a quiet moment rather than rushing through it before a dinner reservation or during a hectic workday morning. Let him hold the object, feel the weight of the timber, and inspect the details at his own pace. Share a brief sentence about why you selected that specific concept—such as wanting him to have a dedicated spot for his gear or wanting a physical marker of your shared adventures. Grounding the presentation in mutual comfort reinforces that the gift is truly an act of care for his happiness, free from unstated expectations.
Illustrative Scenarios
Focusing on Daily Utility Over Elaborate Decor
Maya initially planned to craft an ambitious wooden wall clock for her husband, Julian, for their fifth anniversary. As the milestone neared, she felt intimidated by complicated routing tools and worried he would feel obligated to hang a flawed decorative piece in their living room. Instead of abandoning the DIY idea, she pivoted to a simple, solid walnut catchall tray. She shaped the corners using handheld sandpaper, branded their wedding coordinates subtly onto the underside, and finished it with natural beeswax. Julian immediately placed it on his nightstand, using it every night for his wedding ring and watch.
Key point: Practical objects that integrate seamlessly into everyday routines often carry deeper sentiment than high-pressure decorative projects.
Managing Crafting Expectations and Surface Flaws
Evan attempted a gel-medium photo transfer of a mountain hike onto a cedar plaque for his husband, Greg. When removing the wet paper backing, a corner of the image tore away, revealing bare wood underneath. Frustrated, Evan considered scrapping the board and buying an impersonal store gift. After taking a break, he decided to lean into the rustic texture, lightly sanding the edges and writing the date and trail name in archival ink across the distressed border. When Greg opened it, he loved the organic character precisely because it mirrored their rugged outdoor adventure.
Key point: Handmade gifts gain enduring charm through honest character and adaptability, not flawless factory-level uniformity.
Frequently asked questions
What if I do not own any woodworking power tools?
You do not need power tools to create a memorable wooden gift. You can purchase pre-cut hardwood blanks or unfinished boxes from craft stores and focus your efforts on hand sanding, pyrography wood burning, gel-medium image transfers, or conditioning the grain with specialized oils.
How can I personalize a pre-made wooden item?
You can personalize an existing piece by hand-stamping initials with a brass branding tool, using fine-point wood carving chisels, or applying custom laser-printed transfer art. Lining drawer bottoms or tray surfaces with custom leather, canvas, or meaningful ticket stubs also adds unique personal character.
How far in advance should I start a DIY fifth anniversary project?
It is best to start two to three weeks before your anniversary date. This timeline gives you adequate room to sand carefully, correct minor craft mistakes without panic, and allow multi-coat wood oils or adhesives to fully cure and lose their odor.
Your next step
Choose one daily habit or shared memory you want to anchor, gather pre-dimensioned materials that fit your current crafting comfort, and set aside an uninterrupted afternoon this week to begin shaping the wood.