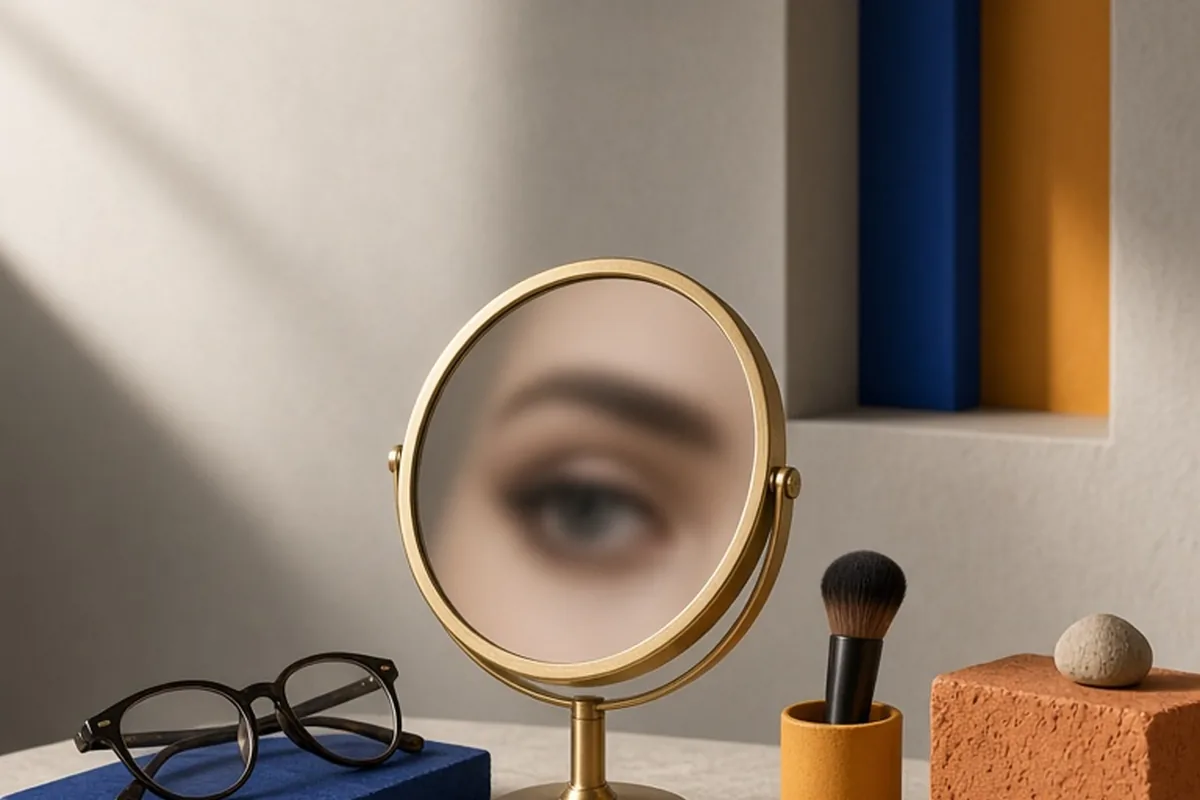
To apply makeup with bad eyesight, rely on tactile reference points, specialized magnifying tools, and forgiving formulas. Position an adjustable magnifying mirror close at eye level with bright, front-facing lighting. Switch to short-handled brushes so your hands can move close without knocking the mirror. Use your non-dominant hand to anchor skin boundaries, feel facial bone structure, and choose blendable creams or neutral powders that minimize visible harsh lines.
The central dilemma of applying cosmetics with poor vision is the frustrating paradox of needing corrective lenses to see your features while having to remove them to access your eyelids, brows, and lashes. Navigating application without clear sight often leads to uneven liner, harsh unblended edges, or accidental collisions with the mirror glass. Shifting your routine toward ergonomic setups, tactile feedback, and forgiving product choices transforms the process from an uncertain struggle into a smooth, predictable routine.
Optimizing Mirror Positioning and Task Lighting
Standard bathroom mirrors sit several feet away over a counter, forcing anyone with uncorrected vision to lean awkwardly over a sink where uneven overhead lighting casts deep shadows under the eyes and brow bone. To solve this, bring a dedicated lighted magnifying mirror directly to you at eye level on a stable table or desk. Look for dual-sided mirrors offering a true-to-scale view alongside five-to-ten-times magnification, paired with daylight-balanced bulbs (between 5000K and 6000K) that surround the glass ring evenly. Illuminating your face from the front eliminates shadows in the eye sockets and allows you to clearly see color saturation and texture without squinting.
Adjustable gooseneck mounts or freestanding weighted bases provide the flexibility to pull the reflective surface within inches of your face without forcing you into poor posture. When working on eye makeup, tilt the mirror slightly upward from below chin height and angle your chin up; this lets your gaze cast downward into the reflection, naturally smoothing eyelid folds and creating clearance for mascara wands. The primary limitation of extreme magnification (ten-times or higher) is a loss of peripheral perspective, which can cause you to over-apply color or obsess over microscopic details that are invisible from a standard conversational distance. Keep a standard, non-magnified hand mirror nearby to periodically verify overall facial balance.
Selecting Ergonomic and Short-Handled Brushes
Standard cosmetic brushes typically measure six to eight inches in length, which presents an immediate mechanical obstacle when working close to a magnifying mirror. Long handles repeatedly strike the glass surface or obstruct your line of sight as you rotate the bristles around the contours of your eyes and temples. Switching to travel-sized brushes, short-stem handles, or brushes designed with compact grips allows your hand to sit close to your face without knocking the mirror or blocking your field of view.
If purchasing a new brush set is impractical, adjust your grip on existing tools by holding the handle directly at the metal ferrule where the bristles meet the base. This proximity increases manual dexterity, stabilizes micro-movements, and provides immediate sensory feedback about the amount of pressure you are placing against delicate eyelid skin. Denser synthetic bristles are often preferable to soft, floppy natural hair for low-vision application because their structural resistance makes it easier to feel exactly where the brush head terminates on the skin. Keep in mind that holding a brush very close to the head can occasionally cause heavier product pickup, so tap off excess powder thoroughly against your wrist before touching your face.
Using Tactile Anchors and Facial Landmarks
When visual feedback is blurred, physical touch serves as a reliable replacement for orienting tools on your face. You can create mechanical stability by using the pinky finger of your dominant hand as an anchor, resting it gently against your cheekbone, temple, or jawline while holding a brush or pencil. This contact creates a fixed pivot point that steadies minor hand tremors and maintains consistent distance between the cosmetic applicator and your skin, preventing the tip from slipping across your eyelid.
Use your non-dominant hand to map out the underlying bone structure before applying color. Tracing the orbital bone socket with your ring finger reveals the natural crease of your eye, while feeling the ridge of the cheekbone establishes the precise plane where blush and contour should sit. For example, resting the pad of your off-hand index finger along the outer corner of your eye creates an immediate physical stop-sign for eyeshadow blending, preventing pigment from dragging downward past the brow line. Ensure your touch remains featherlight; pulling or stretching the skin while applying pigment will distort natural placement once the skin bounces back into resting position.
Modifying Eye Makeup and Eyeliner Techniques
Intricate eye makeup styles, such as sharp winged eyeliner or high-contrast cut creases, require high visual precision and are prone to noticeable errors when sight is limited. Instead, transition to soft, diffused eyeliner techniques that flatter eye shape without demanding surgical precision. A soft gel pencil or a dense angled brush dipped in dark powder can be gently pressed into the roots of the upper lashes through touch alone. This tightlining method defines the lash line from within, creating the appearance of fuller lashes even if the application line is not perfectly straight.
For eyeshadow, monochrome washes and soft neutral shades eliminate the need for complicated edge mapping. Sweep a single medium-toned satin or matte shade across the mobile lid using a rounded blending brush, using the natural curve of the eye socket as a boundary guide. When applying mascara, avoid stroking upward toward a mirror you cannot clearly see. Instead, nestle the wand base against the root of your eyelashes, keep the wand stationary, and slowly blink your eyes closed through the bristles. This transfers pigment evenly along the lash shaft and curls the hairs via muscle movement rather than imprecise hand adjustments.
A useful workaround for applying liner with extreme near-sightedness is utilizing flip-up makeup glasses, which feature a single magnifying lens that hinges downward on one side while leaving the opposite eye exposed for makeup application.
Switching to Forgiving Formulas and Cream Products
Powder cosmetics require visual assessment to monitor blending gradients, fall-out specks, and chalkiness. Cream and liquid stick formulas, by contrast, offer distinct tactile cues that make low-vision application far more reliable. Cream blushes, bronzers, and stick highlighters soften with body heat, allowing you to gauge product distribution through the glide and slip beneath your fingertips. Because cream products blend seamlessly into the skin rather than sitting on top of peach fuzz, small placement variations look intentional and diffused rather than streaky.
To apply a cream blush, smile gently to locate the apex of the cheek muscle with your index finger, tap two small dots of product directly onto the high point, and use the warm pads of your fingers to pat the color upward and outward toward the hairline. The physical sensation of tapping helps you confirm that the product is fully distributed without leaving harsh perimeter lines. The trade-off with emollient cream formulas is reduced longevity on oily skin types; if needed, set the product by gently pressing a large, velour puff loaded with translucent powder over the area rather than sweeping with a brush that might displace your placement.
Applying Base and Complexion Products by Feel
Achieving an even complexion without visual clarity relies on structured quadrant mapping and counting application units. Divide the face mentally into five zones: forehead, left cheek, right cheek, nose, and chin. Rather than dispensing foundation directly onto a brush or sponge, place measured pumps on the back of your hand, dab an equal number of dots onto each facial quadrant using your fingers, and blend outward systematically. This structured distribution ensures that one side of the face does not receive an unintended concentration of coverage.
A damp beauty sponge provides immediate tactile feedback through surface moisture and bounce resistance, signaling when the product has been absorbed into the skin versus sitting unblended on the surface. Bounce the sponge rhythmically across each quadrant from center to perimeter, finishing along the jawline and down the neck to eliminate visible foundation demarcation lines. For spot concealing around blemishes or under-eye dark circles, tap a creamy concealer into place with the soft pad of your ring finger, which applies minimal pressure and allows you to feel the transition between covered areas and surrounding bare skin.
A common pitfall with tactile complexion blending is missing hair-adjacent zones such as the sideburns, hairline, and under the jaw. Take an extra moment to sweep a clean, damp sponge along these boundaries to smooth any pooled product.
Structuring Brows and Lips with Guided Edges
Eyebrows and lips create the structural boundaries of the face, making their definition impactful even if delicate eye makeup is minimized. For eyebrows, skip ultra-fine mechanical pencils that require drawing individual hair strokes. Instead, use a tinted brow gel equipped with microfibers and a small spoolie wand. Comb the spoolie upward and diagonally outward through the brow hairs; the spoolie bristles catch existing hair fibers mechanically, depositing pigment and hold directly where hair naturally grows without requiring you to draw precise lines on bare skin.
For lips, high-contrast, liquid-matte formulations show every minor wobble along the vermilion border. Choose hydrating satin lipsticks, tinted lip oils, or neutral lip crayons that offer forgiving margins. To shape the perimeter accurately, trace the outline with a lip liner that closely matches your natural lip tone rather than an intense contrasting color. Smile with your lips closed to stretch the skin taut, which creates a firm, distinct ridge that your pencil tip can track by feel alone. If you prefer bolder lip colors, apply the pigment to the center of the mouth and use your finger to press and blur the color outward toward the edges for a modern, diffused finish that forgives minor asymmetry.
Systematic Blending Checks and Error Correction
A successful low-vision makeup routine finishes with a structured inspection and clean-up protocol. Once your initial application is complete, put your prescription glasses or contact lenses back on and evaluate your work in natural room lighting using a standard full-face mirror. Step back roughly two feet to review overall symmetry, paying particular attention to blush height, brow balance, and cheekbone color saturation from a typical conversational distance rather than up close under intense magnification.
If you discover an unblended streak, a stray mascara dot, or uneven eyeshadow, address it with targeted correction tools rather than wiping off entire sections. Keep pointed cotton swabs moistened with micellar water or light facial moisturizer nearby to clean up targeted spots. You can slide your glasses slightly down the bridge of your nose, look over the frames to insert the swab tip onto the error, and tilt your head back to inspect the correction through the lens. Finishing with a light mist of setting spray locks the layers together, melding powders and creams to hide microscopic texture inconsistencies and ensure the application holds throughout the day.
Frequently asked questions
What magnification level is best for applying makeup with low vision?
A magnification level between five-times and seven-times is ideal for most people with poor near vision, as it provides clear focal detail without severely narrowing your field of view. Ten-times magnification works well for high-precision eye tasks, but higher magnifications like fifteen-times can distort spatial perspective and make it difficult to balance both sides of the face.
How do flip-up makeup glasses work?
Flip-up makeup glasses feature single magnification lenses on individual hinges that allow you to flip one side down while keeping the other eye corrected. You look through the lens to see clearly while applying cosmetics to the open eye, then switch sides to finish the routine. They take some practice to navigate around the frame but provide helpful focal assistance for eyeliner and brow shaping.
How can I avoid getting mascara on my eyelids when I cannot see the wand clearly?
Place a clean plastic spoon, an index card, or a dedicated silicone mascara shield curved against your upper eyelid directly behind your eyelashes before applying product. You can then brush the mascara wand firmly through the lashes without worrying about accidental contact with the skin. Alternatively, look down into a mirror placed flat on a table so your eyelids naturally lower and stay clear of the wand path.
Which eyeshadow colors are the most forgiving for low-vision application?
Neutral matte and soft satin shades—such as warm taupe, soft bronze, champagne, and muted rose—are significantly more forgiving than bold dark tones, frosty silvers, or high-contrast brights. Mid-tone neutrals blend naturally into skin undertones, meaning small variations in blending depth or edge placement remain virtually unnoticeable to outside observers.
Your next step
Set up an illuminated tabletop magnifying mirror, switch to short-handled brushes, and practice applying a single cream product using bone structure landmarks to build reliable tactile muscle memory.