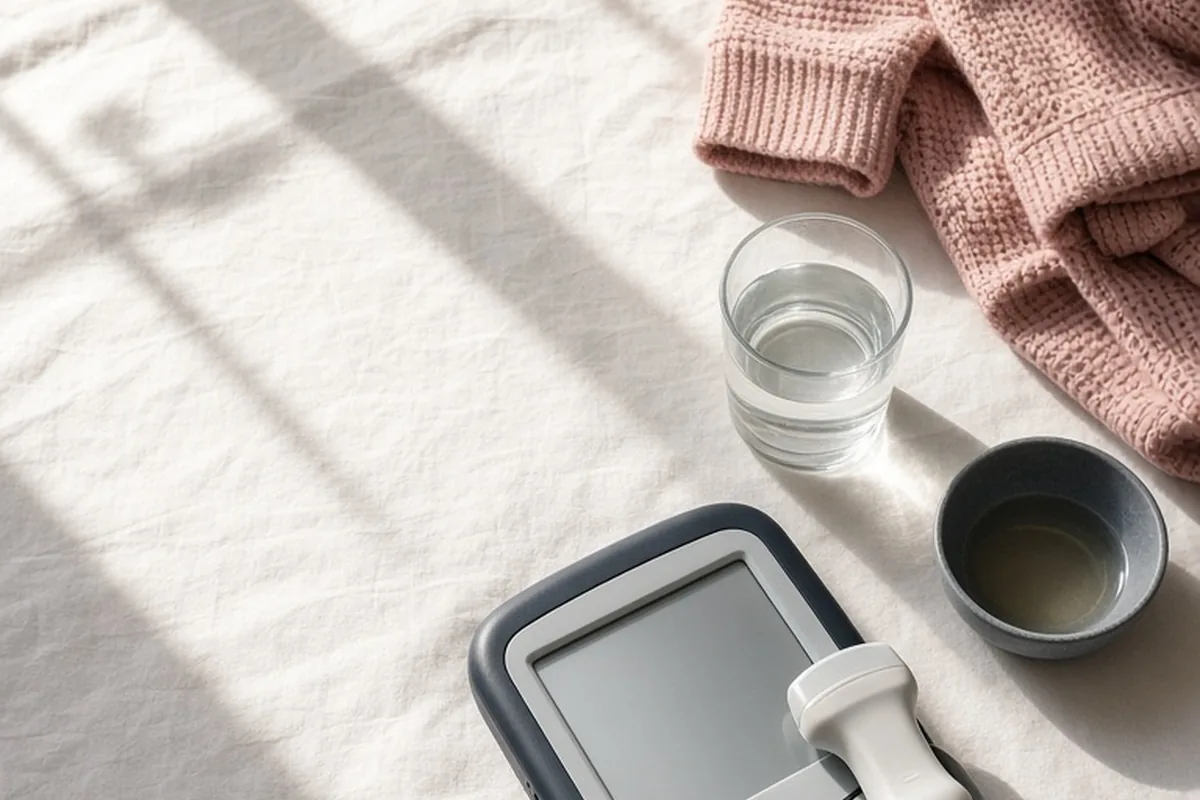
To bladder scan a female, place the patient supine and select the female mode on the device, or the male/non-uterus setting if she had a hysterectomy. Apply ultrasound gel one to two inches above the pubic symphysis. Angle the probe downward toward the pelvic cavity, center the bladder image on the screen, and press the scan button. Repeat measurements to confirm consistency.
A portable bladder ultrasound offers a rapid, non-invasive method for evaluating urinary retention, measuring post-void residual volume, and minimizing unnecessary catheterizations in female patients.
Selecting the Right Device Settings and Gender Mode
Before bringing the scanner to the bedside, turn on the unit and ensure the battery is sufficiently charged. Most modern automated bladder scanners require the operator to select a gender mode prior to imaging. Selecting the female setting is critical because the internal algorithm is calibrated to detect and subtract the fluid and tissue mass of the uterus from the total measured fluid volume. If the device assumes male pelvic anatomy when scanning an intact female reproductive tract, it may falsely count uterine tissue or fluid as urine, producing a falsely elevated volume reading.
A critical exception to this standard rule occurs when scanning a female patient who has undergone a complete hysterectomy. Because the uterus is no longer present in the pelvic cavity, using the female setting will cause the machine to subtract volume that does not exist, leading to an artificially low reading. In patients with a confirmed total hysterectomy, switch the device setting to male or non-uterus mode so the calculation algorithm accounts solely for the bladder space.
Take a moment to verify your equipment accessories before entering the room. Ensure you have dedicated ultrasound transmission gel rather than lubricating jelly, as standard surgical lubricants contain microscopic air bubbles that scatter acoustic waves and degrade image clarity. Keep skin-safe cleaning wipes nearby to disinfect the transducer probe before and after patient contact.
Preparing the Patient and Setting Up the Environment
Effective patient preparation begins with clear, respectful communication to ease anxiety and encourage muscle relaxation. Introduce yourself, verify the patient's identity using two clinical identifiers, and explain why the scan is being performed. Emphasize that the bladder scan uses gentle acoustic sound waves, involves no radiation or internal penetration, and is completely painless aside from the brief coolness of the gel.
Privacy is essential for patient comfort during lower abdominal procedures. Close the room door or draw privacy curtains fully around the bed. Assist the patient into a supine position with their head slightly elevated on a pillow and their legs extended or resting with knees slightly bent. A relaxed abdominal wall makes palpation easier and prevents tense rectus muscles from attenuating the ultrasound signal.
Expose only the lower abdominal area between the umbilicus and the pelvic bone, keeping the chest and lower pelvic region covered with a sheet or blanket. Place a small towel or disposable drape across the top edge of the patient's underwear or gown hem. This protects personal clothing from gel contact and maintains dignity throughout the assessment.
Locating Landmarks and Applying Ultrasound Gel
Accurate transducer placement relies on locating the pubic symphysis rather than guessing based on surface skin contours. Stand on the patient's right side if right-handed, and gently palpate downward along the abdominal midline with clean, gloved fingers until you feel the firm, bony ridge of the pubic bone. The bladder rests directly behind and slightly superior to this structure when distended.
Apply a generous dollop of ultrasound transmission gel approximately one to two inches (2.5 to 5 cm) superior to the pubic symphysis along the midline. Avoid spreading the gel across the entire abdomen like lotion, as excessive spreading introduces air bubbles that interfere with beam transmission. Instead, leave a cohesive dome of gel that allows the probe face to maintain continuous fluid contact without trapping air pockets between the transducer and the skin.
If the patient has substantial lower abdominal adipose tissue or an abdominal apron (panniculus), do not place the probe on top of the fold. Gently retract the panniculus superiorly with one hand and place the gel directly on the lower abdominal skin just above the pubic bone. This ensures the ultrasound beam does not lose penetration depth traveling through excess superficial tissue.
Positioning and Angling the Transducer Probe
Hold the probe wand securely with your dominant hand, orienting the directional marker toward the patient's head or right side depending on the manufacturer's protocol. Place the probe face firmly into the gel mound above the pubic symphysis. Apply light, steady pressure sufficient to make continuous skin contact without causing discomfort to a tender or distended lower abdomen.
Proper probe angulation is the most critical mechanical step in scanning female anatomy. Because the female bladder sits low in the anterior pelvic basin, pointing the probe directly downward at a 90-degree angle often aims above the organ or strikes the superior wall. Instead, tilt the probe approximately 10 to 15 degrees inferiorly, aiming the acoustic beam toward the patient's coccyx (tailbone).
Maintain a stable wrist position while aiming. Keep the probe centered on the sagittal midline of the body. If the patient has a known pelvic tilt or scoliosis, slight minor adjustments to the lateral angle may be needed, but the primary orientation should remain aimed down into the true pelvis behind the pubic bone.
Capturing the Image and Verifying Scan Accuracy
Once the probe is correctly angled, look at the scanner display screen. Most modern devices provide a real-time aiming display or crosshair grid showing the cross-sectional shape of the bladder. The bladder typically appears on the screen as a dark, anechoic (black) fluid-filled oval or rounded polygon surrounded by brighter echogenic tissue walls.
Adjust your aim until the fluid image is centered precisely within the targeting crosshairs on the screen. If the image appears cut off at the bottom or sides, tilt or rock the probe slightly until the entire fluid boundary is visible. When the image is centered, press the capture button and hold the wand completely still until the scan sound or on-screen confirmation indicates completion.
Always perform two or three consecutive scans to verify consistency. If the readings vary significantly—such as 120 mL on the first attempt and 380 mL on the second—the probe angle was likely off-center during one of the captures. Reposition, confirm your anatomical landmark, and record the most consistent, accurately centered measurement.
Troubleshooting Common Female Imaging Challenges
Several anatomical and physiological factors can complicate female bladder imaging. Large uterine fibroids, ovarian cysts, or pelvic masses can mimic or displace fluid collections. If an unusually shaped fluid pocket appears on the monitor that does not conform to a typical bladder outline, re-palpate the pelvic landmark to confirm the probe is not positioned too high on the abdominal wall.
Post-cesarean section scarring or lower pelvic surgical incisions can also disrupt the acoustic window. Dense scar tissue attenuates sound waves, creating acoustic shadows that obscure the bladder below. In these cases, place the probe slightly superior or lateral to the dense scar tissue and angle the beam under the scar toward the bladder base, using extra gel to maintain continuous acoustic coupling.
Severe constipation or bowel gas is another frequent source of error. Gas-filled bowel loops reflect ultrasound beams, producing hazy white artifacts that prevent sound from reaching the retroverted bladder. Applying slightly firmer, sustained pressure with the probe can displace superficial bowel loops and improve visual access to the bladder dome.
Post-Procedure Care, Cleaning, and Documentation
Once accurate readings are obtained, lift the probe and use a clean towel to gently wipe all ultrasound gel from the patient's abdomen. Assist the patient in rearranging their clothing and returning to a comfortable position. Inform them of the scan result if facility protocol permits, explaining whether the bladder is empty or retaining volume.
Disinfect the transducer wand immediately according to the manufacturer guidelines and hospital infection control policies. Use approved non-abrasive disinfectant wipes, cleaning from the cable downward to the probe face, and allow the required contact wet time before returning the machine to its charging station.
Document the procedure thoroughly in the clinical record. Include the date, time, total measured volume in milliliters, the gender mode utilized, the patient's tolerance of the procedure, and whether the scan was pre-void or post-void. If measuring post-void residual volume, record the volume the patient naturally voided alongside the residual volume obtained on the scan.
Frequently asked questions
Why does my bladder scan reading show zero when the patient feels full?
A false zero reading usually occurs when the probe is aimed too high on the abdomen or directly at the pubic bone rather than angled down into the pelvis. Re-palpate the pubic symphysis, place the probe one to two inches above the bone, and tilt the probe 10 to 15 degrees toward the tailbone.
Which setting should be used for a female patient who is pregnant?
Portable automated bladder scanners should generally not be used on pregnant patients because amniotic fluid in the uterus interferes with the algorithm and produces inaccurate volume readings. Clinical assessment or formal diagnostic ultrasound should be used instead.
What is considered a normal post-void residual volume in an adult female?
A post-void residual volume under 50 mL is generally considered adequate bladder emptying in healthy adults. Volumes between 50 mL and 100 mL are borderline but frequently acceptable in older adults, while volumes consistently exceeding 100 to 200 mL warrant clinical review.
Your next step
Confirm the patient's surgical history to set the correct scanner mode, palpate the pubic bone for exact landmarking, and take two centered readings to ensure an accurate, dependable volume measurement.