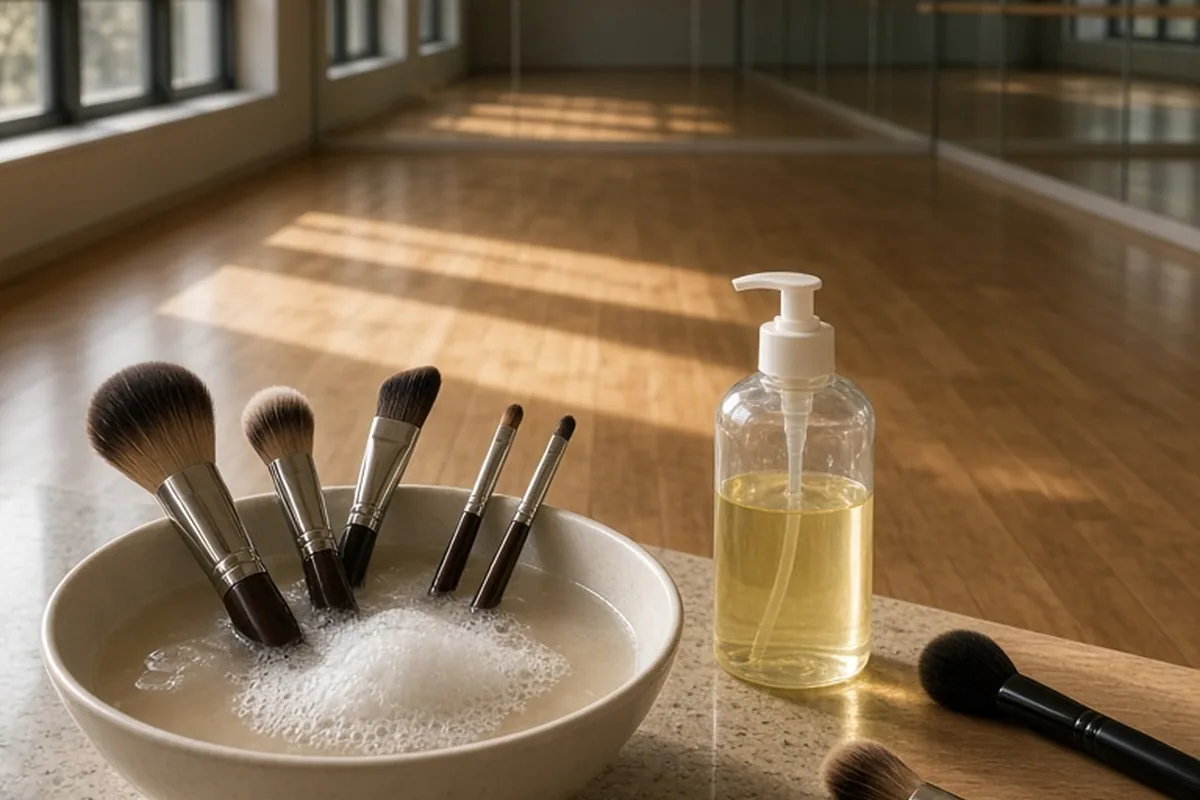
To clean makeup brushes with dish soap, wet bristles under lukewarm water pointing downward to protect the handle glue. Swirl a small drop of gentle dish liquid across your palm or a silicone pad to break down trapped oils and pigments. Rinse thoroughly until the water runs completely clear, gently squeeze out excess moisture, reshape the bristle head, and lay the brush flat over a counter edge to dry.
Regularly cleansing beauty tools prevents product buildup, uneven makeup application, and clogged pores caused by old sebum transfer. Household dish soap serves as an accessible, highly effective degreaser that breaks down long-wear silicones and heavy oils that standard facial cleansers frequently leave behind.
Choosing the Right Dish Soap Formula and Supplies
Standard liquid dish soaps are formulated specifically to cut through heavy grease and stubborn oils, which makes them uniquely capable of dissolving water-resistant foundations, cream contour sticks, and dense concealer formulas. However, not every kitchen soap in your cabinet is equally suited for cosmetic tools. Highly concentrated varieties packed with artificial colorants, heavy synthetic fragrances, or aggressive antibacterial additives can leave lingering residues that dry out bristle fibers or trigger skin sensitivity during subsequent makeup applications.
For best results, select an unscented or lightly scented concentrated dish detergent that relies on simple surfactant blends. If you are washing natural animal-hair brushes, pure dish soap alone can strip natural oils from the cuticle, leading to frayed and brittle fibers over time. To counter this, pair a drop of dish soap with a half-drop of food-grade olive oil or sweet almond oil on a small plate. The soap cuts the pigment and synthetic binders, while the plant oil conditions the fiber core. Prepare your station with a clean, lint-free microfiber towel, lukewarm running water, and optionally a textured silicone cleaning pad to provide gentle mechanical friction.
- Unscented or gentle liquid dish soap to dissolve oils and waxes without harsh perfumes.
- Food-grade olive oil or jojoba oil as an optional conditioner for animal-hair bristles.
- Clean microfiber towel or cotton tea towel for drying and water absorption.
- Silicone brush cleansing mat or the textured palm of your hand for agitation.
Washing Synthetic Bristles Versus Natural Hair Brushes
Synthetic bristles, typically made from nylon, taklon, or polyester filaments, are non-porous and remarkably resilient against surfactant-based detergents. They hold up exceptionally well to straight dish soap because the synthetic plastic strands lack cuticles that can dry out or split. Since synthetic fibers are standard for applying liquid foundation, cream blush, and gel eyeliner, they routinely trap stubborn hydrophobic ingredients that require the powerful degreasing properties of dish soap to break apart.
Natural brushes, made from goat, squirrel, or pony hair, have a microscopic cuticle structure comparable to human hair. Using undiluted dish soap repeatedly on natural fibers strips away the natural lipid barrier, causing the hairs to splay, feel scratchy against the skin, and shed prematurely. When washing natural brushes, always dilute the dish soap with equal parts water or blend in a drop of light oil before introducing the soap to the bristles. Work gently along the direction of the hair rather than smashing the fibers downward, which preserves the tapered shape and structural integrity of delicate natural tufts.
Mastering the Step-by-Step Cleansing Technique
Begin by adjusting your tap so that water flows at a steady, lukewarm temperature. Hot water can soften the adhesive inside the metal ferrule that binds the bristles to the handle, while cold water hardens waxes and silicones, making them harder to rinse away. Hold the brush with the bristles pointing strictly downward under the stream, wetting only the bottom two-thirds of the hair tuft. Never submerge the entire brush head or allow water to pool inside the base where the ferrule meets the handle.
Place a pea-sized drop of dish soap into the palm of your hand or onto a silicone cleaning mat. Swirl the wet bristles in circular and back-and-forth motions against the textured surface, applying light to medium pressure. As the soap lathers, you will see foundation and pigment loosen from deep within the core of the brush. For dense kabuki brushes, gently massage the bristles between your thumb and fingers to work the lather throughout the center without tugging forcefully on individual strands.
Rinsing Thoroughly to Avoid Residue and Ferrule Damage
Rinsing is the most critical stage of the process because trapped soap residue attracts dirt rapidly and can cause contact irritation when pressed against delicate facial skin. Hold the brush head downward under the running lukewarm water, gently massaging the base of the bristles outward until all visible lather disappears. Continue rinsing until the water running off the tips is entirely transparent and free of milky suds or colored tint.
Pay special attention to the mechanical boundary between the hair and the metal ferrule during the entire rinse. Capillary action naturally draws water upward into the ferrule cavity if the brush is held horizontally or bristles-up. Over multiple washes, trapped moisture deteriorates the waterproof glue holding the bundle together and rots wooden handles from the inside out, leading to loose ferrules, chipped paint, and excessive shedding. Squeeze the excess water out by pressing the bristles between your thumb and index finger, moving strictly from the ferrule outward to the tips.
Drying and Reshaping Techniques for Long-Lasting Brushes
Once excess moisture has been gently squeezed out, take a moment to reshape the bristles while they are still damp. Smooth the hair back into its original silhouette, whether that is a sharp angle, a domed powder head, or a flat paddle. If you have brush guards—expandable mesh sleeves—slide them up from the handle over the bristles to maintain a tight, uniform shape while drying and to prevent outer hairs from flaring out.
Never stand wet makeup brushes upright in a cup or jar to dry, as remaining droplets will trickle directly down into the ferrule and handle core. Instead, fold a clean dry towel to create a slight incline and lay the brushes flat with their heads extending past the edge of a table or counter. Allowing the brush heads to hang in open air ensures uniform airflow around the entire circumference of the hair bundle, preventing mildew growth and flat spots on one side. Allow dense brushes to dry for twelve to twenty-four hours in a well-ventilated room away from direct heat sources.
- Reshape the wet bristle head immediately after rinsing to maintain proper makeup application.
- Lay brushes flat with bristle heads extending over a counter ledge to maximize 360-degree airflow.
- Avoid radiator ledges, hair dryers, or direct sunlight, which can warp fibers and melt adhesive bonds.
Establishing a Cleaning Schedule and Recognizing Wear
How often you should clean your tools depends largely on the types of cosmetics you use and your skin profile. Brushes used with liquid foundations, concealers, and cream pigments should ideally be washed with dish soap once every week to ten days, as wet formulas trap moisture and facial oils that foster microbial growth. Brushes reserved strictly for dry powder products, like setting powders and bronzers, can be washed every two to three weeks, with quick spot-cleanings in between.
While dish soap is an outstanding deep cleanser, no cosmetic brush lasts indefinitely. Pay attention to early indicators that a brush needs replacement rather than cleaning. If the bristle hairs shed continuously despite careful washing, if the ferrule wobbles noticeably on the wooden stem, or if synthetic fibers have become permanently misshapen and scratchy, the tool will no longer apply makeup evenly and should be retired from your daily rotation.
Comparing Dish Soap with Alternative Cleansing Methods
It helps to understand where dish soap fits into your overall cosmetic maintenance routine compared to dedicated brush cleansers, micellar water, and solid bar soaps. Dedicated brush cleansers are often formulated with conditioning agents and quick-evaporating alcohols designed for rapid spot-cleaning between shade changes, but they can be costly and struggle with dense foundation buildup. Bar soaps designed for makeup tools work well for surface stains but may leave a waxy film if not rinsed with copious amounts of water.
Dish soap offers the highest grease-cutting efficacy at a fraction of the cost, making it the superior choice for monthly or bi-weekly deep sanitizing of heavy-use tools. Its main trade-off is the potential to dry out delicate animal fibers if used without an added moisturizing oil. By alternating a gentle dish soap wash for deep cleaning with daily spot-cleaning sprays, you balance thorough hygiene with fiber longevity across your entire brush collection.
Frequently asked questions
Will dish soap ruin natural animal hair makeup brushes?
Pure dish soap can strip natural animal hairs of their protective moisture over time, leading to brittle fibers. You can safely use dish soap on natural brushes by blending a drop of olive oil or jojoba oil with the soap before washing to keep the natural cuticles soft and conditioned.
Can I soak my makeup brushes in a bowl of soapy water?
No, you should never submerge or soak makeup brushes in water. Soaking allows moisture to seep deep into the metal ferrule, which dissolves the adhesive binding the bristles and can cause wooden handles to swell, crack, and rot.
How long does it take for brushes to dry after washing with dish soap?
Small eyeshadow and detail brushes usually dry within two to four hours, while dense foundation and powder brushes may take twelve to twenty-four hours. Placing brushes in a well-ventilated room with the bristle heads hanging over a counter edge speeds up drying time significantly.
Your next step
Gather your most frequently used foundation and cream brushes today, mix a pea-sized drop of gentle dish soap with warm water, and lay them flat to dry overnight for clean, streak-free application tomorrow.