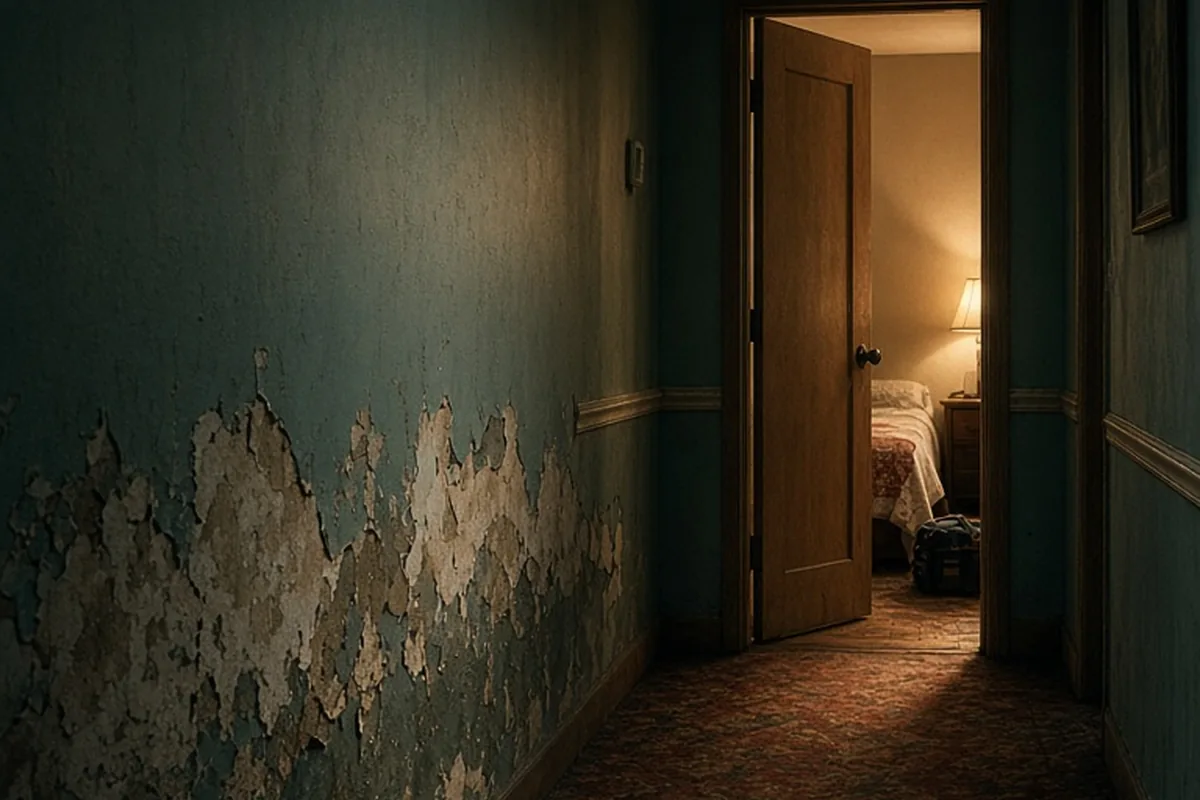
To get rid of moisture in walls, first locate and fix the active water source, such as plumbing leaks, exterior water intrusion, or elevated indoor humidity. Next, accelerate drying by running dehumidifiers and high-velocity fans while removing baseboards or creating small access holes for framing ventilation. If drywall or insulation remains soaked past 48 hours or shows fungal growth, cut out and replace the compromised materials.
Damp walls can compromise structural integrity and indoor air quality if left unaddressed. Effectively resolving the issue requires a methodical approach that combines source elimination, active structural drying, and targeted remediation.
Identifying the Root Cause of Wall Moisture
Before applying drying equipment or tearing into wall cavities, you must determine whether the moisture originates from inside the home, outside the building envelope, or from an internal plumbing failure. Surface condensation typically presents as widespread clamminess, water droplets, or dark pinpoint spotting along cold exterior-facing walls, especially in unvented bathrooms or kitchens. In contrast, plumbing leaks usually cause localized, spreading water rings, soft drywall, or peeling paint near supply lines and drain pipes regardless of weather conditions.
External water intrusion generally tracks with rainfall patterns or outdoor drainage issues. Water entering through cracked masonry, failing window flashing, or roof eaves often travels downward along wall studs, emerging several feet away from the initial entry point. Rising damp occurs when ground moisture wicks up through porous foundation walls and concrete slabs due to poor soil grading or failed perimeter drainage. Using a pinless moisture meter helps trace moisture gradients back to the highest concentration, ensuring you address the origin rather than merely treating the surface symptom.
A common trade-off during diagnostic testing involves non-invasive evaluation versus invasive inspection. While non-contact thermal imaging cameras and surface meters reveal temperature differentials and damp areas without wall damage, they cannot verify whether insulation inside the cavity is saturated. Making a small, deliberate inspection cut behind a baseboard often provides definitive answers about hidden leaks while keeping cosmetic repairs minimal.
Setting Up Active Drying Equipment
Once the liquid water source is halted, rapid drying must begin immediately to prevent structural wood rot and microbial colonization. Standard oscillating household fans move surface air but lack the static pressure needed to pull bound water out of dense building materials. High-velocity air movers, paired with commercial refrigerant or desiccant dehumidifiers, create the necessary vapor pressure differential to draw deep moisture into the room air where the dehumidifier can extract it.
Position air movers so they blow across the damp wall surface at a 45-degree angle rather than directly perpendicular to it. This creates a vortex effect that continuously replaces humid boundary layer air with dry air. Keep the room sealed by closing exterior windows and doors, which prevents incoming ambient humidity from overloading the dehumidifier. For enclosed cavities, carefully pry off the floor baseboards and drill small relief holes through the drywall roughly two inches above the floorplate to introduce dry air into the stud bays.
Relying solely on high heat to dry walls can warp structural framing and blister wall finishes. Controlled dehumidification at moderate temperatures between 70 and 85 degrees Fahrenheit is significantly safer and more effective at extracting trapped water than turning up central heating or using open radiant heaters.
Deciding When to Restore Versus When to Remove Materials
Not all water-exposed wall components can be saved through drying alone. Gypsum drywall loses its structural binder when saturated for extended periods, causing it to sag, crumble, and lose fastener retention even after completely drying out. If drywall has been submerged, feels sponge-like to the touch, or was exposed to contaminated water from outdoor runoff or drain lines, total removal is the only reliable choice.
Fiberglass batts and cellulose insulation inside damp cavities present another critical threshold. Once soaked, fiberglass compresses and permanently loses its insulating R-value, while cellulose tends to compact into a dense, moisture-retaining sludge against framing members. Leaving wet insulation inside a closed wall cavity traps moisture against wood studs for weeks, creating ideal conditions for hidden rot. Removing the bottom portion of the drywall (often referred to as a flood cut) up to twelve inches above the water line allows you to pull out wet insulation and expose the framing for thorough drying.
Solid timber framing and historical plaster assemblies have higher resilience than modern sheetrock and can frequently be dried in place if addressed within the first 24 to 48 hours. Plaster over wood lath breathes better than paper-faced drywall, though it requires longer drying timelines and consistent moisture meter verification before repainting.
Controlling Indoor Humidity and Condensation
When wall dampness stems from persistent condensation rather than liquid leaks, regulating indoor air moisture is the primary long-term solution. Everyday household activities like showering, cooking, and line-drying laundry release substantial water vapor into the living space. If that warm, humid air contacts cool exterior wall surfaces or poorly insulated corners, it reaches its dew point and condenses into liquid water.
To mitigate condensation, run ducted bathroom exhaust fans during showers and for at least twenty minutes afterward to evacuate moist air outdoors. Ensure range hoods vent directly to the exterior rather than merely recirculating filtered air into the kitchen. In climates with high year-round relative humidity, operating a whole-house or standalone dehumidifier to maintain indoor relative humidity between 30% and 50% keeps interior surfaces dry and discourages surface mold.
Improving wall insulation and eliminating thermal bridging also stops condensation. For example, adding continuous exterior rigid foam insulation or interior insulated drywall boards prevents wall drywall surfaces from dropping down to ambient outdoor temperatures during cold seasons.
Addressing Exterior Intrusion and Foundation Drainage
Moisture problems on basement and ground-level walls frequently start with how rainwater is managed outside the foundation. If downspouts discharge directly beside the foundation wall, the surrounding soil becomes saturated, creating hydrostatic pressure that pushes water through concrete pores, mortar joints, and small foundation fissures.
Extend gutter downspout terminations at least six to ten feet away from the home, and regrade the surrounding soil so it slopes downward at a minimum rate of six inches over the first ten feet away from the structure. Clear landscape beds and mulch away from exterior siding and foundation walls, as organic ground cover retains moisture directly against building materials and blocks foundation weep holes.
Applying interior water-blocking paints to basement walls can temporarily hold back minor moisture, but it does not relieve hydrostatic pressure. Over time, trapped moisture behind impermeable interior coatings can cause concrete spalling or push the paint off in large flakes. True remediation requires exterior waterproofing membranes, functional footing drains, or interior perimeter drain tile systems with a dedicated sump pump.
Repairing and Finishing Walls for Long-Term Resilience
Refinishing should only begin after moisture readings in both the framing studs and replacement materials match baseline equilibrium levels, typically below 12% to 15% wood moisture equivalent. Closing up a wall cavity prematurely seals residual moisture inside, which inevitably destroys new wallboard and joint compound.
When rebuilding areas historically prone to dampness, choose moisture- and mold-resistant drywall panels (often identifiable by green or purple fiberglass facings) instead of standard paper-faced boards. Treat dried framing members with an EPA-registered antimicrobial barrier before installing new insulation. For bathroom and basement walls, apply vapor-permeable, mold-inhibiting primers and quality satin or semi-gloss finishes that tolerate wiping and resist moisture penetration better than flat latex paints.
Avoid applying completely impermeable vinyl wall coverings on exterior-facing walls. In mixed or cooling-dominated climates, vinyl acts as an accidental vapor barrier on the wrong side of the wall assembly, trapping condensing humidity inside the cavity where it cannot escape.
Illustrative Scenarios
Resolving Hidden Cavity Moisture in a Finished Basement
A homeowner noticed musty odors and peeling paint along the bottom edge of a finished basement wall following heavy seasonal rains. Initial surface wiping cleared visible dampness, but moisture readings behind the baseboards remained above 28%. Rather than repainting the surface, the homeowner made a selective cut twelve inches above the floor, discovering saturated fiberglass batts held against the concrete foundation. The damp insulation was removed, downspouts outside were extended eight feet away from the foundation, and dehumidifiers dried the bare wood framing to 10% moisture content over four days before mold-resistant drywall was installed.
Key point: Surface treatments fail when moisture is trapped inside the wall cavity; exposing the framing and addressing exterior water shedding is necessary for a permanent fix.
Frequently asked questions
How long does it take for a wet wall to dry out completely?
With professional-grade dehumidifiers and continuous airflow, an exposed wall cavity typically dries in three to five days. If walls remain enclosed without forced ventilation, complete drying can take several weeks and significantly increases the likelihood of structural mold growth.
Can I simply paint over a water-stained wall once it feels dry?
Painting over water stains without verifying internal dryness or applying a stain-blocking primer will result in peeling paint and recurring bleed-through. You should test the area with a moisture meter and seal the dry surface with an oil- or shellac-based stain-blocking primer before applying topcoats.
When is it necessary to call a professional for wall moisture?
Professional remediation is advisable if moisture covers an area larger than ten square feet, if the water originated from a contaminated sewage or flood source, or if soft structural framing is detected. Certified specialists possess specialized containment equipment and deep-cavity drying tools to safely handle extensive water damage.
Your next step
Test the damp wall with a calibrated moisture meter to pinpoint the wettest zone, then shut off corresponding water lines or divert exterior drainage before running dedicated drying equipment.