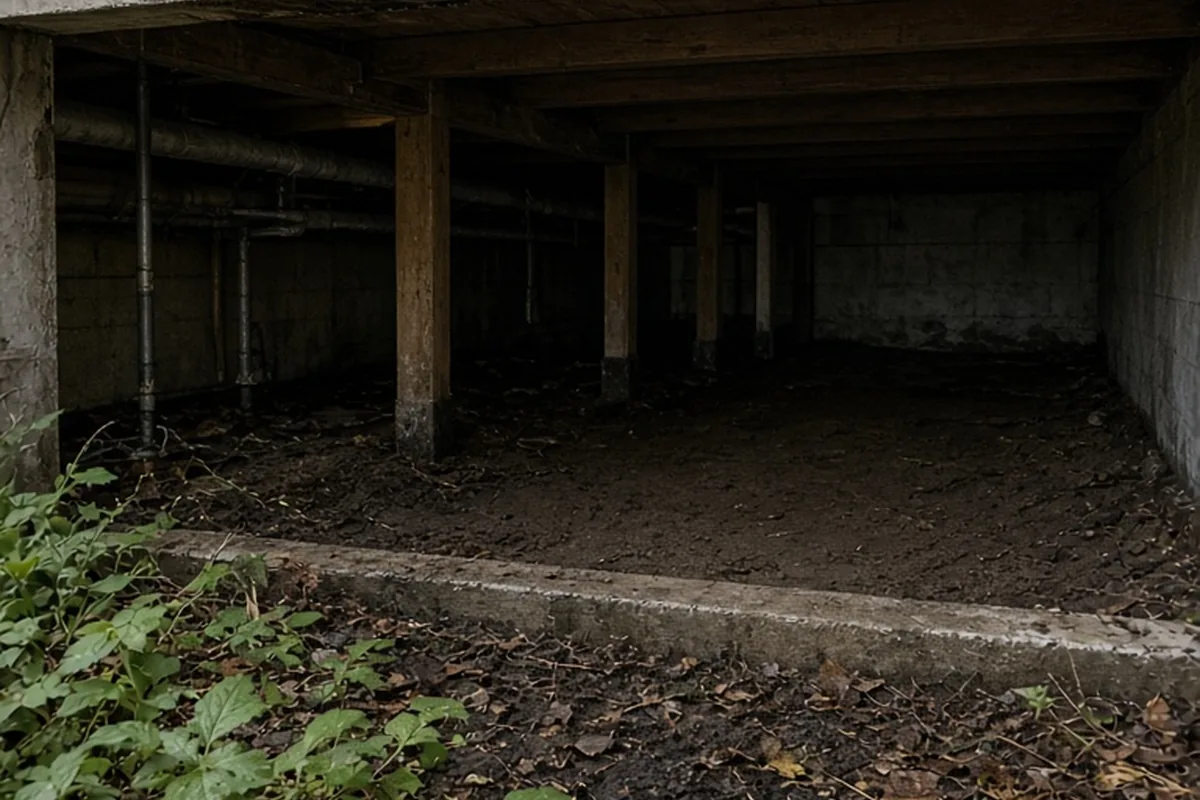
To get rid of moisture under your house, first eliminate exterior water sources by extending downspouts and regrading soil away from the foundation. Inside the crawl space or basement, repair plumbing leaks, lay a heavy polyethylene vapor barrier across exposed dirt, improve drainage with a sump pump if standing water occurs, and control relative humidity using dedicated dehumidification or targeted airflow.
Dampness beneath a home often goes unnoticed until musty odors rise through floorboards, floors feel cold or spongy, or seasonal humidity levels surge indoors.
Identify the Exact Source of Subfloor Moisture
Before investing in equipment or moisture barriers, determine how water enters the space under your home. Moisture typically originates from three main pathways: surface water seeping through foundation walls during rainstorms, groundwater rising from the soil beneath the subfloor via capillary action, or warm, humid outdoor air condensing against cooler subfloor framing and masonry. Internal plumbing leaks from supply lines, drain traps, or disconnected laundry vents represent another common culprit that can quickly saturate an enclosed foundation area.
To diagnose the issue accurately, inspect the perimeter after a heavy downpour with a flashlight and moisture meter. Look for standing pools of water, damp soil patches, white chalky efflorescence on concrete block walls, and active drips along overhead pipes. If dampness is uniform across exposed soil even during dry spells, the primary cause is high ground moisture evaporating upward. Pinpointing the exact entry mechanism prevents wasted effort on solutions that only treat secondary symptoms.
Correct Exterior Drainage and Foundation Grading
The most effective way to dry out the space under a house is to keep rainwater from pooling near foundation footings. Roof runoff collects massive volumes of water during normal storms; if your gutters overflow or your downspouts discharge directly against foundation walls, that water naturally migrates down and under your subfloor. Clean gutters regularly and install rigid downspout extensions or underground PVC discharge pipes that deposit water at least six to ten feet away from the perimeter of the home.
Examine the soil slope surrounding your foundation walls. The ground should slope downward away from the house at a pitch of roughly one inch per foot for the first six feet. When soil settles over time, it creates negative grading that channels surface water toward masonry footings. Adding clean topsoil with low sand content to establish a positive slope, combined with perimeter swales or gravel-filled French drains where yard topography slopes toward the home, dramatically reduces hydrostatic pressure against lower foundation walls.
Install a Durable Ground Vapor Barrier
Uncovered earth continually releases gallons of moisture vapor into the crawl space air daily through natural evaporation. Laying a continuous vapor barrier over the exposed soil is essential for controlling under-house relative humidity. Choose a puncture-resistant, virgin polyethylene sheet that is at least ten to twenty mils thick. Thin painter plastic or standard six-mil contractor sheeting tears easily during future inspections and degrades within a few seasons, diminishing its protective value.
To install the barrier correctly, clear all sharp rocks, roots, construction debris, and organic matter from the soil bed to prevent punctures. Roll out the plastic sheeting, overlapping adjacent seams by twelve inches and sealing every seam with heavy-duty crawl space seam tape. Extend the plastic up foundation walls and support piers at least six inches above the exterior grade line, fastening it with mechanical anchors and mastic sealant to create an airtight seal against ground vapor diffusion.
Evaluate Crawl Space Encapsulation Versus Passive Venting
Traditional building standards relied on open foundation vents to let outside air circulate and carry away moisture. However, in warm, humid regions, bringing hot outdoor air into a cool crawl space raises relative humidity because warm air cools and releases moisture, depositing condensation directly onto joists, subflooring, and ductwork. In climates with high summer humidity, closing and sealing foundation vents through full crawl space encapsulation usually delivers superior moisture control.
Encapsulation involves sealing all exterior vents, running a heavy vapor barrier up the walls to the sill plate, and conditioning the air with a dedicated crawl space dehumidifier. Conversely, in consistently dry, arid climates with well-draining sandy soil, passive cross-ventilation paired with an unsealed ground barrier can remain functional without active mechanical drying. Evaluate your regional dew points and heating degree days to decide whether complete sealed encapsulation or managed airflow makes the most practical sense.
Manage Standing Groundwater with Sump Pumps and Interior Drains
When high water tables or severe storms push liquid groundwater up through the crawl space dirt floor, a vapor barrier alone will not stop pooling. Standing water trapped beneath plastic sheets leads to floating barriers and trapped stagnation. In these environments, an interior perimeter drainage system combined with a submersible sump pump provides a reliable mechanical path for water evacuation.
An interior drainage installation requires digging a shallow trench around the inside perimeter of foundation walls, laying perforated drain pipe wrapped in filter fabric, and backfilling with washed crushed gravel. The trench slopes toward a recessed basin containing a commercial-grade sump pump. As groundwater rises, it enters the trench pipe and flows by gravity to the basin, where the pump discharges it well outside the foundation perimeter. Always install a battery-backup power system to keep the pump operating during heavy storms when municipal power outages frequently occur.
Treat Structural Framing and Dry Out Damaged Wood
High relative humidity under a house often leads to surface fungal growth, musty odors, and gradual wood decay on floor joists and rim boards. Once exterior leaks and ground evaporation are controlled, run high-capacity commercial drying fans alongside dehumidifiers to reduce the wood moisture content of structural framing below fifteen percent. Wood with moisture levels persistently above twenty percent remains vulnerable to rot and wood-boring insects.
For non-rotted structural members with surface mildew or dust deposits, scrub the framing using a stiff bristle brush and an EPA-registered fungicidal wash or a solution of water and mild detergent. Avoid applying straight chlorine bleach to porous structural timber, as bleach breaks down on organic wood fibers without penetrating deep root structures. If joists exhibit soft spots, sagging, or deep decay, consult a licensed structural carpenter to sister new support framing alongside damaged members.
Maintain Long-Term Monitoring and Humidity Control
Drying out the area under your house is not a one-time project; building foundations settle, tape seals loosen, and drainage systems collect silt over time. Install a wireless digital hygrometer sensor under the subfloor that transmits real-time relative humidity and temperature data to a display inside your main living space. Aim to maintain subfloor relative humidity consistently between forty-five and fifty-five percent throughout all four seasons.
Set up a bi-annual maintenance routine to inspect the space thoroughly. Check that the sump pump float switch moves freely, verify that the dehumidifier filter is free of dust buildup, and look for any disruptions in the ground plastic caused by pests or tradespeople. Regularly inspecting these components ensures small plumbing drips or drainage backups are addressed immediately before they cause structural wood decay or degrade indoor air quality.
Illustrative Scenarios
Resolving Summer Floor Condensation in a Vented Crawl Space
A homeowner in a humid climate noticed cupping hardwood floors and a persistent musty smell during midsummer. The open crawl space vents were admitting humid outdoor air that condensed against cold air conditioning ducts, wetting the subfloor joists to a twenty-four percent moisture reading. The owner cleaned out the crawl space, sealed all foundation vents with rigid foam insulation, laid a twenty-mil taped vapor barrier across the dirt floor, and added an energy-efficient crawl space dehumidifier set to fifty percent relative humidity.
Key point: Sealing vents and running mechanical dehumidification stops exterior humidity from condensing against cool subfloor framing, protecting interior wood flooring from seasonal moisture damage.
Frequently asked questions
What is the fastest way to dry out a damp crawl space?
The fastest approach combines removing standing water with a pump or wet vacuum, sealing out humid outdoor air, and running high-capacity commercial air movers alongside a dedicated dehumidifier. Once structural timbers drop below fifteen percent moisture content, install a heavy ground vapor barrier to keep the area permanently dry.
Can I leave my crawl space vents open during the summer?
In humid climates, leaving vents open during warm months often increases subfloor moisture because warm outdoor air condenses against cool air-conditioned ducts and floor framing. Closing and sealing foundation vents while running an active dehumidifier generally produces much better moisture control in humid regions.
How thick should the plastic vapor barrier under a house be?
A vapor barrier should be at least ten to twenty mils thick to resist punctures, tearing, and degradation over time. Standard thin six-mil construction plastic is easily punctured by foot traffic or crawling and rarely provides long-term sealing against ground vapor.
Your next step
Inspect your foundation perimeter this week to verify that downspouts discharge at least six feet from the walls and schedule an inspection of your subfloor ground barrier.