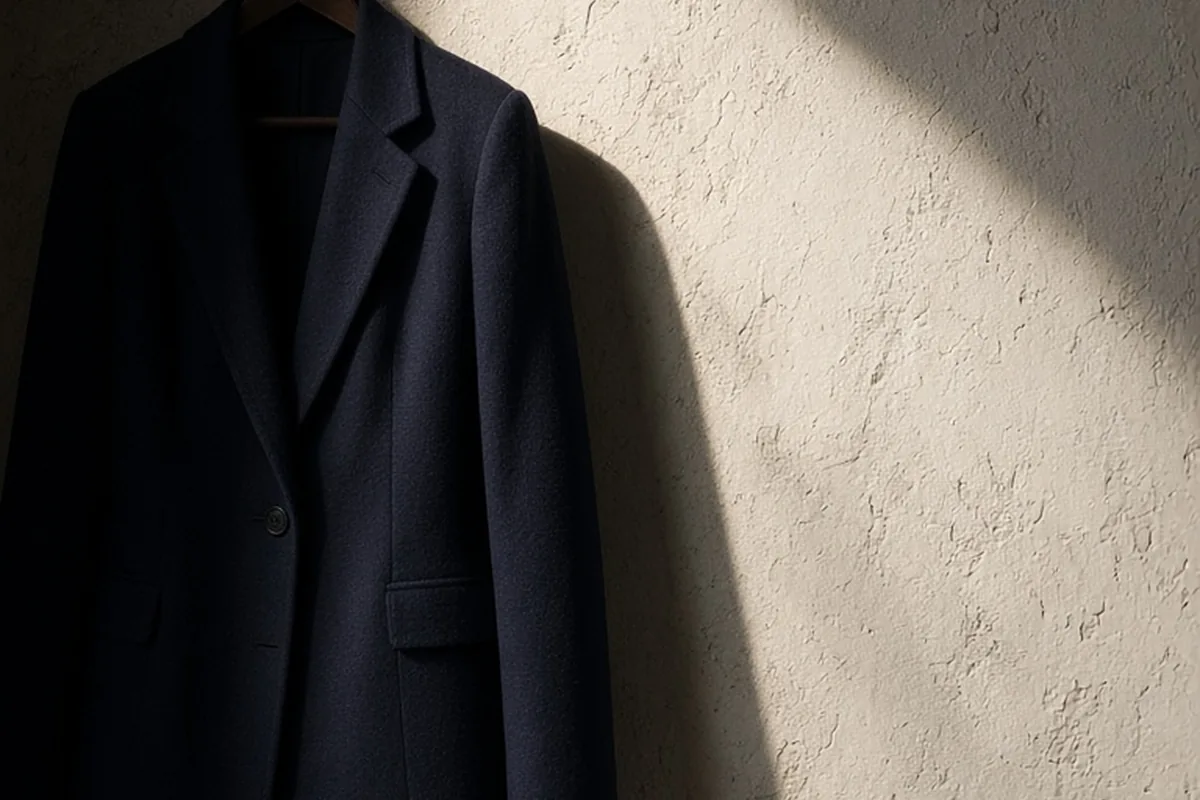
To tailor a women's blazer, first assess the shoulders and chest balance, as these structural foundations are the most difficult and costly to change. Alterations typically focus on shortening the sleeves to the wrist bone, nipping the waist through the princess and side seams, smoothing back collar rolls, and refining the hem. Moderate seam and cuff adjustments can be executed at home, while shoulder recutting requires professional tailoring.
Off-the-rack blazers are engineered around standardized sizing blocks, which rarely align with an individual torso length, shoulder posture, or bust proportion. Learning which alterations create clean drape and where structural garments resist changes helps transform an ill-fitting jacket into a polished wardrobe staple.
Assessing the Structural Foundation Before Making Changes
Before opening any seams, inspect the shoulder line, collar stance, and chest canvas. The shoulder seam should terminate precisely where your natural shoulder bone drops down into the upper arm. If the jacket shoulders extend past that pivot point by more than half an inch, the internal shoulder pads, sleeve heads, and chest canvas will collapse downward, producing deep dimples along the sleeve cap. Because rebuilding a jacket shoulder requires detaching the collar, chest interfacings, and armscye lining, resizing an oversized shoulder is labor-intensive and often financially impractical.
To check the torso balance, put on the blazer and stand naturally in front of a full-length mirror while wearing the base layer you plan to pair with it. Fasten the central closure button and observe how the fabric behaves across the front. If the lapels buckle outward or the front quarters pull into an X-shaped crease radiating from the button, the garment is too tight across the bust or hips. Tailoring can easily remove excess fabric, but it can only expand a garment if the manufacturer left generous interior seam allowances, which is uncommon in modern ready-to-wear pieces.
Perform a simple movement check by extending your arms forward and crossing them lightly over your chest. A tailored blazer should sit close to the silhouette without pinching the back armholes or pulling the center back vent open when you stand at rest. Recognizing whether a problem stems from excess fabric or a lack of room determines whether alterations will succeed.
Nipping the Waist and Shaping Princess Seams
Women's blazers achieve their shape through curved construction panels known as princess seams, which run vertically over the bust line down to the lower hem, complemented by traditional side seams. Creating a defined waistline requires distributing fabric removal evenly across these multiple panels rather than simply pinching the outer side seams. Pulling fabric exclusively from the side seams shifts the garment balance, dragging the pockets toward the back of the hips and causing the front lapels to pull apart unnaturally.
To establish the new waistline, put the jacket on inside-out or work with a friend while wearing the blazer right-side out. Pin excess fabric symmetrically along the princess seams and side seams, starting two inches below the underarm down through the natural waist indentation, then tapering softly back into the original seam line before reaching the hip hem. Using straight dressmaker pins aligned vertically keeps the silhouette smooth and prevents localized puckering along the curves.
After pinning, unbutton the blazer, turn it right-side out if pinned internally, and fasten it again to inspect the drape. Move your torso from side to side to ensure the newly nipped waist does not strain the back vent or create drag lines across the lower back. Once satisfied, mark the pinned line with tailor's chalk, baste the seam with a long running stitch to confirm the feel, and permanently machine-stitch along the new contour using matching thread.
Shortening Sleeves on Plain and Button-Vented Cuffs
The standard guideline for a tailored women's sleeve is for the cuff hem to land just at the prominent wrist bone when your arm hangs relaxed at your side. This length leaves roughly a quarter-inch to a half-inch of an underlayer blouse cuff visible, creating a balanced proportion between the sleeve and the hand. If a sleeve covers the base of the thumb, it visually shortens the arm and gives the jacket an oversized appearance.
How you alter the sleeve depends on the construction of the cuff. Plain cuffs without slits or buttons are straightforward: you release the lining at the wrist seam, press the outer shell upward to the desired measurement using a pressing cloth, trim excess bulk to leave a one-inch allowance, and catch-stitch the new hem to the sleeve canvas. The lining is then trimmed to fit and hand-stitched back into place, ensuring a soft quarter-inch fold of lining ease remains at the wrist so the sleeve does not pull tight when bending your elbow.
When dealing with vents and decorative stacked buttons, remove the buttons entirely with a small seam ripper before marking the new hem. Reconstruct the mitered vent corner at the shorter height, stitch the new hem, and sew the buttons back in place proportionally. However, if the blazer features functional buttonholes that open and close, shortening from the bottom will cut through the bottom buttonhole. In that scenario, the sleeve must be shortened from the top sleeve head, which requires unsetting the entire armhole, trimming the excess cap height, and resetting the sleeve—a complex alteration best reserved for an experienced tailor.
Fixing Back Collar Rolls and Neckline Gapping
A collar roll presents as a horizontal roll of bunching fabric located just below the rear collar seam across the upper neck and shoulder blades. This issue occurs when the garment wearer has an upright posture, elevated shoulder blades, or a shorter distance between the base of the neck and the shoulder seam than the standard pattern anticipated. The excess vertical fabric has nowhere to settle, so it rides up and buckles under the collar band.
Resolving a collar roll requires opening the lower collar seam across the back of the neck from shoulder seam to shoulder seam. The excess torso fabric is smoothed upward, and the center back panel is shifted into the collar neckline cavity until the fabric lays flat against the upper back. The collar is then pinned back onto the adjusted neckline, basting it in place to ensure the front lapel roll line remains smooth and untwisted before trimming away the raised excess fabric and securing the final seam.
Neckline gapping is the opposite issue, where the collar stands away from the nape of the neck rather than resting flat against a collared shirt. This typically stems from forward-leaning shoulder posture. Minor gapping can sometimes be reduced by taking in the center back seam slightly at the neckline, but severe gaps often indicate that the shoulder angle itself is mismatched with your anatomy, which is challenging to adjust without altering the front chest canvas.
Adjusting Body Length and Handling Vents
Hemming the total length of a blazer transforms its overall silhouette, but it must be planned around the placement of the pockets. A well-proportioned jacket hem generally leaves at least one and a half to two inches of clearance between the bottom of the lower flap or welt pockets and the finished edge. If you hem a blazer too close to the pockets, the garment looks truncated and front-heavy, and re-positioning welt pockets is impossible once the fabric has been cut during original manufacturing.
When shortening a vented jacket, open the hem lining along the entire bottom edge and release the inner stitching of the back vent. Determine the target length, marking the chalk guideline while ensuring the hem line runs strictly parallel to the floor, accounting for any curvature over the hip. Turn the facing back, recreate the mitered point at the vent corner, and press the new fold with a tailor's ham using steam to prevent seam shrinkage.
Pay close attention to lining drop during the hem process. Blazer linings must never be pulled taut to the bottom edge of the outer fabric, or the outer wool will tuck under and ripple. Always press a half-inch pleat of slack into the lining along the hem, allowing the lining to float smoothly inside the jacket as you move and walk.
Essential Tools and Best Practices for Home Tailoring
Undertaking blazer alterations at home requires tools designed for layered tailoring fabrics. Invest in high-quality silk or glass-head pins that pierce woven wool and lining fabrics without snagging delicate fibers. A curved tailor's ham and a seam roll are indispensable for pressing curved bust seams and sleeve heads, as pressing structured wool on a flat ironing board will crush the shaping built into the garment. Always use a dedicated press cloth between the iron and the outer fabric to prevent unsightly surface shine on dark wool blends.
Never skip the machine-basting stage when modifying a structured garment. Set your sewing machine to a long temporary stitch length of 4.0 to 5.0 millimeters and sew along your proposed alterations without backstitching. Try on the blazer with your intended underlayers to test range of motion, sit in a chair, and ensure the balance of the front quarters remains level. Only after the fit is confirmed should you remove the basting thread, sew the final structural seam with standard stitch spacing, and trim away interior allowances.
Take care with interfacings and internal stays. Modern blazers contain fusible interfacings bonded to the lapels, collar, and hem edges to provide crispness. If you cut into an interfaced edge during a hem or waist adjustment, fuse a light strip of new interfacing tape along the newly created cut edge to maintain the crisp boundary and prevent the raw edge from stretching over time.
Communicating Clearly with a Professional Tailor
When taking a blazer to a professional alteration specialist, preparation directly impacts the final result. Always bring the specific tops you plan to layer underneath, whether that is a fine-gauge knit or a crisp cotton button-up, as the thickness of these garments alters how the armholes and chest fit. Wear the shoes you intend to pair with your outfits, as heel height subtly shifts your pelvic alignment, spinal posture, and the way the jacket hem breaks over your hips.
Use precise, functional terms during your fitting consultation. Instead of asking the tailor to make the jacket smaller, specify where you feel excess fabric or tension, such as requesting waist suppression along the princess seams, a half-inch lift on the back collar roll, or shortening sleeves to expose your watch. Ask the tailor to pin one side of the garment first so you can directly compare the pinned side to the unpinned side in the three-way mirror before committing to the change.
Inquire about cost estimates relative to the blazer's value before authorizing complex work. Routine alterations like sleeve adjustments on plain cuffs and waist nipping are generally economical, but shoulder downsizing and resetting functional button sleeves involve multiple hours of intensive deconstruction. Knowing these price thresholds helps you decide whether to alter an existing piece or search for a jacket with a more compatible shoulder foundation.
Frequently asked questions
Can an oversized blazer be tailored into a fitted blazer?
A boxy blazer can be subtly shaped through the waist and hemmed to fit better, but reducing a jacket by more than two full sizes is rarely successful. Significant downsizing distorts the proportional placement of the lapels, shoulder points, and front pockets.
How much does it usually cost to tailor a women's blazer?
Basic alterations such as shortening plain sleeves or nipping the waist through side seams generally range from thirty to seventy dollars. Complex procedures like recutting shoulders, reshaping armholes, or moving collar seams often exceed one hundred dollars depending on location and tailor expertise.
Is it possible to let out a blazer that is too tight?
A blazer can only be let out if the interior construction includes sufficient seam allowances along the side or back panels. Many modern fast-fashion jackets are serged close to the stitch line with minimal extra fabric, leaving little to no room for expansion.
Can I remove shoulder pads from a blazer myself?
While you can unpick the lining to snip the tacking stitches holding the pad, removing the padding often causes the excess shoulder fabric to sag and collapse. If a jacket was designed with padding, the outer fabric was cut with extra room to accommodate that volume, which will need to be re-tailored once the pad is gone.
Your next step
Inspect your blazer in the mirror while wearing your preferred underlayer, use pins to test a clean waist nip and sleeve break, and reserve structural shoulder modifications for an experienced professional.