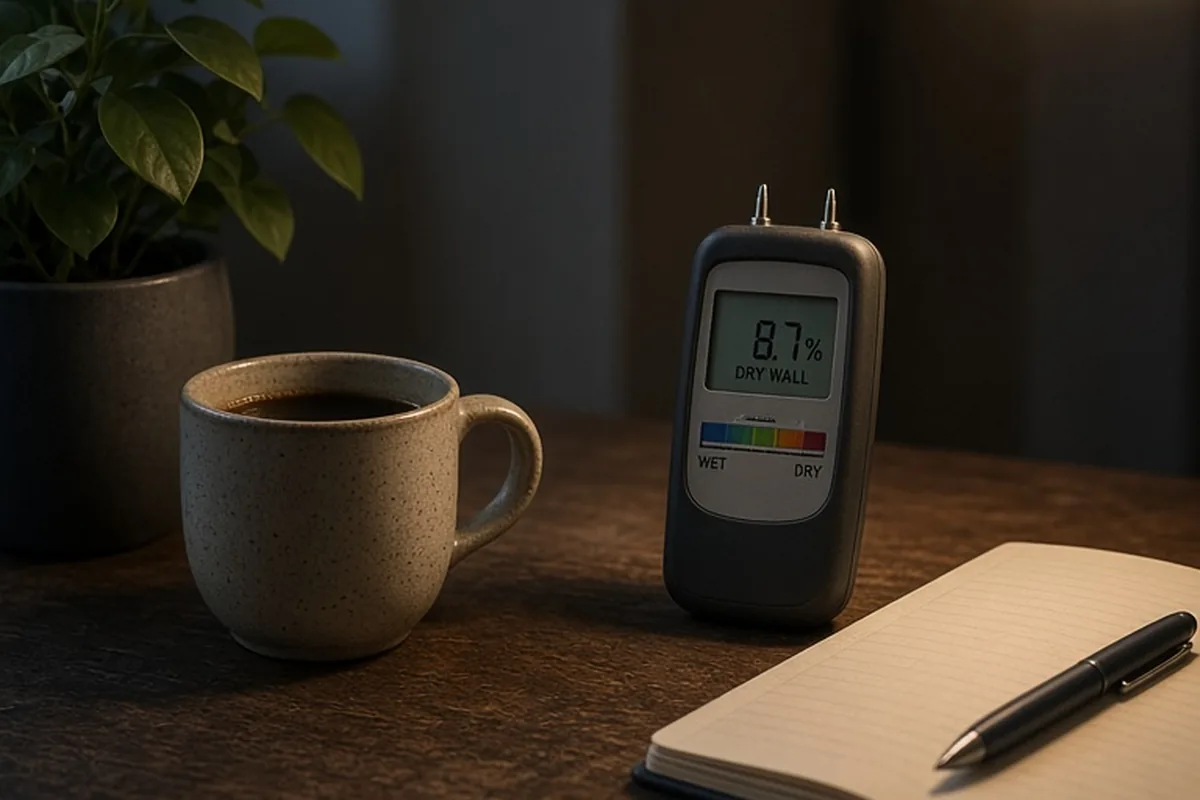
Normal moisture levels in standard drywall typically range between 5% and 12% on a calibrated moisture meter, while internal wood framing usually reads between 7% and 12%. Readings between 13% and 16% suggest borderline moisture accumulation, and anything exceeding 17% indicates active dampness that requires immediate drying to prevent structural damage and mold growth.
Moisture is an inherent part of every home, but when water becomes trapped inside interior walls, it can quietly degrade building materials long before stains appear on the surface. Understanding what your moisture readings actually mean is the fastest way to differentiate between normal seasonal fluctuations and an active leak requiring immediate intervention.
Interpreting Baseline Readings Across Common Wall Materials
Moisture meters do not measure water directly; instead, they gauge electrical conductivity or impedance within a material. Because different building supplies hold and conduct moisture differently, acceptable baseline numbers vary depending on whether you are probing standard drywall, solid lumber, or traditional plaster. Drywall or gypsum board is naturally porous and should ideally register between 5% and 12% under typical indoor humidity conditions. When indoor relative humidity climbs during humid summer months, drywall might hover closer to 12% or 13% without representing a plumbing issue or structural leak, whereas winter indoor heating can drive those levels down to 5% or 6%.
Wood framing members behind the wall behave slightly differently due to their fiber saturation thresholds. Structural wall studs normally measure between 7% and 12% in conditioned living spaces, though unconditioned crawl spaces or exterior boundary walls can push these numbers to 14% safely. Readings above 17% in drywall or 19% in wood studs mean free water is accumulating, creating conditions where mold spores can germinate within twenty-four to forty-eight hours. Plaster and concrete, on the other hand, are often evaluated on a non-wood relative scale from 0 to 100 or using a Wood Moisture Equivalent (WME) index, where anything under 15% is generally considered safe and dry.
Pin Versus Pinless Moisture Meters: Choosing the Right Tool
Diagnosing moisture requires choosing between pin-style and pinless moisture meters, as both technologies serve distinct investigative purposes. Pin-type meters feature two sharp metal probes that press directly into the wall surface to measure electrical resistance between the points. Because current flows more easily through water than through dry cellulose or gypsum, lower resistance indicates higher moisture content. The advantage of a pin meter is precision: it measures moisture at the exact depth the pins reach, making it simple to tell if moisture is sitting only on the surface paint or penetrating deep into the substrate. The obvious downside is cosmetic, as testing leaves tiny puncture marks that may need light patching on smooth finished surfaces.
Pinless meters utilize electromagnetic sensors to scan larger surface areas without puncturing the paint or wallpaper. By emitting a radio-frequency signal roughly three-quarters of an inch to an inch into the wall, a pinless unit can scan an entire room quickly to pinpoint hidden cold spots or wet framing. However, pinless tools require flat contact against the wall and can be easily misled by physical obstacles inside the wall cavity. Using a pinless meter to survey broad walls first, followed by a pin-style meter to confirm localized damp spots, offers the most accurate assessment while minimizing unnecessary cosmetic damage.
Establishing a Controlled Baseline Before Testing Damaged Areas
A common mistake when assessing water damage is testing the suspicious wall without establishing a dry baseline in the same environment. Ambient indoor humidity, localized temperature swings, and regional climate variations cause baseline moisture readings to differ significantly from one home to another. Before evaluating a discolored patch or a musty corner, take several reference measurements on an interior wall located well away from plumbing lines, exterior windows, and bathrooms. For example, testing an interior partition wall in a dry bedroom gives you the baseline moisture level for drywall in your specific home that day.
Once you establish that baseline—suppose the control wall consistently reads 8%—you have a clear reference point. When you return to the suspected leak site, any reading several percentage points above that reference indicates elevated moisture, even if the absolute number has not yet crossed into extreme danger territory. If the suspected wall reads 15% while the control wall reads 8%, moisture is unquestionably accumulating. Documenting these comparative measurements across a physical grid helps map the boundary of the water migration path, which is essential if you need to determine how much material needs drying or removal.
Recognizing False Positives and Hidden Detection Traps
Moisture meters are sensitive diagnostic tools, but they cannot distinguish between water molecules and other conductive materials concealed inside your walls. Metal elements are the primary cause of misleadingly high readings. If the electromagnetic field of a pinless meter touches a metal stud, copper supply pipe, cast iron drain, electrical conduit, or even a sheetrock screw, the display will instantly peg at 99% or maximum moisture capacity. Similarly, drywall corners reinforced with galvanized metal corner beads will frequently trigger alarming readings despite being completely dry.
To avoid tearing into dry walls based on a false alarm, cross-examine suspicious readings using multiple angles and methods. Move the meter two to three inches vertically and horizontally; if the reading drops abruptly from 100% to 7%, you are likely scanning past a metal pipe or nail plate rather than a broad water pocket. Foil-backed vapor barriers and dense tile backer boards can also cause elevated capacitance readings. In these ambiguous scenarios, switching to a pin meter or checking the thermal profile with an infrared thermometer can help verify whether the cold, damp characteristics of real moisture are actually present.
Differentiating Plumbing Leaks, Condensation, and Exterior Infiltration
Pinpointing an abnormal reading is only half the battle; identifying the moisture source determines the correct path forward. Plumbing leaks within supply lines produce consistent, unchanging high readings that do not fluctuate with weather conditions or room occupancy. Because pressurized water lines run continuously, a pinhole leak keeps the surrounding drywall and framing saturated around the clock. Drain line leaks, by contrast, behave intermittently, producing moisture spikes immediately after someone runs a dishwasher, showers, or drains a sink upstairs.
Exterior water infiltration and condensation create distinct diagnostic patterns. If elevated readings appear at the base of exterior walls following heavy rainstorms, suspect failed caulking, saturated exterior masonry, or compromised perimeter drainage around the foundation. Condensation, conversely, is typically concentrated along cold exterior corners, behind dense furniture pressed against exterior walls, or along poorly insulated thermal bridges during freezing weather. Condensation usually wets only the top millimeter of paint and paper, leaving the deep core of the drywall dry, which you can quickly confirm by comparing surface readings to deep-probe readings.
Practical Drying Protocols and When to Remove Saturated Drywall
When readings confirm that moisture levels exceed 16% to 18%, initiating active drying within the first twenty-four hours is critical to prevent mold colonization. Start by eliminating the moisture source, whether that requires closing a plumbing isolation valve or sealing an exterior window casing. Circulating dry air is far more effective than applying localized heat. Position commercial low-grain refrigerant (LGR) dehumidifiers alongside high-velocity axial air movers angled along the wall surface. This airflow strips the boundary layer of damp air off the drywall, drawing bound water out of the core without baking the surface paint.
However, there is a clear physical limit to what can be dried in place. If drywall has remained saturated above 20% for more than forty-eight hours, or if the gypsum core feels soft, spongy, or visibly sags when pressed, the structural integrity of the panel is permanently lost. Furthermore, standard gypsum board contains organic paper facing that serves as prime food for microbial growth once wet. In these instances, the most economical and hygienic remedy is performing a flood cut: cleanly cutting the drywall away along a straight line several inches above the highest wet reading, removing wet fiberglass batt insulation, and drying the exposed framing studs directly before hanging new sheetrock.
Illustrative Scenarios
Investigating Mysterious Dampness Behind Bathroom Tile
A homeowner noticed bubbling paint on the hallway wall directly backing a primary bathroom shower and suspected a catastrophic shower pan failure. Scanning the wall with a pinless meter produced erratic readings swinging between 11% and 95%. Rather than immediately ripping open the wall, the homeowner established a baseline of 7% in the nearby linen closet, then switched to a pin meter to probe through the bubbling paint into the drywall core. The pin meter revealed a uniform 9% across the lower drywall, while the pinless meter had simply been picking up a metal plumbing vent pipe and metal lath behind the shower tile. Further inspection revealed that the paint bubbling was caused by condensation from poor bathroom ventilation rather than an active in-wall leak.
Key point: Dual-meter testing and establishing a control baseline prevent expensive demolition caused by false-positive metal interference.
Frequently asked questions
Can drywall naturally dry out on its own without using fans or dehumidifiers?
Drywall can dry naturally only if the moisture exposure was brief and the surrounding indoor air is warm and dry. However, natural evaporation often takes several days, which creates an extended window for mold to develop inside the dark wall cavity. Using active dehumidification and targeted air movers significantly lowers this risk.
At what moisture percentage does mold start growing inside walls?
Mold spores generally begin to germinate when drywall moisture content stays above 16% to 17% alongside relative humidity levels over 65% in the room. Sustained saturation above 20% dramatically accelerates fungal growth on cellulose drywall paper and internal timber framing within 24 to 48 hours.
Why does my pinless moisture meter beep continuously on a brand-new, dry wall?
Pinless moisture meters emit electromagnetic waves that react strongly to any conductive metal, including drywall screws, corner beads, and copper piping. If your meter beeps at maximum levels on an otherwise dry wall, you are almost certainly scanning directly over metal hardware concealed beneath the joint compound.
Your next step
Test a dry interior wall first to establish your baseline reading, and then map suspected damp areas using both pinless and pin-style checks before deciding whether to dry the wall in place or remove damaged material.