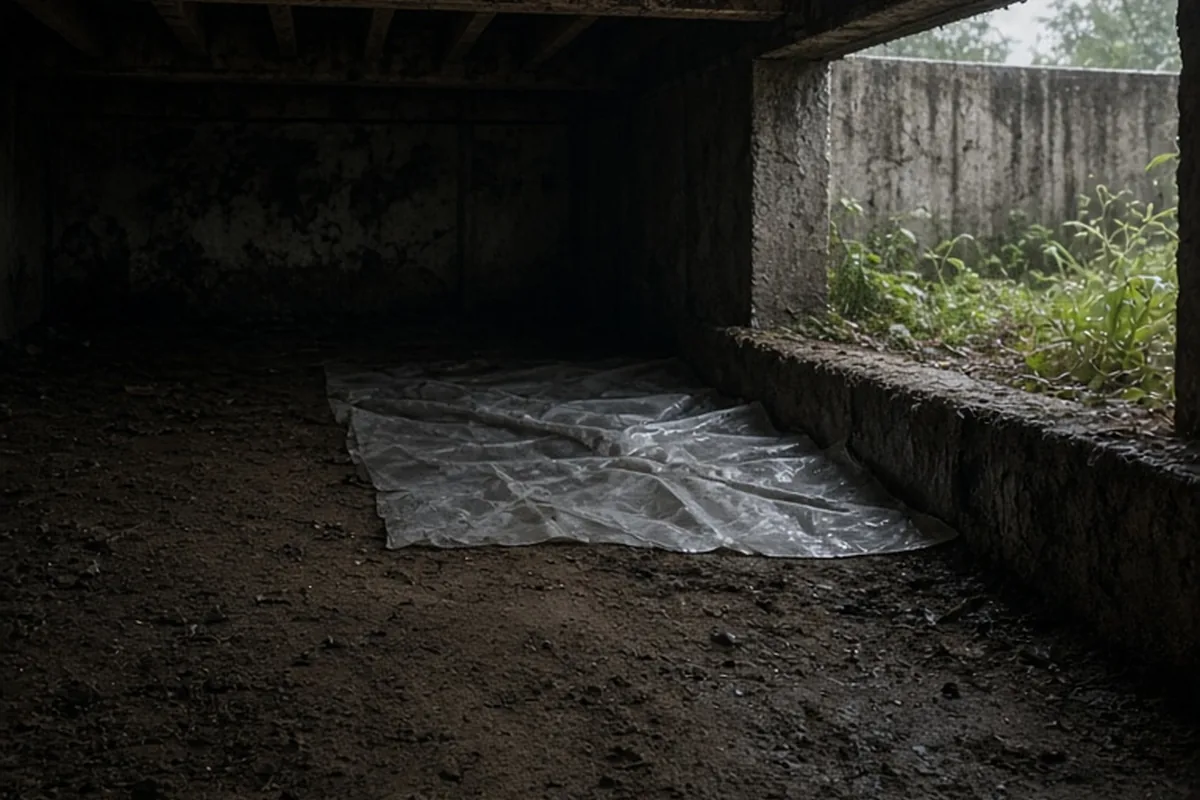
To get rid of moisture in a crawl space, identify and stop incoming water, install a thick ground vapor barrier, and regulate humidity. Begin by directing gutters and surface runoff away from the foundation. Cover the entire dirt floor with a durable polyethylene vapor barrier, seal exterior vents if encapsulating, and run a dedicated crawl space dehumidifier to maintain relative humidity below fifty-five percent.
Excess moisture beneath a home can slowly compromise wooden subfloors, encourage fungal growth, attract pests, and degrade indoor air quality across living areas. Addressing dampness in an underfloor space requires a systematic approach that addresses outside water intrusion, rising ground dampness, and humid ambient air.
Identifying the Root Sources of Crawl Space Moisture
Before investing in equipment or encapsulation supplies, you must pinpoint where the water originates. Crawl spaces typically collect moisture from three primary pathways: bulk groundwater penetrating foundation walls, water vapor evaporating upward from exposed soil, and warm, humid outdoor air entering through passive vents during summer months. In some cases, slow plumbing leaks or disconnected clothes dryer ducts underneath the subfloor create an ongoing reservoir of dampness that remains unnoticed for months.
To diagnose the issue accurately, inspect the space after a period of heavy rainfall as well as during dry weather. Look for standing puddles along footings, white powdery mineral deposits known as efflorescence on masonry walls, damp patches on joists, and condensation collecting on ductwork or piping. If the soil feels damp to the touch across the entire footprint, ground evaporation is a primary contributor. If dampness concentrates along exterior perimeter walls, surface grading or downspout placement is usually the main driver. Recognizing the specific moisture pathway prevents spending resources on solutions that fail to address the actual source.
Improving Exterior Drainage and Foundation Runoff
Managing exterior water is the most cost-effective first line of defense against crawl space dampness. Roof runoff dumps thousands of gallons of water directly beside foundation walls if gutters are clogged, damaged, or improperly pitched. When soil saturated with water surrounds the foundation, hydrostatic pressure forces moisture through porous concrete block, stone, or brick, creating continuous seepage into the crawl space.
Ensure all roof downspouts discharge water at least six to ten feet away from the foundation walls using rigid PVC extensions or buried pop-up emitters. Next, examine the soil slope around your home's perimeter. The ground should slope downward away from the foundation at a minimum pitch of six inches over the first ten feet. If soil has settled near the foundation, add dense topsoil or clay-rich fill to rebuild the positive grade, taking care to keep the soil several inches below the exterior siding to prevent wood rot or pest pathways. For properties situated at the base of a slope, installing a French drain or swale can intercept surface water before it reaches the crawl space perimeter.
Installing a Durable Ground Vapor Barrier
Exposed earth in a crawl space releases large quantities of water vapor continuously into the air through evaporation. Laying a continuous vapor barrier over the dirt floor blocks this moisture transfer and immediately reduces baseline humidity levels. Standard thin plastic sheeting often tears during routine inspections, so using a durable, puncture-resistant polyethylene barrier designed specifically for crawl spaces is essential for lasting performance.
Select a reinforced polyethylene vapor retarder between ten and twenty mils thick. Clear all sharp rocks, roots, and debris from the dirt floor before rolling out the material. Overlap individual sheets by at least twelve inches and seal every seam using heavy-duty, moisture-resistant acrylic seam tape. Run the barrier up the interior foundation walls and support piers to at least six inches above the outside soil grade, securing the edges with polyurethane adhesive and masonry anchors. A complete seal ensures that evaporating soil moisture stays trapped beneath the plastic rather than rising into floor joists and living spaces above.
Weighing Foundation Vent Sealing Against Natural Ventilation
Traditional building codes once mandated passive open vents along crawl space walls with the intention of flushing out damp air through cross-ventilation. However, in warm or humid climates, opening foundation vents often introduces humid outdoor air that hits cooler subfloor surfaces and condenses, paradoxically worsening moisture problems. Because of this dynamic, modern building science generally favors sealing vents and conditioning the crawl space as part of a complete encapsulation strategy.
Sealing vents involves insulating vent openings with rigid foam board and sealing the perimeter with expanding foam or silicone sealant. This approach isolates the crawl space environment from external weather extremes. However, closed crawl spaces require active mechanical moisture management, such as a dehumidifier, because any trapped moisture has no way to escape on its own. In arid regions with dry summer air, open vents may still function without severe condensation, but for most climates with seasonal humidity, sealing vents provides superior long-term control over indoor moisture and floor temperatures.
Selecting and Operating a Dedicated Crawl Space Dehumidifier
Even after sealing foundation walls and covering the floor with a heavy-duty vapor barrier, baseline ambient humidity can remain elevated. A dedicated crawl space dehumidifier active in an enclosed space extracts lingering moisture from the air, structural lumber, and masonry. Standard residential room dehumidifiers are generally unsuitable for crawl spaces because their internal components cannot withstand sustained low temperatures, and their drainage buckets require constant manual emptying.
Choose a commercial-grade, low-temperature dehumidifier rated to remove between seventy and one hundred pints of moisture per day, depending on the square footage of the space. Look for units with integrated condensate pumps or gravity drain lines that route extracted water continuously to the exterior or an interior sump basin. Set the target relative humidity between forty-five and fifty-five percent. This range keeps structural wood sufficiently dry to inhibit fungal colonization while avoiding over-drying, which can cause excessive wood shrinkage or subfloor creaking.
Managing Internal Leaks, Condensation, and Air Infiltration
Moisture problems beneath a house often stem from internal household components running through the crawl space. Supply plumbing, drain waste lines, and HVAC duct systems suspended under floor joists can introduce localized moisture that compromises nearby framing if left unchecked. A small drip from a bathroom waste pipe can saturate joists over months without producing visible signs on upper floorboards.
Inspect all accessible plumbing joints and drain connections under pressure and while fixtures drain. Insulate cold water supply lines and central air conditioning ducts with closed-cell insulation sleeves to prevent warm crawl space air from condensing onto cold metal or copper surfaces. In addition, seal the rim joists and subfloor penetrations—such as openings cut for wiring, duct registers, and plumbing chases—using expanding spray foam. Air sealing between the crawl space and the living areas above prevents the natural stack effect from pulling damp air and odors upward into your living rooms.
Setting Up Long-Term Monitoring and Maintenance Routines
Moisture remediation is not a one-time project; maintaining a dry foundation requires consistent seasonal monitoring. Equipment can lose power, drain lines can become obstructed by silt or algae, and shifting soil can pull vapor barrier seams apart over time. Establishing a straightforward inspection schedule ensures small issues are caught before they cause structural damage or require extensive repairs.
Install a wireless thermo-hygrometer sensor inside the crawl space paired with a digital display or smartphone app in your living area. This setup allows you to track real-time temperature and relative humidity without physically crawling under the home. Inspect the crawl space in person at least twice a year—ideally once in late spring and once after heavy autumn rains. During these checks, confirm the dehumidifier filter is clean, inspect the condensate discharge line for unrestricted flow, verify that the vapor barrier remains flat and sealed, and check perimeter walls for new signs of water intrusion.
Frequently asked questions
What is the ideal humidity level for a crawl space?
The ideal relative humidity in a crawl space is between forty-five and fifty-five percent. Keeping humidity consistently below fifty-five percent prevents condensation on structural framing and limits the conditions necessary for mold and wood rot to develop.
Can I use regular plastic sheeting for a crawl space vapor barrier?
Standard thin painter's plastic or thin construction poly easily tears and punctures during installation and maintenance visits. It is best to use a reinforced polyethylene vapor barrier that is at least ten to twenty mils thick with taped seams to ensure a long-lasting seal against soil moisture.
Is a sump pump always necessary to fix crawl space moisture?
A sump pump is necessary only if you experience standing groundwater pooling on the crawl space floor during heavy rains or high water tables. If your moisture issues stem strictly from ground evaporation and humid air, a properly installed vapor barrier and dedicated dehumidifier will suffice without a sump pump.
Should crawl space vents be open or closed in the summer?
In most climates, crawl space vents should be closed and sealed during summer months. Opening vents allows warm, humid outdoor air to enter the cool underfloor space, where it condenses on joists, ducts, and pipes.
Your next step
Start by inspecting your exterior gutters and grading during the next rainfall, then place a remote humidity sensor in your crawl space to establish an accurate baseline reading before choosing your remediation steps.