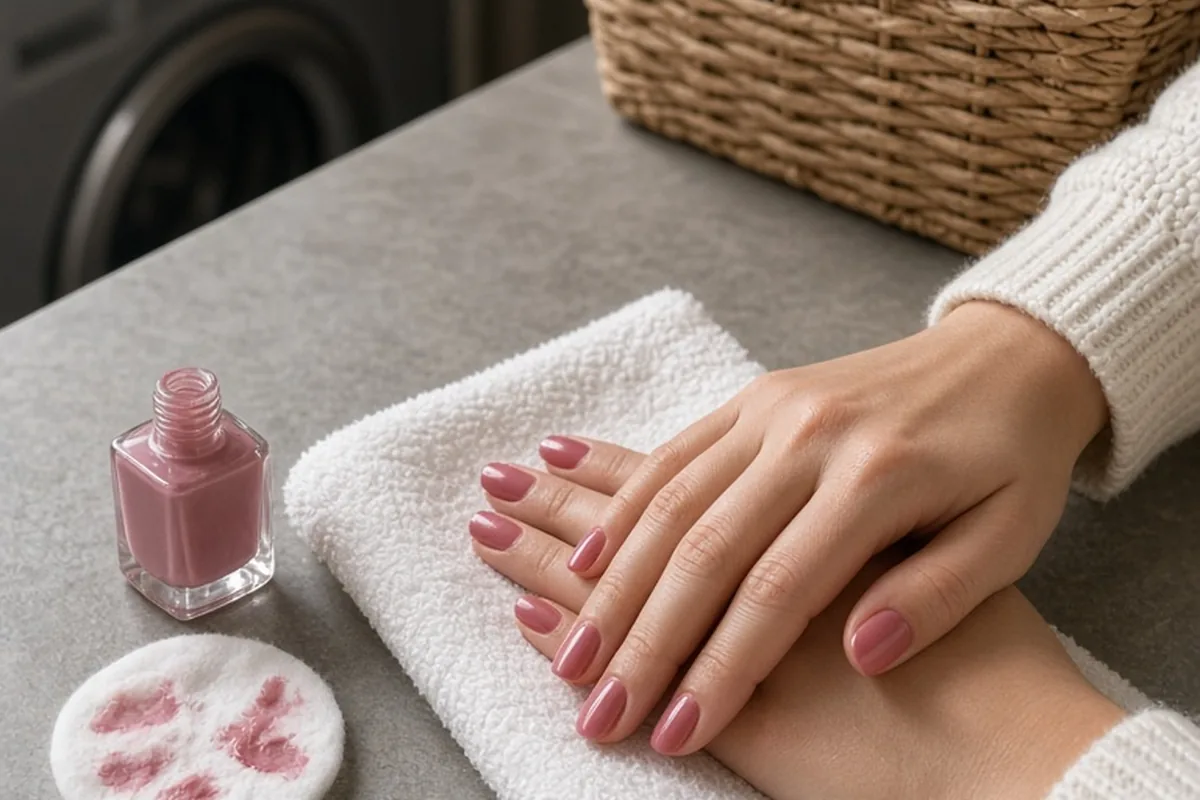
A UV gel manicure is a long-lasting nail treatment that uses a specialized gel-based formula cured under an ultraviolet or LED lamp. The formula consists of photoinitiators and oligomers that harden into an elastic, chip-resistant polymer shell. Applied in layers including a base coat, color coats, and top coat, it delivers high-gloss shine and immediate drying that typically lasts two to three weeks.
Traditional nail polish relies on the evaporation of solvents into the ambient air to dry, a gradual process that leaves freshly painted nails vulnerable to smudges and dents for up to an hour. UV gel manicures changed salon expectations by using light-activated chemistry to eliminate post-appointment dry time entirely while significantly extending wear.
The Chemistry and Curing Process Behind Gel Polish
At the molecular level, gel polish behaves quite differently from standard nitrocellulose-based lacquer. Gel products contain short chains of synthetic compounds known as oligomers mixed with reactive molecules called photoinitiators. When exposed to specific wavelengths of ultraviolet or LED light, these photoinitiators absorb the energy and trigger a rapid cross-linking chain reaction known as polymerization. This reaction transforms the viscous liquid into a solid, interconnected matrix across the nail plate within thirty to sixty seconds per layer.
Because this transformation depends entirely on light activation, gel polish will not harden or set in ambient air, allowing nail technicians unlimited time to achieve precise application and smooth out brush strokes before curing. However, this curing process produces an exothermic reaction that can occasionally cause a brief sensation of warmth on the nail bed, often referred to as a heat spike. Thicker applications or over-damaged, thin nail plates intensify this heat sensation, which is why skilled technicians apply thin, controlled layers and pulse the curing light if necessary to keep the process comfortable.
Standard Application Steps in a Professional Service
A quality gel manicure begins with thorough, waterless nail preparation to ensure maximum adhesion. The technician shapes the natural free edge, gently pushes back the proximal nail fold, and lightly buffs the nail plate with a fine-grit buffer to remove surface oils and shine. They then apply a dehydrator and bonding primer to balance the nail's pH and strip away residual moisture, which prevents premature lifting.
The application sequence follows a structured layering method that builds structural stability across the nail. First, a thin base coat is applied and cured under the lamp to create a tacky foundation. Next, the technician applies two thin coats of pigmented color gel, curing each layer individually to ensure the light penetrates all the way through the pigment. The service finishes with a protective top coat that seals the color and caps the exposed free edge of the nail. After the final cure, any sticky dispersion layer left on the surface is wiped away with an isopropyl alcohol wipe, leaving a completely dry, high-gloss finish ready for immediate activity.
Soft Gel Versus Hard Gel and Builder Gels
The term gel manicure covers several distinct product categories, primarily divided into soft gels and hard gels based on their molecular density and chemical solubility. Soft gel, commonly known as soak-off gel polish, has a lower molecular density that allows acetone molecules to penetrate and dissolve the product during removal. It provides flexible strength suitable for natural nails but is not rigid enough to build significant length or support long nail extensions.
Hard gel features a tightly cross-linked molecular network that makes it entirely resistant to acetone. Because it does not dissolve in solvents, hard gel must be carefully filed down using hand files or an electronic file (e-file) when maintenance or removal is required. It offers maximum structural rigidity, making it the preferred choice for sculpting long extensions or repairing severely torn natural nails. Sitting comfortably between these two categories is builder in a bottle, or BIAB, a thicker soak-off formula that adds reinforced apex strength to natural nails without requiring pure file-off removal.
Comparing UV Gel to Regular Polish and Dip Powder
Choosing between gel polish, classic lacquer, and dip powder comes down to priorities around wear time, flexibility, and maintenance routines. Regular nail polish remains the easiest option to apply and remove at home without specialized equipment, but it rarely lasts beyond five to seven days without chipping and requires twenty to forty minutes of careful handling while it dries. Gel polish eliminates the drying window and withstands heavy daily tasks for two to three weeks while retaining natural nail flexibility.
Dip powder manicures use an acrylic powder combined with a cyanoacrylate adhesive (resin) to create a very dense, rigid coating without requiring a curing lamp. While dip powder can outlast soft gel on clients whose hands are constantly submerged in water, its rigid structure can feel heavier on the nail plate and requires a longer acetone soaking period during removal. Gel polish offers a noticeably more natural, flexible feel that bends slightly with the natural nail rather than cracking under light pressure.
Safe Removal Methods to Prevent Nail Damage
The most common misconception about gel manicures is that the formula itself ruins natural nails. In reality, nearly all mechanical damage occurs during aggressive, improper removal. When gel polish is peeled, picked, or scraped off forcefully, it strips away the delicate superficial layers of keratin that form the top surface of the natural nail plate. This peeling leaves natural nails thin, weak, prone to splitting, and sensitive to temperature changes.
A safe removal process requires patience and chemical dissolution rather than force. The technician or home user should first buff the shiny top coat with a medium-grit file to break the protective seal, allowing acetone to reach the color layers beneath. Cotton pads soaked in pure acetone are then secured over each nail using aluminum foil wraps or specialized manicure clips for ten to fifteen minutes. Once the gel softens into a loose, crumbly texture, it should slide away gently with the push of an orangewood stick; any stubborn spots should be re-wrapped rather than scraped.
Managing UV Exposure and Lamp Safety
Modern nail salons utilize both traditional compact fluorescent UV lamps and modern LED curing lamps, both of which emit UVA light to initiate polymerization. LED lamps operate on a narrower wavelength spectrum and cure gel significantly faster—often in thirty seconds compared to two minutes under fluorescent bulbs—which reduces overall exposure time per appointment.
While salon curing sessions involve relatively low cumulative exposure compared to natural outdoor sunlight, practical precautions can minimize unnecessary light exposure to the surrounding skin. Clients can apply a broad-spectrum, water-resistant sunscreen with an SPF of 30 or higher to the backs of their hands twenty minutes before their manicure. Alternatively, wearing fingerless anti-UV manicure gloves during the appointment shields the skin while leaving only the nail beds exposed to the light.
Daily Maintenance Habits to Maximize Longevity
Extending the lifespan of a gel manicure involves protecting the seal around the cuticles and free edges from mechanical stress and moisture intrusion. Water causes natural nails to expand slightly; as the nail plate contracts when drying, it can pull away from the rigid gel overlay, causing edge lifting. Wearing waterproof rubber gloves while washing dishes, gardening, or handling household cleaning chemicals prevents moisture and abrasive surfactants from breaking down the bond.
Daily hydration is equally vital for keeping both the natural nail and the cured gel coating resilient. Applying a penetrating cuticle oil containing jojoba or squalane twice daily keeps the surrounding skin supple and prevents the cured polymer from becoming overly brittle. Furthermore, avoiding using nails as tools to pry open cans or scrape surfaces prevents localized micro-fractures that inevitably lead to full-scale peeling.
Frequently asked questions
How long does a UV gel manicure typically last?
Most UV gel manicures last between two and three weeks without chipping or peeling. Longevity depends on proper nail prep, the speed of natural nail growth, and daily exposure to moisture or manual friction.
Can you cure regular nail polish under a UV lamp to dry it faster?
No, standard nail polish cannot be cured under a UV or LED lamp because it lacks the photoinitiators required for light-induced polymerization. Attempting to cure regular polish under a lamp will only dry the top skin, leaving the lacquer underneath soft and gummy.
What should you do if your gel polish begins to lift at the edges?
Do not pull or peel the lifting edge, as doing so will strip away layers of your natural nail plate. Instead, gently file away the lifted corner with a fine-grit nail file or schedule a professional removal session to safely take off the coating.
Your next step
If you are planning your next manicure, schedule an appointment with a licensed technician who uses a thorough dry preparation technique and gentle soak-off removal methods to protect your natural nail plate.