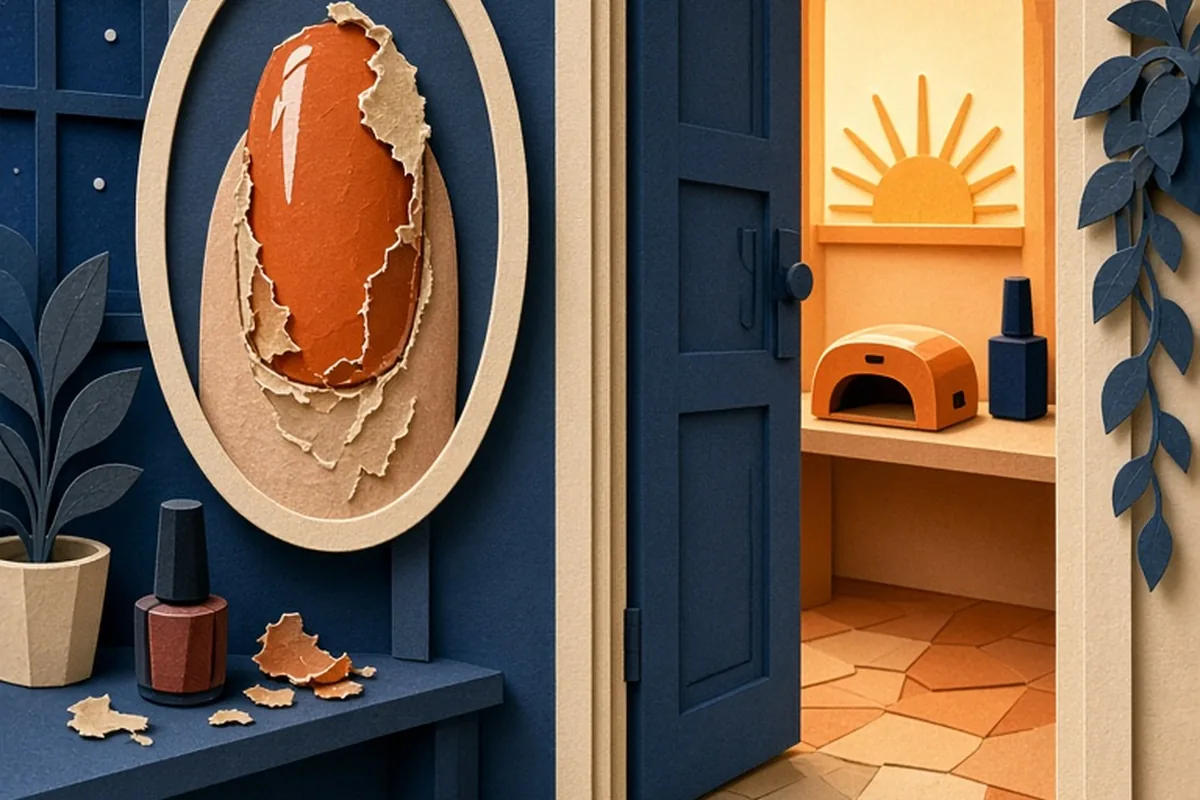
A gel manicure usually peels because of improper nail preparation, gel touching the skin or cuticle, thick layers, or incomplete curing under an incompatible lamp. When natural oils, dust, or moisture remain on the nail plate before application, or when cured gel bridges the gap between the nail and skin, the seal breaks, allowing air and moisture to lift the polish off in sheets.
Few things are more frustrating than spending an hour perfecting a gel manicure only to see edges lift away or entire sheets peel off within days. Understanding the mechanical and chemical bonds required for gel polish can help you pinpoint exactly where your routine needs adjustment.
Inadequate Nail Prep: Invisible Cuticle and Natural Oils
The primary culprit behind premature gel lifting is incomplete nail plate preparation. Your natural nails constantly produce oils and sweat, which create an invisible barrier that repels gel resin. Additionally, true cuticle tissue—the thin, translucent layer of dead skin that rides up onto the nail plate from the eponychium—often remains adhered to the nail even after pushing back the visible skin folds. If you paint gel polish over this microscopic layer of skin or over residual oils, the base coat bonds to the debris instead of the keratin fibers of your nail plate, causing the product to lift as soon as your hands encounter daily friction.
To achieve a durable bond, thorough mechanical and chemical preparation is essential. Start by gently scraping away the invisible cuticle using a stainless steel cuticle pusher held at a low angle to avoid gouging the nail bed. Next, use a fine-grit buffer (around 220 to 240 grit) to lightly remove the natural shine from the entire nail plate, paying special attention to the proximal nail fold and lateral sidewalls. Avoid over-filing, which thins and weakens the nail; the goal is simply to create microscopic texture for mechanical adhesion. Finish by thoroughly scrubbing the nail with a lint-free wipe saturated with 90 percent or higher isopropyl alcohol or a professional dehydrator to strip away dust and surface moisture. Skipping dehydration or touching your face and hair after this step immediately introduces oils back to the surface.
- Use a 220-grit or 240-grit buffer lightly; never use coarse emery boards on the natural nail surface.
- Cleanse with pure isopropyl alcohol (90%+) or acetone; avoid standard rubbing alcohol with added oils or moisturizers.
- Ensure the lateral sidewalls and cuticle margins are completely free of dead skin residue.
Cuticle Flooding and Sidewall Overflow
Even with spotless surface preparation, gel polish will lift if any base coat, color, or top coat touches the surrounding skin or cuticle. When gel cures, it transitions from a liquid oligomer to a solid cross-linked polymer network. If that solid plastic matrix touches living tissue, it forms a mechanical bridge between the moving skin and the rigid nail plate. As your fingers move, wash, and shed dead skin cells over the next forty-eight hours, the skin pulls away from the gel edge. This breaks the vacuum seal, creating an entry point where water, soap, and dirt enter, ultimately levering the entire gel coating off the nail.
Preventing overflow requires deliberate brush control and leaving a tiny, uniform gap around the perimeter of the nail. Position your brush a couple of millimeters away from the cuticle line, push gently backward toward the skin to establish a clean curved edge without making contact, and then pull forward toward the free edge. If any gel accidentally touches the skin before curing, stop immediately and clean it away using a firm, flat brush dipped in isopropyl alcohol or pure acetone. Once cured under the lamp, flooded gel cannot be neatly wiped away and must be filed down, which often leaves jagged, lift-prone edges.
Under-Curing and Incompatible Lamp Wavelengths
Under-cured gel is one of the most insidious reasons for peeling because the surface can feel smooth and dry to the touch while the lower layers remain soft and gummy. Gel systems rely on photoinitiators that react to specific light wavelengths (usually between 365 and 405 nanometers) produced by UV or LED nail lamps. If you use a low-wattage lamp, a lamp with worn-out LED diodes, or an incompatible brand pairing where the light spectrum does not match the photoinitiators in the polish, the gel cures only on top. The uncured base beneath cannot anchor to the nail plate, causing the entire enhancement to slide or peel off rubbery and intact.
To ensure a complete cure, check that your lamp has sufficient wattage (typically 36 watts or higher for LED units) and that your hand is placed correctly inside the chamber. Many lamps have dead zones near the outer edges, which frequently results in thumbs remaining under-cured if painted and cured simultaneously with the other four fingers. Cure your thumbs separately, lying flat on the lamp floor to ensure direct light exposure. Furthermore, resist the temptation to apply heavy, thick coats of color to reach opacity faster; dense pigmentation blocks light penetration, leaving the lower layers partially cured.
- Cure dark, heavily pigmented, or opaque white polishes for an extra 30 to 60 seconds if using a compact lamp.
- Position thumbs flat on the baseplate in a dedicated curing cycle rather than tilting them sideways in a full-hand cure.
- Replace home UV/LED lamps every couple of years if you notice longer curing times or softer finished surfaces.
Applying Thick Layers and Skipping Free Edge Capping
A common mistake in DIY and rushed salon applications is applying gel polish with the same thickness used for traditional air-drying enamel. Gel formulas require very thin, even coats to allow light penetration and to preserve the natural flexibility of the nail. When gel is applied too heavily, the outer crust hardens instantly under the lamp while shrinking slightly. This shrinkage exerts upward tension on the edges of the nail plate, curling the product away from the nail before the manicure is even finished.
Equally critical is the technique known as 'capping the free edge.' The tip of your nail encounters constant friction from typing, handling keys, opening containers, and tapping surfaces. If the exposed edge of the natural nail is unsealed, water seeps between the layers from the front, causing the tip to chip and peel backward. To cap properly, run the side of the brush horizontally across the very front edge of the nail for the base coat, color coats, and top coat. Be careful not to leave a thick bead of gel underneath the fingertip, which creates a catch point that snags on clothing.
Nail Plate Flexibility, Moisture, and Water Exposure
Your natural nail is made of dozens of layers of flattened keratin cells that behave like a sponge, expanding when wet and contracting as they dry out. If you wash your hands, take a hot shower, or perform household chores right before applying a gel manicure, your nail plates absorb water and swell. Once the gel is applied and cured over this expanded surface, the nail gradually dehydrates and shrinks back to its normal dimensions over the next several hours. Because cured gel cannot shrink along with the natural nail, the bond shears apart, leading to spontaneous peeling within two to three days.
Similarly, natural nail flexibility dictates how well gel adheres. If your nails are naturally thin, bendable, or damaged from previous improper removals, they will flex beneath the rigid gel coating whenever you grasp an object. Standard hard gels or stiff base coats lack the elasticity to move with a paper-thin nail, causing the product to snap away from the flexible tip. In these cases, switching to a flexible 'rubber base' coat or applying an overlay structure can provide the structural reinforcement needed to prevent the natural nail from bending out from under the polish.
- Avoid submerging hands in water for at least two hours prior to starting a gel manicure application.
- Wear rubber gloves when washing dishes or using household cleaning chemicals to preserve the chemical seal.
- Consider a flexible rubber base coat if your natural nails are bendable, peeling, or prone to flexing.
System Incompatibility and Expired Chemistry
While it is tempting to mix and match different brands of base coats, color polishes, and top coats, chemical incompatibility can compromise the longevity of your manicure. Different manufacturers formulate their systems with specific ratios of photoinitiators, monomers, and oligomers designed to cross-link with their companion products. A highly flexible base coat paired with an extremely rigid top coat can create internal shearing stress, resulting in the top layer cracking or peeling away from the color coat below.
Product age and storage conditions also play a meaningful role in gel performance. Storing bottles near windows where ambient UV rays penetrate the glass, or leaving caps partially open, thickens the formula and degrades the active curing chemistry. If your gel feels stringy, clumpy, or unusually viscous during application, the formula has likely begun partial polymerization in the bottle. Using degraded product almost always yields poor adhesion and premature lifting, regardless of how meticulously you prepare the natural nail.
Illustrative Scenarios
Illustrative Scenario: Resolving Chronic Tip Lifting
A home enthusiast experienced consistent peeling at the tips of her index and thumb nails within three days of application, despite thorough prep. Upon reviewing her technique, she realized she was washing dishes immediately before doing her nails and was applying thick base coats without sealing the free edge. She adjusted her routine by waiting four hours after water exposure, switching to micro-thin coats, and lightly capping the leading edge with her top coat.
Key point: Eliminating moisture absorption prior to application and sealing the free edge prevented water penetration and stopped tip peeling.
Frequently asked questions
Is it safe to peel off a gel manicure once it starts lifting?
No, you should never pull or peel lifting gel polish away from the nail. Peeling tears off the superficial layers of natural keratin cells along with the polish, leaving your nails thin, weak, and sensitive. Instead, safely file the surface seal and soak the product off with pure acetone.
Why does my gel polish peel off in one whole sheet?
Peeling off in a single intact sheet usually indicates that the base coat never bonded to the nail plate. This is almost always caused by residual natural oils, moisture, or invisible cuticle tissue left on the nail during preparation, or by severe under-curing.
Does using a dehydrator and primer make a difference for gel longevity?
Yes, using a chemical dehydrator and an acid-free primer significantly improves adhesion, particularly for individuals with oily nail beds or sweaty hands. The dehydrator temporarily evaporates surface moisture, while the primer acts as a double-sided adhesive between natural keratin and gel resin.
Your next step
For your next application, focus entirely on meticulous dry prep: gently remove invisible cuticle, scrub the nail with 90 percent isopropyl alcohol, and apply wafer-thin layers while leaving a hairline gap around the skin to ensure a lasting seal.