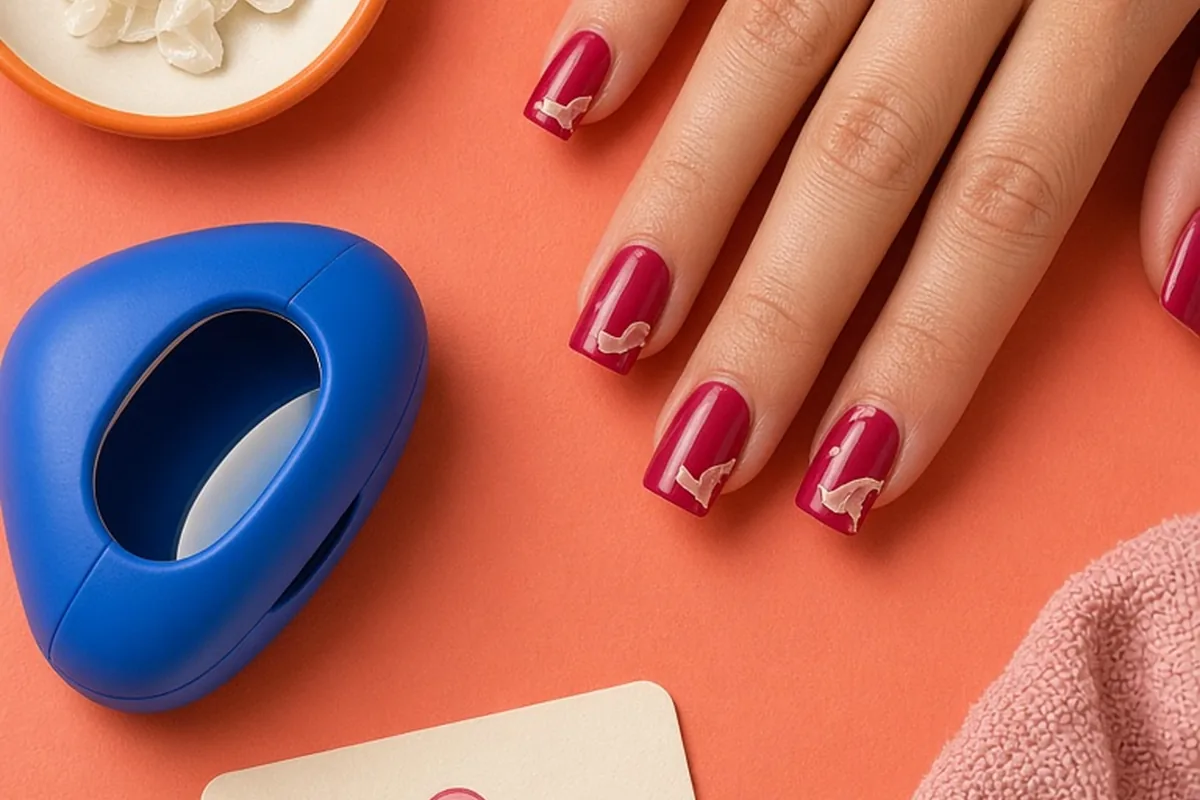
A gel manicure usually peels off because of residual surface moisture or natural oils on the nail plate, improper cuticle preparation, thick coats of polish that fail to cure fully, or gel touching the surrounding skin. When the bond between the base coat and the keratin plate is compromised, water and everyday friction can easily lift the entire gel layer away from the natural nail.
Few beauty routines feel more rewarding than walking away with a smooth, mirror-shine manicure that promises to stay flawless for weeks. However, that high-gloss finish quickly turns frustrating when an entire coat begins lifting at the corners or catches on your clothing after just a couple of days. While gel products are celebrated for resilience, their longevity relies on precise chemical bonding and mechanical adhesion that any overlooked step can quickly disrupt.
Invisible Cuticle Tissue and Incomplete Surface Dehydration
The single most frequent reason gel polish fails to adhere is inadequate preparation of the natural nail plate. Many people push back the visible proximal nail fold, often called the cuticle, but fail to remove the true cuticle. The true cuticle is a thin, nearly invisible layer of dead skin cells that grows out attached to the surface of the nail plate. Because gel polish is chemically formulated to adhere to keratin rather than cellular skin debris, applying base coat over this residue creates an unstable foundation. As the underlying dead skin sheds or absorbs moisture, the gel directly over it detaches and forms an open pocket.
Natural oils and surface hydration present an equally common hurdle. The nail plate is naturally porous, readily absorbing sebum from your skin and water from washing your hands. If you apply polish over a moist or oily nail bed, the hydrophobic base coat cannot anchor into the microscopic ridges of the nail. Thoroughly cleansing the nail plate with high-percentage isopropyl alcohol or pure acetone right before applying primer is essential to temporarily dehydrate the surface. Skipping this step or touching your bare nails with your fingertips after wiping them reintroduces body oils that guarantee early lifting.
There is a sensible boundary to keep in mind when prepping the nail plate. While removing shine and surface oils is necessary, aggressively scraping or over-filing the natural nail thins the protective dorsal layer. Overly thinned nails flex more under pressure and hold onto products poorly, ironically worsening the very peeling problem you are trying to prevent.
Flooding the Lateral Folds and Cuticle Line
Gel polish has a fluid consistency that naturally flows toward the borders of the nail plate through capillary action. When polish is placed too close to the proximal nail fold or the lateral sidewalls, it easily pools into the surrounding grooves and cures directly against the skin. Because living skin continuously produces natural oils, perspires, and sheds epithelial cells, the gel cannot maintain a secure seal against flesh. Within forty-eight hours, the portion of the gel attached to the skin detaches completely.
Once that microscopic section lifts from the skin, it forms an elevated ledge along the base of your nail. Everyday actions like washing your hair, slipping your hands into tight pockets, or typing on a keyboard apply constant upward pressure against that exposed edge. Water and hand soap then seep beneath the lifted seam, traveling downward across the nail plate until the entire sheet pops off in one solid piece.
To prevent flooding, leave a tiny, deliberate margin between the polish and your skin. Aiming for a hairline gap roughly one millimeter wide creates a clean, fully enclosed perimeter that seals completely against bare keratin. If polish does touch your skin prior to curing, use a fine angled brush dipped in rubbing alcohol or acetone to clear the skin fold completely before placing your hand under the light.
Incomplete Curing from Lamp Discrepancies and Hand Position
A gel manicure can look entirely smooth and dry on top while remaining soft and unpolymerized beneath the surface. Gel polish relies on specialized photoinitiators that activate only when exposed to precise wavelengths of light, typically between 365 and 405 nanometers. If your lamp lacks the correct output, has declining bulbs, or utilizes an incompatible wattage for the specific gel formula you are using, the light will only cure the outer film. The uncured base layer stays gummy, lacking the chemical cross-links required to grip the natural nail.
Hand placement inside the curing unit plays a significant role in curing consistency. Most lamps feature diodes arranged to project light downward onto the central fingers, which can leave thumbs angled away from direct exposure if cured alongside the rest of the hand. When thumbs rest on their sides, the light hits them at an oblique angle, drastically reducing the light intensity that reaches the polish. Curing thumbs separately while keeping them flat on the lamp floor ensures uniform polymerization across the entire nail plate.
Keep in mind that increasing curing time cannot always compensate for an incompatible or low-quality lamp. If the lamp does not emit the specific wavelength required by a brand's chemical formulation, extending the timer will not create a proper cure and may generate excessive heat spikes that irritate the sensitive nail bed.
Applying Polish Layers That Are Too Thick
When applying traditional nail polish, applying a generous coat often feels like a shortcut to rich, streak-free opacity. With gel polish, however, thick coats are one of the most reliable triggers for peeling. Light energy diminishes rapidly as it travels through pigmented liquid. Highly pigmented colors, such as pure whites, deep blacks, rich berries, and dense pastels, contain mineral pigments like titanium dioxide that actively block and disperse ultraviolet rays before they reach the bottom of the layer.
When a thick layer is placed under the light, the topmost stratum cures almost instantly, shrinking slightly and forming a firm skin. Because the lower half of that same layer remains shielded from the light, it cannot solidify or bond to the base coat beneath it. The result is a manicure that may look fine initially, but soon wrinkles, feels rubbery, or peels off like a sticker because there is no structural anchor underneath.
The most effective approach is to apply each coat in a whisper-thin sheet. Before the brush touches your nail, wipe the stem clean and drag one side of the bristles against the bottle neck to remove excess product. It is far better to build full opacity across three paper-thin coats than to attempt full coverage in one or two dense passes.
Overlooking the Free Edge and Everyday Water Exposure
Natural nails are hygroscopic, meaning they absorb and release moisture readily depending on their environment. When your hands are submerged in hot water during long showers, baths, or dishwashing, the natural nail plate absorbs water and swells, expanding significantly. Gel polish, by contrast, is a rigid polymer that does not expand when wet. This dramatic difference in flexibility creates shearing forces along the contact plane between the nail and the polish, gradually pulling the two surfaces apart.
This separation almost always begins at the free edge, where the tip of the nail plate is exposed to the elements. If the tip is left unsealed, moisture enters through the exposed cross-section of keratin, loosening the bond from the top downward. Capping the free edge—lightly sweeping the side of your brush along the horizontal tip of the nail with your base, color, and top coats—creates a continuous, wrap-around barrier that prevents water from working its way between the layers.
Capping requires precision on very short or worn nails where pulling the brush over the edge can smear polish onto the fingertip pad. In those cases, keep the edge clean with an acetone brush, and rely on protective habits such as wearing waterproof rubber gloves during household cleaning and dishwashing to reduce prolonged water immersion.
Product Mismatches with Flexible or Damaged Nails
The baseline structural integrity of your natural nail heavily dictates how well gel polish stays attached. Natural nails vary widely in flexibility, oil production, and thickness. If your natural nails are very thin, soft, or bend easily under light pressure, standard hard gel or traditional rigid gel polish may be structurally incompatible. When your nail bends while typing, opening packaging, or completing routine tasks, a rigid polish cannot flex with it, causing the bond to snap and the coating to pop off.
Prior damage from peeling off old gel layers compounds this issue dramatically. When gel polish is peeled or pried off manually instead of properly soaked, it strips away the microscopic top layers of the nail plate, leaving behind rough, uneven patches of weakened keratin. Polish applied over damaged, flaky areas struggles to establish an even bond because the underlying surface is already separating from itself.
If you have naturally flexible or compromised nails, switching to a flexible rubber base coat or a soft builder gel can provide the elasticity needed to move alongside your natural plate without shearing. Alternatively, giving severely damaged nails a rest period with regular cuticle oil applications allows healthy, uniform keratin layers to grow out before you resume gel applications.
A Reliable Step-by-Step Routine for Better Retention
Improving your manicure retention comes down to establishing a disciplined sequence where every action supports long-term adhesion. Rather than changing multiple products at once, adjusting your technique systematically allows you to identify where the failure occurred. A successful application relies on thorough mechanical cleansing, chemical preparation, controlled application, and steady post-application care.
Follow this sequential approach during your next gel manicure to minimize common lifting triggers:
Once your top coat is cured and wiped clean, avoid submerging your hands in hot water for at least one to two hours to allow the polymer structure to fully stabilize at room temperature. Regular application of jojoba-based cuticle oil will keep the surrounding skin pliable and prevent dry skin from pulling at the manicure borders.
- Start with a dry manicure by skipping hand soaks or cuticle softeners that saturate the nail plate with moisture.
- Gently buff the surface with a fine 240-grit buffer just enough to remove natural shine, avoiding heavy pressure.
- Cleanse the nail plate with pure acetone or 99 percent isopropyl alcohol using a lint-free wipe to clear all dust and residual sebum.
- Apply an optional pH-balancing dehydrator or non-acid bonding primer to promote chemical grip.
- Apply a very thin layer of base coat, scrubbing it lightly into the nail plate with the brush bristles while leaving a tiny border around the cuticle.
- Cure according to your system guidelines, cure thumbs separately to guarantee direct light exposure, and keep all color coats thin.
- Cap the free edge on your final color coat and top coat to seal the tip against moisture infiltration.
Frequently asked questions
Can I simply glue down a gel nail that is beginning to lift?
Using nail glue to secure a lifted gel edge is not recommended because it traps moisture, hand soap, and bacteria directly against the nail plate. That trapped moisture creates an ideal breeding ground for bacterial or fungal infections beneath the polish. The safer choice is to gently file down the lifted edge or safely soak off the loose nail entirely.
Why does my gel polish peel off in one whole sheet like a sticker?
A gel manicure peeling off cleanly in a single sheet typically points to an adhesion failure at the base layer rather than a product defect. This usually happens when the nail plate was not fully dehydrated prior to the base coat, or because the base coat was under-cured or applied over flooded cuticle skin. When the base coat cannot grab the natural nail plate, the entire unified layer simply lifts off under tension.
Does buffing my natural nails before applying gel really make a difference?
Lightly buffing the nail plate removes the natural shiny lipid layer and creates subtle microscopic texture that gives the base coat mechanical purchase. However, this step only requires a gentle pass with a high-grit, soft buffer rather than aggressive sanding. Excessive buffing strips away valuable nail thickness, which weakens the nail and makes the gel peel even faster.
How long should a properly applied gel manicure realistically last?
When the natural nail plate is well-prepped and the product is cured properly, a standard gel manicure typically lasts between two to three weeks without peeling. After three weeks, natural nail growth shifts the balance of the polish, and everyday wear can introduce hairline lifting near the base. Removing and redoing the manicure after two to three weeks protects the underlying nail health.
Your next step
For your next manicure, perform a completely dry prep, wipe each bare nail with high-percentage isopropyl alcohol, and apply your base coat in an ultra-thin layer with a visible one-millimeter gap from your skin to test whether clean borders resolve your peeling.