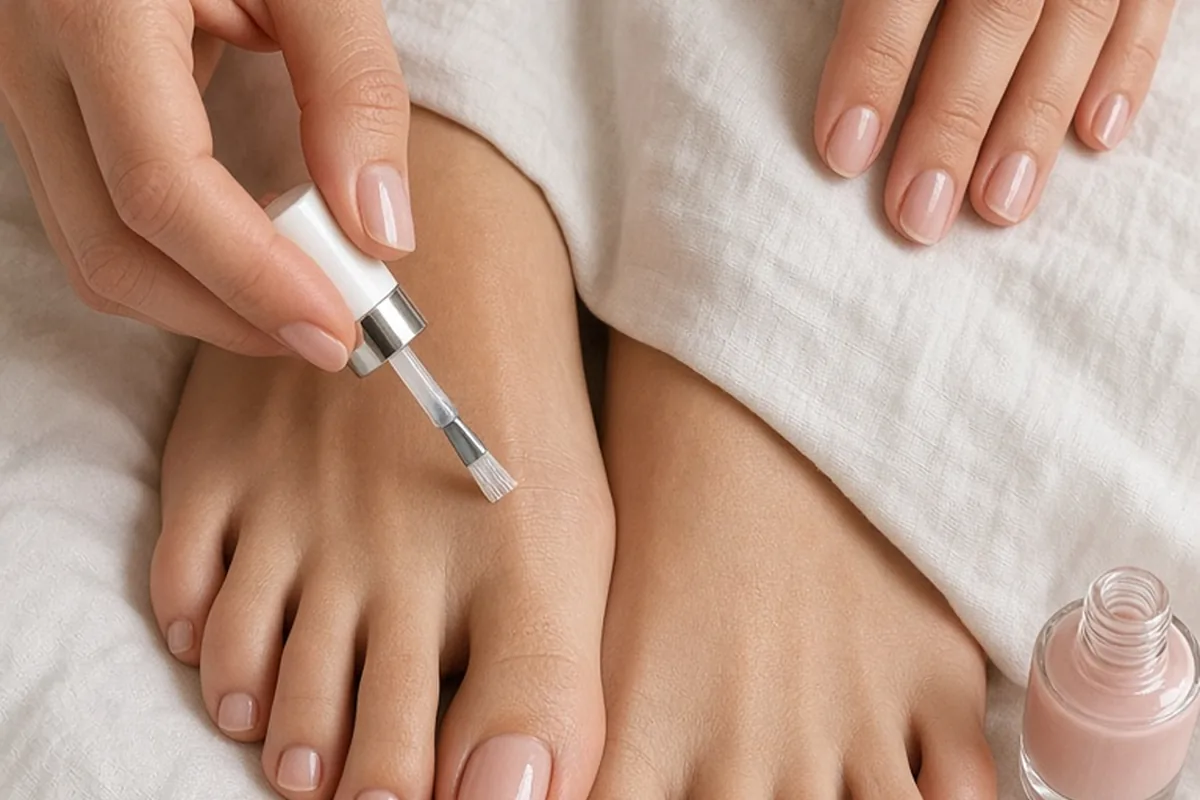
Assess the exact issue immediately: polish color, uneven shaping, smudges, or irritated cuticles. If regular polish looks streaky or chipped, remove it completely and apply a sheer neutral shade or clear topcoat. For bumpy gel, gently buff the surface to smooth the finish. If cuticles or heels are red or raw, apply a gentle hydrating balm. When time runs out, switch to closed-toe shoes or subtle peep-toe footwear.
Wedding events carry high expectations and tight schedules, making an unexpected beauty mishap like a botched pedicure feel disproportionately stressful. Whether you are the bride stepping into open-toe heels, a bridesmaid matching a specific color palette, or an honored guest, discovering uneven toenails, ruined polish, or irritated skin right before the celebration requires calm, practical troubleshooting.
Assess the Damage and Prioritize Your Fix
Before reaching for random tools or panicking in front of your bathroom mirror, sit in bright, natural light and diagnose what went wrong with your pedicure. Most pedicure disasters fall into three distinct categories: cosmetic polish errors, structural nail shaping issues, or physical skin irritation. Polish errors include bubbling, uneven pigment, streaks, smudging, or an unflattering color that clashes with your wedding footwear. Structural issues involve jagged edges, nails cut too short, crooked filing, or thick, uneven gel application. Skin issues generally stem from overzealous cuticle trimming, aggressive callus rasping, or chemical irritation from scrubs and lotions.
Separating these categories dictates your immediate plan of action and prevents you from making the problem worse. For example, trying to file down a nail while the polish is half-wet will tear the enamel and shred the nail plate, turning a minor color issue into a structural mess. Similarly, scrubbing irritated, inflamed cuticle beds with harsh acetone or fragrant creams can lead to intense stinging and lingering redness during the ceremony. Take thirty seconds to evaluate which issue is most prominent so you can address it with the correct technique, the right supplies, and a realistic timeframe.
Fixing Polish Disasters, Streaks, and Color Clashes
When the primary problem is a flawed polish application, starting fresh is almost always faster and cleaner than attempting to layer fixes over wet or lumpy enamel. If the salon used regular lacquer, take a cotton pad soaked in non-acetone or acetone polish remover and wipe every toe completely clean. Trying to paint over thick, bubbling polish will create a gummy texture that will not dry in time for the wedding photos. Once the nail plate is clean and dry, apply a single coat of base coat followed by two thin layers of a foolproof, forgiving shade.
Sheer pinks, milky whites, soft champagnes, and light beige tones dry significantly faster than dark, saturated crimsons or navies and hide minor brush strokes effortlessly. If you have less than twenty minutes before you must put on your shoes, skip pigmented color altogether. Instead, apply one coat of ridge-filling base coat, one coat of sheer nude, and a high-shine, fast-drying topcoat. The sheer wash gives the toes a clean, intentional, and manicured look that pairs seamlessly with any bridal gown or formal dress without the risk of visible smudges if you need to slide into shoes quickly.
If you are dealing with a minor surface dent on an otherwise acceptable pedicure, you can often level the surface without a full removal. Dip the pad of your clean index finger lightly into nail polish remover, gently tap the smudged area to melt and smooth down the displaced polish ridge, let it sit for two minutes, and then seal the entire nail with a fresh layer of quick-dry topcoat.
Handling Thick, Bumpy, or Peeling Gel Pedicures
Gel pedicures present a unique challenge because cured gel cannot simply be wiped away with standard remover right before an event. If your gel pedicure ended up lumpy, uneven, or applied too close to the skin folds, do not attempt to peel or rip the gel off. Forcibly peeling cured gel pulls away the top layers of your natural nail plate, leaving the toenails weak, white-spotted, rough, and potentially painful when walking down the aisle in tight formal footwear.
Instead, use a medium-grit buffer or a 180-grit nail file to gently level out high spots, ridges, or gel pooling around the lateral nail folds. Hold the file parallel to the nail surface and work with light, featherweight strokes so you do not file through to the natural nail. Once the bumpy surface is leveled and smoothed, wipe away the filing dust with a damp cloth or alcohol wipe. Finish by brushing a standard high-shine topcoat over the buffed gel to restore its glass-like shine. This simple smoothing method removes the awkward bulkiness while preserving the durability of the gel underneath.
Correcting Uneven, Asymmetrical, or Jagged Nail Shapes
A hurried technician may leave toenails filed at uneven angles, with one big toe squared off and the other rounded, or corners left sharp and prone to snagging on delicate gown fabric. To correct uneven shaping, use a fine-grit glass or emery board rather than clippers, which can cause splintering across brittle toenails. File in one consistent direction from the outer edge toward the center rather than sawing back and forth aggressively. Aim for a soft squoval shape, which features a straight horizontal edge across the top with slightly rounded, smooth corners.
A common dilemma occurs when one toe is filed significantly shorter than the other. Rather than cutting all your nails down to an uncomfortably short, raw baseline, create visual symmetry through subtle refinement. File the longer nails down slightly to reduce the contrast, but keep enough length so the nail bed remains protected. You can then apply a creamy, opaque neutral polish, which creates a clean silhouette and minimizes the visible difference in nail bed lengths. Ensure the corners are silky smooth by checking them against a pair of pantyhose or a soft cloth before sliding your feet into wedding footwear.
Soothing Inflamed Cuticles and Over-Exfoliated Skin
If your bad pedicure resulted in throbbing cuticles, painful hangnails, or raw heels from aggressive mechanical rasping, your focus must shift from pure aesthetics to comfort and soothing care. Over-trimmed cuticles create red, tender borders that can sting with every step. Avoid applying harsh alcohol-based sanitizers, strong perfumes, self-tanners, or scented body lotions near inflamed toenails, as these products will aggravate the irritation and cause persistent blotchiness.
Soak your feet in cool or lukewarm water for five minutes to calm the skin, then gently pat them dry with a clean, soft towel. Apply a generous layer of pure petroleum jelly, medical-grade lanolin, or a fragrance-free healing ointment directly over the raw cuticles and heels. If you have an hour before getting dressed, slip on clean cotton socks over the ointment to let the moisture absorb deeply without transferring onto your wedding attire. For immediate daytime wear, wipe excess grease from the nail plates so your polish remains intact while leaving the surrounding skin calm and protected.
Smart Footwear and Styling Adjustments When Time Runs Out
When an appointment goes wrong just hours before ceremony photos and you have no time or supplies for a cosmetic overhaul, strategic styling can effortlessly mask the issue. Wedding fashion is versatile, and you are never locked into showcasing your toes if doing so makes you feel self-conscious. Consider whether swapping your planned open-toe strappy sandals for an alternate pair of shoes is possible. Elegant pointed-toe pumps, chic slingbacks, closed-toe block heels, or embellished ballet flats provide sophisticated options that eliminate the visibility of your toenails entirely.
If your dress length or personal style requires open-toe footwear, consider minor illusions that draw visual focus away from the nail beds. A delicate ankle bracelet, a spritz of subtle shimmer spray across the tops of the feet and ankles, or wearing sheer, high-quality bridal hosiery can diffuse harsh lighting and blur minor polish imperfections. During formal photography sessions, position your feet naturally at a slight angle or allow the hem of your gown to drape gracefully over your shoes. Remember that wedding guests and cameras view your overall presence from several feet away, making microscopic pedicure flaws practically invisible to everyone but you.
Navigating Emergency Salon Corrections Politely and Efficiently
If you have a window of a few hours and prefer a professional fix, contacting a salon is a viable route, provided you manage the interaction clearly and calmly. If returning to the original salon, call immediately and explain the situation without hostility: state that you have a wedding today and need a quick polish change or shape adjustment due to uneven drying or color mismatch. Most salon managers will prioritize a swift correction for an upcoming event if you are specific about what needs adjusting and how much time you have.
If the original salon experience was deeply unsatisfactory or you lack confidence in their work, walk into a reputable nearby nail lounge or hotel spa and request an express polish change rather than a full pedicure service. An express service focuses solely on shaping and repainting, typically taking under twenty minutes. Clearly instruct the technician on your preferences: specify that you do not want your cuticles cut, select an easy-to-apply sheer or classic shade, and confirm that you need high-speed drying drops or a quick-dry topcoat to ensure you make your wedding timeline comfortably.
Frequently asked questions
How fast can I remove and repaint my toenails before leaving for a wedding?
A complete polish reset takes approximately fifteen to twenty minutes if you use a sheer neutral shade. Sheer lacquers require only one or two thin coats, dry in a fraction of the time of dark pigments, and look clean and professional even when applied quickly.
Can I hide a bad pedicure if my wedding shoes are open-toe sandals?
Yes, you can apply a sheer nude polish or clear gloss to minimize the appearance of uneven edges or streaks. Additionally, wearing ultra-sheer hosiery or applying a subtle body moisturizer creates a polished look that softens visual imperfections in photos.
What should I do if my cuticles are bleeding or painful after a pedicure?
Clean the area gently with mild soap and cool water, pat dry, and apply a thin layer of antibacterial ointment or plain petroleum jelly. Avoid soaking in hot water, skip harsh foot sprays or perfumes, and wear shoes that do not press directly against the sensitive nail borders.
Is it safe to peel off gel polish if the color looks bad on my toes?
No, peeling gel polish pulls off the natural layers of your toenails and can leave them thin, rough, and painful. Instead, gently buff the surface to dull the color and smooth the texture, then paint over it with a regular opaque neutral lacquer.
Your next step
Take five quiet minutes to assess whether your pedicure needs a simple polish wipe, gentle nail filing, or soothing balm, and choose the quickest, lowest-stress remedy so you can focus entirely on enjoying the wedding.