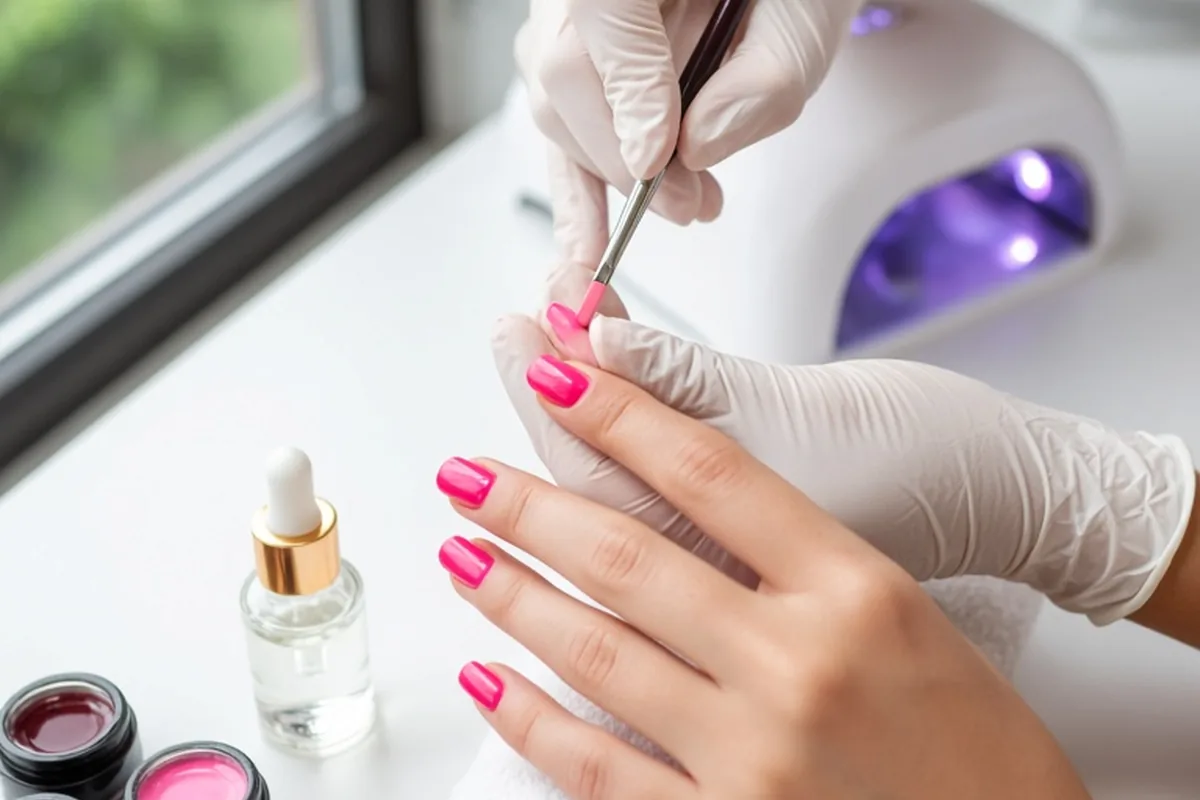
A gel manicure for a wedding provides chip-resistant shine that easily lasts through your rehearsal dinner, ceremony, reception, and honeymoon. For the cleanest look and minimal cuticle growth, schedule your appointment two to three days before the wedding day. This window allows the polish to settle, gives you time to fix any unexpected chips or application flaws, and keeps the finish pristine for high-resolution close-up ring photos.
Wedding celebrations place your hands on display constantly, from exchanging rings and holding bouquets to greeting guests and signing the marriage license. Selecting the right manicure style and timing prevents unnecessary stress, ensuring your nails remain flawless without requiring last-minute touch-ups during a busy weekend.
Optimal Timing for Your Wedding Gel Appointment
Scheduling your bridal gel appointment requires balancing freshness against logistical convenience. The sweet spot is two to three days before the ceremony. For a Saturday wedding, an appointment on Wednesday afternoon or Thursday morning is ideal. This timing ensures that your cuticles remain neat and no visible gap appears between the gel and your proximal nail fold. It also gives your hands time to recover if your technician performs meticulous cuticle work that leaves sensitive skin slightly red for a few hours.
Attempting to schedule your manicure the morning before or the day of the wedding introduces unnecessary friction. Pre-wedding schedules are notoriously prone to delays from dress steaming, rehearsals, and arriving family members. Conversely, booking the service five to seven days early introduces noticeable regrowth, softens the edge caps through daily showering, and increases the chance of minor surface scuffs from packing luggage. Planning for that two-to-three-day buffer ensures maximum gloss while maintaining room in your calendar to address any minor imperfections.
Choosing Between Standard Gel, Builder Gel, and Extensions
Not all gel services deliver the same structural support, so choosing the right product depends on your natural nail strength and aesthetic goals. A standard soak-off gel polish applies like traditional lacquer and cures under an LED or UV lamp. It adds flexible, high-gloss color and resists chipping for up to two weeks, making it ideal if you already have healthy, uniform natural nails. However, it does not add physical apex support or structural reinforcement, meaning naturally bendable or brittle nails can still snap under pressure.
If your nails tend to split, peel, or break under everyday stress, builder in a bottle (often called BIAB or structured gel) provides a thicker, reinforcing layer over the natural nail plate. It creates a gentle arch that absorbs impact, protecting your natural length during strenuous tasks like moving luggage or adjusting heavy dress fabrics. For brides seeking added length or symmetrical shaping across mismatched nails, full-cover soft gel extensions offer an alternative to traditional acrylics without heavy odor or aggressive filing. The trade-off is appointment length and cost: structured gel and extensions typically add thirty to sixty minutes to salon time and require a technician skilled in shaping balanced apexes.
Selecting Colors and Finishes That Complement Your Bridal Palette
Selecting a bridal nail color involves more than picking a flattering pink or nude; your shade should harmonize with your skin undertones, your dress fabric, and your jewelry. A crisp, bright white gown pairs cleanly with cool, milky sheers or soft porcelain whites, whereas warm ivory, cream, or champagne dresses can make stark white polishes appear harsh or clinical. For warmer gowns, warm blush, translucent peach, or beige-nudes provide a complementary balance. Holding prospective polish swatch sticks directly against a fabric swatch of your dress under natural daylight helps eliminate undertone clashes before application.
Finishes also set the tone of your overall bridal aesthetic. Modern trends favor subtle glazed chrome powders applied over sheer bases, soft ombré French designs (often called baby boomer nails), and delicate micro-French lines. While high-gloss classic finishes remain timeless, textured or layered finishes require skilled execution. For example, chrome powders must be completely sealed along the free edge with a durable top coat; otherwise, the metallic sheen can wear away unevenly at the fingertips after a few days of hand washing and handling items.
The Practical Importance of a Bridal Manicure Trial Run
Booking a manicure trial three to four weeks before your wedding date eliminates guesswork. A trial lets you test your preferred shape, evaluate how the color interacts with your engagement ring, and see how the shade appears under both indoor lighting and direct sunlight. It also acts as an audition for your nail technician, allowing you to assess their cleanliness, cuticle care technique, and ability to deliver neat, streak-free polish lines along the sidewalls.
Beyond appearance, a trial run reveals how your body and daily routine interact with a specific product line. Some individuals have naturally oily nail beds or work frequently with their hands, leading certain base gels to lift prematurely near the cuticle line. Wearing the trial set for two full weeks gives you clear data on whether the brand holds up without peeling. If a corner lifts after five days, you and your technician can adjust the prep protocol for the wedding set by incorporating a dehydrator, an acid-free primer, or a more flexible base coat.
Preparing Cuticles and Nail Plates Before Salon Day
The longevity of a gel manicure relies heavily on the condition of your natural nail plates before polish ever touches them. In the three weeks leading up to your wedding, apply a quality jojoba-based cuticle oil daily, ideally right before bed, followed by an emollient hand cream. Consistent hydration keeps the proximal nail fold flexible, prevents painful hangnails, and minimizes dry, ragged edges that show up prominently in macro ring photography. Avoid picking, cutting your own cuticles, or using harsh chemical removers at home during this period.
On the day of your appointment, avoid saturating your hands in water immediately beforehand. Do not take long, hot baths, wash dishes without protective gloves, or schedule a swimming session right before visiting the salon. Nail plates are porous and absorb water, expanding slightly when wet. If a technician applies gel over water-swollen nails, the nail plate will contract back to its normal size as it dries over the following hours, breaking the adhesive bond and causing premature lifting. Request a dry manicure or minimal-water prep for the cleanest, most durable adhesion.
Managing Day-of Snags and Assembling an Emergency Kit
Even properly applied gel manicures can encounter friction when you are fastening tricky jewelry clasps, managing garment bags, or handling floral arrangements. Having a compact nail emergency kit on hand in the bridal suite prevents minor snags from turning into noticeable damage. The most critical rule when dealing with a minor lift or catch is to never peel the gel off. Peeling strips the top layers of keratin from your natural nail, creating rough patches and leaving the nail dangerously thin and sensitive.
If a rough edge develops, gently smooth the area using a fine-grit glass file, filing in one fluid direction rather than sawing back and forth. For minor edge separation, placing a tiny droplet of brush-on nail glue beneath the lifted section and holding it flat for fifteen seconds will secure the seal through the reception. A quick pass of cuticle balm immediately before photographs restores instant luster to both the skin and the polish surface without leaving greasy residue on delicate dress fabrics.
- Fine-grit glass nail file (180 to 240 grit) for smoothing unexpected snag points
- Brush-on nail glue for emergency edge securing
- Compact cuticle oil or balm pen for camera-ready moisture without greasy residue
- Non-acetone travel wipe pack for smoothing accidental makeup transfer on polish
- Backup set of neutral press-on nails matching your chosen bridal shade
Honeymoon Transition and Safe Gel Removal
One of the major advantages of a gel manicure for a wedding is its ability to transition seamlessly into your honeymoon. Whether traveling to a beach destination, hiking, or exploring cities, gel polish withstands constant exposure to water, sand, and packing friction far better than traditional polish. However, extended contact with chlorinated pools and heavy spray sunscreens can occasionally dull the high-gloss shine or cause pale pinks and whites to take on a slight yellow tinge. Rinsing your hands with fresh water after swimming and applying sunscreen with your palms rather than your fingertips protects the top coat clarity.
Once regrowth becomes obvious or the honeymoon concludes, remove the gel properly to preserve your nail health. Never attempt to scrape, pick, or pry the gel off dry. The safest method involves lightly buffing the shiny top coat with a file to break the seal, saturating small cotton balls in pure acetone, placing them over each nail, and wrapping them securely in aluminum foil for twelve to fifteen minutes. The softened gel will slide away easily with a wooden orangewood stick, leaving your underlying nail plates intact, smooth, and ready for regular conditioning.
Illustrative Scenarios
Balancing Timeline Constraints for an Out-of-Town Wedding
A bride planning a destination wedding four hours from home debated whether to visit her regular technician on Tuesday or find a new salon near her venue on Friday morning. During a trial run four weeks prior, she noticed that an opaque pale pink showed subtle brush streaks under bright outdoor light, prompting her technician to switch to a self-leveling sheer jelly blush that wore flawlessly. Reluctant to risk an unfamiliar salon right before the ceremony, she scheduled her final set with her trusted technician on Wednesday afternoon, allowing her to finish packing, travel on Thursday, and attend her rehearsal on Friday with pristine, streak-free nails.
Key point: Opting for a trusted technician two to three days before travel provides far more consistency and peace of mind than booking an unfamiliar salon near the venue at the last minute.
Frequently asked questions
How many days before the wedding should I get my gel manicure?
The ideal window is two to three days prior to the ceremony, such as Wednesday or Thursday for a Saturday wedding. This provides a balance between zero visible regrowth and ample time to fix an unexpected chip or bubble before events begin.
Can sunscreen or tanning lotions discolor bridal gel nails?
Yes, certain active ingredients in chemical sunscreens and tinted self-tanning products can cause pale neutral, white, or sheer pink gel polishes to yellow or turn dingy. Apply lotions using the palms of your hands or a blending mitt, and wipe off your nails immediately with a damp cloth if product gets on them.
What should I choose between gel polish and dip powder for my wedding?
Gel polish provides a lighter, more natural feel and exceptional flexibility, making it ideal if your nails are already uniform and healthy. Dip powder uses acrylic-based polymers to create a significantly thicker, more rigid shell, which benefits individuals prone to breaking nails but can feel bulky if applied unevenly.
What is the best way to clean dirt from under bridal nails on the wedding day?
Use a soft-bristled nail brush with mild soap and lukewarm water rather than scraping underneath the free edge with sharp metal implements. Aggressive scraping can detach the delicate hyponychium tissue under your nail bed, causing discomfort and uneven smile lines in close-up photographs.
Your next step
Book your bridal manicure trial run four weeks before your wedding date, bringing photos of your dress, ring, and preferred nail shape to test color compatibility and wear performance.