Mastering DIY wedding cupcakes requires baking cake bases in advance, selecting temperature-stable frostings, and establishing a strict production schedule. Success comes from calculating roughly 1.25 standard cupcakes per guest across two or three versatile flavors, freezing cooled sponges up to three weeks ahead in airtight containers, frosting within twenty-four hours of the reception, and transporting decorated cupcakes in structured bakery boxes with individual cupcake inserts to prevent damage.
Baking cupcakes for your own wedding or a loved one's reception offers creative control and personal charm, but standard home kitchen workflows collapse quickly when scaled to serve a large gathering. Transitioning from baking two dozen treats to producing several hundred celebration-worthy cupcakes requires practical batch systems, disciplined temperature management, and strict logistics.
Calculating Cupcake Quantities and Balancing Flavor Menus
Determining your total production count begins with understanding how wedding guests behave around self-serve dessert tables. Unlike a plated cake where catering staff serves uniform slices to seated tables, cupcake displays invite browsing and occasional second helpings. For an evening reception where cupcakes are the sole dessert, plan for 1.25 to 1.5 standard-sized cupcakes per guest. If you choose miniature cupcakes instead, calculate 2.5 to 3 pieces per person because smaller portions disappear rapidly. When other desserts such as a groom's cake, pie station, or ice cream bar are present, you can safely scale back to 1 standard cupcake per guest.
Menu selection must balance broad appeal with your own culinary preferences. While exotic flavor combinations sound exciting during initial brainstorming, complex profiles frequently leave unconsumed leftovers at the end of the night. A dependable framework combines one universal favorite, one rich profile, and one seasonal or fruity accent. Pairing a traditional vanilla bean sponge with a salted caramel drizzle, a moist dark chocolate cake filled with fudge, and a lemon sponge filled with raspberry curd satisfies diverse palates without complicating your grocery shopping or production stages.
Limit your overall menu to a maximum of three sponge recipes and two frosting varieties. You can generate the illusion of greater variety by using different piping styles, liners, or garnishes across the same base components. For example, a single batch of classic vanilla Swiss meringue buttercream can top both vanilla and lemon sponges, while toasted coconut flakes, freeze-dried berry dust, or chocolate curls visually differentiate each selection without requiring extra mixing bowls or custom frosting batches.
Selecting Sponges and Frostings That Hold Up Under Venue Conditions
A recipe that tastes wonderful twenty minutes out of the oven in a temperature-controlled home kitchen might dry out or collapse after sitting on a display pedestal for four hours at an outdoor summer reception. For wedding applications, oil-based cake batters or recipes combining oil and cultured buttermilk deliver significantly better moisture retention than all-butter sponge cakes. Oil remains liquid at cooler temperatures, which keeps your cupcakes tender even if they spend extended hours in a commercial refrigerator before setup.
Frosting selection represents the single most critical structural decision of the entire project. American buttercream, composed primarily of powdered sugar and butter or vegetable shortening, creates a protective crust that resists humidity reasonably well, but it can taste overly sweet in generous swirls. Swiss meringue buttercream delivers a silky, bakery-quality texture and sophisticated flavor balance, yet its structure relies entirely on an emulsion of whipped egg whites and pure butter. Pure butter frostings begin to soften around 75 degrees Fahrenheit and will melt visibly at 80 degrees or higher, making them unsuitable for unshaded outdoor receptions or non-air-conditioned barn venues.
If your reception occurs in warm or humid conditions, modify your frosting by substituting a portion of the butter with high-ratio vegetable shortening, or prepare an Italian meringue buttercream, which offers superior thermal stability due to its hot sugar syrup base. Cream cheese frosting demands extreme caution because of its high moisture content and loose protein structure; without additional powdered sugar or cornstarch to stabilize it, cream cheese icing will weep and slide off cupcakes within two hours of display in warm rooms.
Structuring Your Baking, Freezing, and Assembly Schedule
Attempting to bake, frost, and detail over one hundred cupcakes in the forty-eight hours immediately preceding a wedding is a recipe for physical exhaustion and culinary mistakes. Professional bakers manage high-volume events by relying on freezer preservation. Unfrosted cupcake sponges freeze exceptionally well without any detectable loss in crumb tenderness or moisture, provided they are sealed properly against freezer burn and odor absorption.
Begin your baking schedule two to three weeks before the wedding. Bake your sponges in organized batches, allow them to cool completely on wire racks, and wrap them tightly in groups of six or twelve in plastic wrap before sealing them inside heavy-duty zip-top freezer bags or rigid airtight containers. Label every container clearly with the flavor and date. Freezing the sponges actually makes them easier to handle later, as chilled cakes produce fewer loose crumbs during filling and frosting stages.
Transition to assembly forty-eight to twenty-four hours before the event. Remove the frozen cupcakes from the freezer, leaving them sealed inside their packaging at room temperature for two to three hours so condensation gathers on the exterior plastic rather than soaking into the cake crumb. Prepare your frostings the day before the event, store them in airtight containers, and bring them back to room temperature before re-whipping them briefly with a paddle attachment to restore a smooth, bubble-free piping consistency. Pipe your decorations eighteen to twenty-four hours ahead of time, then store the decorated cupcakes in a cool room or commercial refrigerator.
Achieving Uniform Visual Presentation Across Large Batches
The difference between an amateur bake sale display and an elegant wedding dessert table lies in visual uniformity. When guests see one hundred cupcakes that share identical height, liner geometry, and frosting volume, the display commands immediate respect. Achieve uniform batter portioning by using a mechanical spring-loaded ice cream scoop rather than spoons or free-hand pouring. A standard number 16 or 20 disher deposits precisely three tablespoons of batter into each cavity, ensuring every cupcake bakes to the exact same crown height.
Invest in greaseproof baking liners made from heavy glassine or aluminum foil backing. Inexpensive paper liners often absorb oils from the batter during baking, turning translucent and blotchy once cooled. Clean white greaseproof liners, natural unbleached parchment liners, or metallic foil wrappers preserve their color and provide a crisp frame for your frosting designs. If your paper liners darken during baking, you can drop the finished, cooled cupcakes into a second, fresh decorative liner sleeve immediately prior to display.
Stick to one or two classic piping tips to maintain a cohesive look across your displays. A large open star tip, such as an Ateco 825 or Wilton 1M, creates timeless bakery rosettes and ruffled swirls, while a wide round tip, like an Ateco 808, produces sleek, contemporary domed mounds. Keep your piping hand perpendicular to the cupcake surface and maintain steady pressure from the top of the piping bag rather than squeezing from the middle. Finish with simple, deliberate garnishes: a single fresh raspberry, a candied flower petal, or a light dusting of cocoa powder applied through a fine-mesh sieve provides polish without crowding the pastry.
Transporting and Setting Up DIY Wedding Cupcakes at the Venue
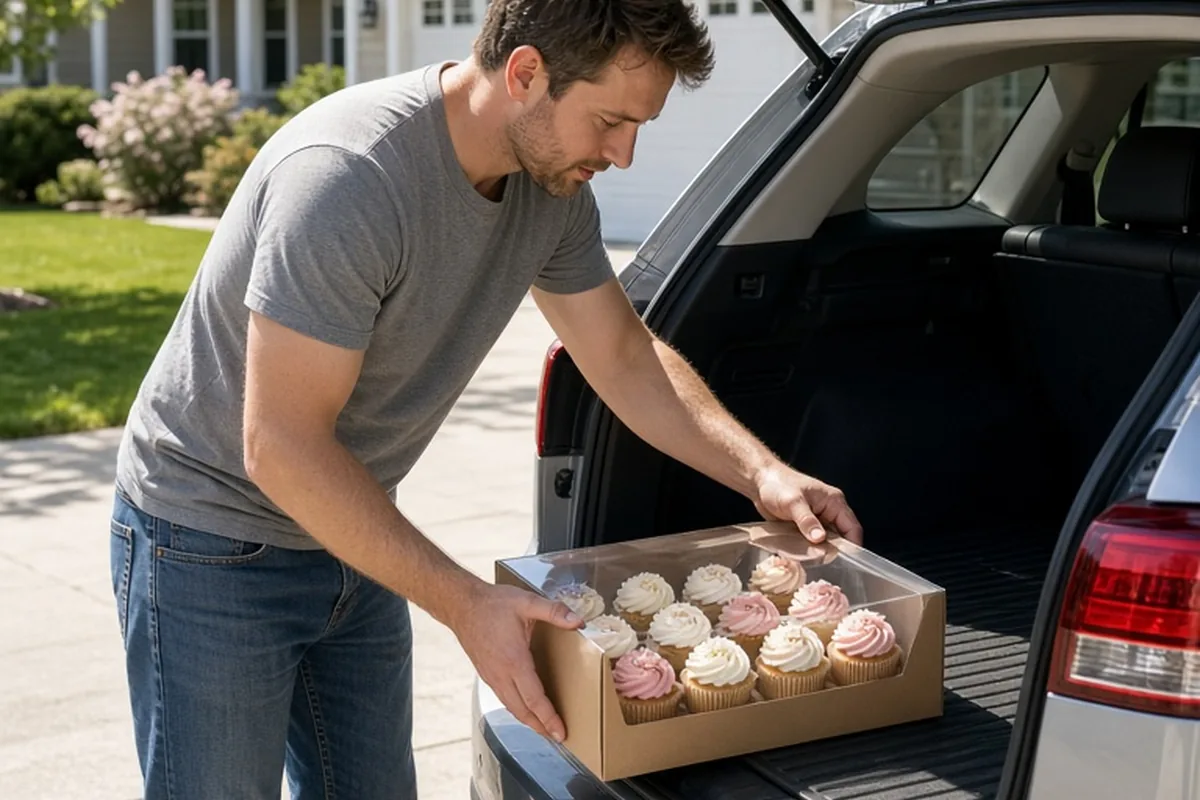
Transporting dozens of delicate, decorated cupcakes across town represents the highest-risk phase of any DIY baking project. Never place finished cupcakes loose on sheet pans or inside standard cardboard boxes without structural support, as road vibration and turns will cause them to slide into each other and smear the icing. Use dedicated bakery delivery boxes equipped with interior die-cut cardboard inserts that grip the base of each liner securely.
Prepare your vehicle ahead of departure. Lay flattened towels, non-slip rubber drawer liners, or foam mats on the flat floorboards or level trunk bed of your vehicle to keep stacked bakery boxes from shifting. Pre-cool your car's interior using maximum air conditioning for ten minutes prior to loading the boxes, especially during late spring, summer, or early autumn. Never transport frosted baked goods on tilted vehicle seats, and keep boxes entirely out of direct sunlight through car windows.
Designate a trusted friend, family member, or day-of coordinator to manage venue installation rather than attempting to assemble the display yourself while preparing for the ceremony. Pack a dedicated touch-up tackle box containing an extra batch of frosting in a prepared piping bag, spare liners, clean offset spatulas, disposable gloves, paper towels, and extra garnishes. Ensure the display table sits away from direct afternoon sun, working radiators, and high-traffic pathways where guests or children might brush against the tiers.
Evaluating Kitchen Capacity and Knowing When to Outsource
Taking on a major DIY wedding project requires an honest assessment of your available kitchen equipment and personal bandwidth during the week of the wedding. A standard residential oven can typically bake two 12-cup muffin tins simultaneously, which means producing 150 cupcakes requires seven consecutive baking cycles, not including cooling and cleanup time. If your kitchen features a single small oven and minimal counter space, the physical footprint of resting hundreds of cooling cupcakes can quickly overwhelm your living space.
Refrigeration capacity poses an equally demanding constraint. If your chosen frosting recipe requires constant chilling up to the morning of the wedding, verify where those large bakery boxes will physically sit. A standard refrigerator can rarely hold more than three or four large 24-count bakery boxes alongside normal household groceries. If you cannot arrange access to a secondary spare refrigerator or borrow space in the venue's commercial walk-in cooler, you must choose room-temperature-stable frosting options.
Consider a hybrid approach if the full scope feels unmanageable. Many couples choose to bake the cupcakes themselves while ordering a small, professionally decorated cutting cake from a local boutique bakery for ceremonial photographs. Alternatively, you can purchase un-iced cupcakes from a commercial bakery supplier and focus your personal creative energy solely on custom fillings, flavored frostings, and decorative display styling.
Illustrative Scenarios
Staggered Production for an Outdoor Reception
A couple planning a 120-guest park pavilion reception wanted to provide cupcakes without hiring a full catering bakery. Two weeks before the event, they baked 150 oil-based vanilla and spiced carrot cake sponges across two evenings and froze them in sealed plastic containers. Forty-eight hours prior to the wedding, they defrosted the sponges and prepared a stable Italian meringue buttercream enriched with a small percentage of vegetable shortening to withstand the 76-degree afternoon outdoor forecast. The night before, they piped the cupcakes using a standard 1M star tip and packed them into four 36-count insert boxes. A family friend transported the boxes on non-slip mats in an air-conditioned SUV and arranged the tiered display ninety minutes before guest arrival.
Key point: Baking early and pairing freeze-tolerant sponges with a heat-resistant frosting formulation prevents day-of stress while maintaining dessert quality under fluctuating ambient temperatures.
Frequently asked questions
Can I bake wedding cupcakes in advance without ruining the texture?
Yes, you can bake unfrosted cupcake sponges up to three weeks before the wedding. Allow them to cool completely, wrap them securely to prevent freezer burn, and freeze them in airtight containers. Thaw them inside their sealed wrappers at room temperature for several hours before decorating.
How do I prevent cupcakes from drying out when displayed for hours?
Use oil-based or buttermilk-based cake recipes rather than all-butter sponges, as vegetable oil remains liquid and tender at room temperature. Additionally, pipe frosting over the entire top perimeter of the sponge to seal in crumb moisture and keep air from drying out the cake surface.
What is the best way to transport 100 or more cupcakes safely?
Use commercial cardboard bakery boxes fitted with individual die-cut cupcake inserts that lock each liner in place. Place the boxes flat on the vehicle floor on non-slip rubber mats with the car air conditioning running, avoiding car seats and direct sunlight.
How many cupcake flavors should I offer at a wedding?
Offering two or three flavors is ideal for managing production while satisfying diverse palates. Sticking to a balanced combination, such as vanilla, chocolate, and one fruit-forward or seasonal option, prevents kitchen confusion and keeps dessert line movement efficient.
Your next step
Audit your available oven space, freezer volume, and transport vehicle today, then purchase sample bakery boxes with inserts to test your planned portion scoop and liner sizing on a practice batch.