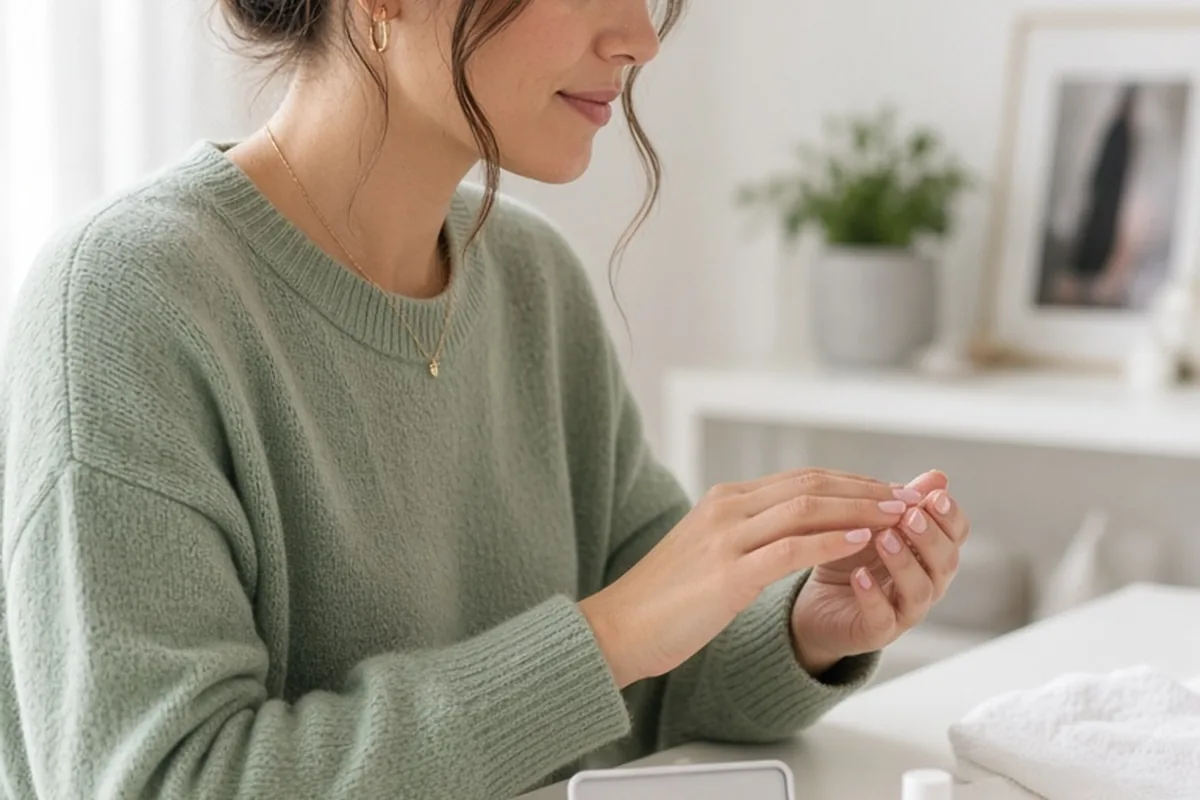
A simple wedding nail designs appointment checklist ensures your bridal manicure looks polished, lasts through the celebration, and fits your schedule seamlessly. Start by scheduling a trial session two to three weeks before the wedding, gathering reference photos of minimalist designs, and booking your final appointment two to three days prior to the ceremony. Prep your hands with daily hydration, budget for service costs and gratuity, and bring touch-up essentials.
Getting your nails done for your wedding day should feel like a restorative pause in your planning timeline rather than a rushed chore. Minimalist bridal designs, such as glazed finishes, sheer milky pinks, soft ombre French tips, or subtle micro-accents, require precision and proper nail preparation to look flawless in high-resolution photography.
Setting Your Wedding Nail Timeline
Timing is the most critical element when planning your bridal manicure. Booking your final appointment two to three days before the ceremony gives your nails optimal freshness without the vulnerability of a last-minute schedule crunch. Getting your nails done too early leaves room for chips, accidental breaks during luggage packing, or noticeable cuticle regrowth. Conversely, scheduling your appointment the morning of the wedding or rehearsal dinner introduces unnecessary stress and leaves no window to fix unexpected polish flaws.
If you plan to wear a design or medium you have not tried before, schedule a nail trial roughly three to four weeks before your wedding day. You can align this trial with your hair and makeup trial or bridal shower to observe how the shade interacts with natural light and your skin undertones. The trial also allows you to test whether your natural nails tolerate the chosen application, whether that involves standard gel, builder gel, or soft gel extensions.
- Four weeks prior: Schedule your nail trial and test your chosen shape and color palette.
- Two weeks prior: Confirm your final appointment time, salon location, and any bridal party slots.
- Two to three days prior: Attend your final manicure appointment after completing messy chores and heavy packing.
Selecting and Communicating Minimalist Nail Aesthetics
Simple wedding nail designs thrive on subtle details, clean cuticle work, and balanced proportions. When browsing for inspiration, focus on styles that complement your dress fabric and jewelry rather than competing with them. Popular understated options include sheer nude washes, glazed chrome overlays, American manicures with soft off-white tips, and single-gemstone accents near the cuticle line. Save two or three clear, well-lit reference photos that depict the exact shape and length you desire.
Communicate your goals clearly with your nail technician at the beginning of the service. Inform them of your wedding dress shade, as stark white gowns pair differently with cool undertones compared to ivory, champagne, or blush fabrics. Keep in mind that sheer shades appear lighter or darker depending on the natural pigmentation of your nail bed. Ask your technician to swatch two variations on separate fingers before painting the entire set so you can choose the most flattering undertone.
Pre-Appointment Hand and Cuticle Care Routine
A pristine minimalist manicure relies heavily on the health of your underlying skin and nail beds. Begin a targeted hand care regimen at least two weeks before your final appointment. Apply a nutrient-rich cuticle oil containing jojoba or vitamin E twice daily to prevent ragged edges, hangnails, and dry patches. Hydrated cuticles absorb polish cleaner and allow the technician to create neat, seamless borders without causing irritation.
Avoid aggressive at-home maintenance in the days leading up to your salon visit. Refrain from trimming your own cuticles or using metal tools to push them back, as this can lead to redness, accidental cuts, or uneven nail surfaces that interfere with polish adhesion. Similarly, avoid prolonged water exposure or harsh cleaning chemicals without protective rubber gloves, which can weaken the natural nail plate and cause lifting.
- Apply jojoba-based cuticle oil morning and evening to soften surrounding skin.
- Keep a travel-size hand cream in your bag to protect against dryness after handwashing.
- Wear rubber cleaning gloves when washing dishes or handling household chemicals.
- Do not trim, cut, or aggressively buff your cuticles at home within 72 hours of your service.
Choosing the Best Enhancement Medium for Longevity
Selecting the right product formula determines how well your simple nail art holds up through ring exchanges, bouquet holding, and the honeymoon. Traditional nail polish offers effortless at-home removal but carries a high risk of chipping within forty-eight hours. Soft gel manicures provide durable shine and resilience for up to two weeks, making them the standard choice for most minimalist bridal designs. If your natural nails are brittle or uneven, structured builder gel adds strength and a smooth surface without the bulk of traditional acrylics.
Consider the trade-offs of each system when making your decision. While acrylics and hard gels offer superior structural reinforcement, they require dedicated salon soak-off appointments and can leave natural nails temporarily tender if removed improperly. Dip powder provides extreme durability but can look noticeably thicker around the cuticle if the technician applies heavy layers, which can detract from a delicate, understated bridal design.
What to Pack for Your Salon Appointment
Arriving prepared ensures your salon experience remains smooth and efficient. Pack your inspiration images on your phone, ensuring they are saved to a dedicated album so you do not have to search for them while sitting in the technician chair. If your design includes specific elements like metallic foils, custom pearl decals, or a specific brand of chrome powder, bring those items with you if your salon does not routinely stock them.
If you are pairing your manicure with a pedicure, wear open-toed footwear or loose-fitting shoes that will not smudge your polish or press against fresh cuticle work. Bring a bottle of the exact topcoat or lacquer shade if you are using standard polish, which enables quick at-home repairs if a minor edge flaw occurs during wedding day preparations.
- Digital reference photos clearly showing desired shape, color, and finish.
- Photos or swatches of your gown, bouquet colors, and bridal jewelry.
- Open-toed sandals if you are receiving regular polish on your toes.
- Method of payment including calculated gratuity for your technician.
Budgeting, Service Add-Ons, and Tipping Guidelines
Bridal nail services often incur costs beyond standard manicure pricing due to specialized preparation, length adjustments, and detailed art. Basic gel manicures generally range between thirty-five and sixty dollars, while builder gel overlays or soft gel extensions can run from seventy to one hundred and twenty dollars. Minimalist art, such as chrome glaze finishes, micro-French lines, or delicate accent crystals, typically adds five to thirty dollars depending on the complexity.
Standard salon tipping etiquette suggests providing fifteen to twenty percent of the total service cost for quality work. If your technician accommodates extra consultation time, performs extensive cuticle cleanup, or manages a bridal party group smoothly, offering twenty to twenty-five percent reflects appreciation for their attention to detail. Confirm accepted payment methods in advance, as some independent nail artists prefer cash or dedicated digital payment platforms.
Post-Manicure Protection and Wedding Day Maintenance
Once your manicure is finished, protecting the finish until ceremony time requires mindful daily habits. Avoid opening soda cans, peeling adhesive tape, or buttoning tight garments using your direct fingertips; use the sides of your fingers or a small tool instead. When handling heavy wedding logistics like carrying decorative boxes or loading luggage into vehicles, wear soft cotton gloves to prevent surface scratches or corner chipping.
Assemble a compact bridal nail emergency kit to keep in your day-of bridal suite. Include a fine-grit glass nail file to smooth sudden snags without creating jagged edges, a small bottle of fast-acting brush-on nail glue for emergency tip repairs, and a cuticle oil pen to restore instant moisture and gloss right before wedding portraits. Avoid soaking hands in hot baths or swimming pools immediately prior to the event, as prolonged moisture exposure can induce premature gel lifting.
Frequently asked questions
How long does a simple wedding nail design appointment usually take?
A standard gel manicure with simple bridal art typically takes between forty-five and seventy-five minutes. If you opt for structural builder gel, full soft gel extensions, or intricate hand-painted lines, plan for ninety minutes to two hours.
Should I get my wedding spray tan before or after my nail appointment?
It is best to get your manicure done before your spray tan, provided you wash your hands thoroughly after the nail service. If you must get your spray tan first, request that your nail technician avoid heavy exfoliation scrubs, which can strip the tan unevenly.
What should I do if a nail chips the day before the wedding?
Contact your salon immediately, as most technicians keep emergency touch-up slots open for bridal clients. If an appointment is impossible, gently smooth the sharp edge with a glass file and apply matching regular polish or a high-shine clear topcoat to seal the flaw.
Can I do simple wedding nail designs on short natural nails?
Yes, minimalist wedding designs look clean and elegant on short natural nails. Micro-French tips, glazed sheer nudes, and delicate single-dot accents work exceptionally well on neat, natural lengths.
Your next step
Save two to three clear reference photos today and call your salon to book both your trial and final wedding appointments.