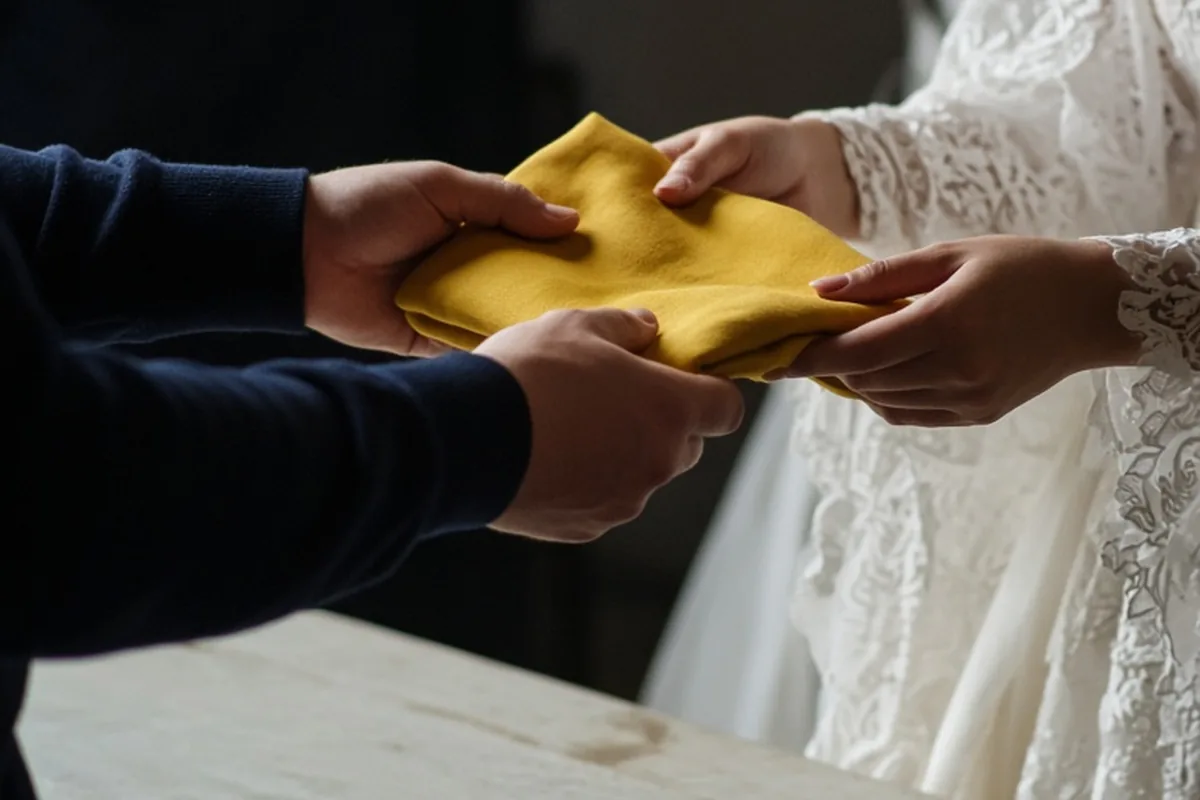
Wedding dress alterations typically depend on the specific structural adjustments required, the complexity of the gown's fabric, and whether you work with an independent bridal seamstress or an in-house boutique tailor. Common alterations include hemming multi-layered skirts, adjusting side seams through the bodice, shortening straps, adding support cups, and creating a multi-point bustle. Because skilled bridal tailoring involves delicate hand-sewing and custom pattern modifications, your final bill reflects total labor hours rather than a standard flat price.
Purchasing your wedding gown is only the first financial step in achieving a custom, secure fit for your wedding day. Almost every wedding dress requires skilled alteration work to ensure the hemline skims the floor at the correct shoe height, the bodice stays in place during movement, and the train gathers neatly for your reception.
Standard Bridal Gown Alterations and Where Labor Hours Accumulate
Bridal sizing rarely matches standard ready-to-wear dress sizes, meaning nearly every off-the-rack or ordered wedding gown needs tailoring to fit an individual proportion. The most frequent foundational adjustment is the hem. A bridal hemline is not simply cut straight across; instead, a seamstress must measure the circumference with your exact wedding shoes on, carefully remove any decorative horsehair braid or scalloped lace trim along the edge, cut each individual layer of fabric including lining, crinoline, and tulle, and then hand-stitch the decorative border back into place.
Bodice adjustments represent the second primary labor center. Gowns often require taking in or letting out side seams, adjusting the bust apex, repositioning shoulder straps, and sewing in structured bra cups so you do not need specialty undergarments. If a gown features boning, delicate illusion mesh, or intricate hand-beading along the zipper or button line, the tailor must remove the embellishments piece by piece before cutting into the fabric, resewing the structural seams, and painstakingly securing each bead back onto the finished line.
The bustle is another custom structural component unique to wedding dresses. Because bridal gowns frequently feature chapel, cathedral, or royal trains that are impractical to drag across a dance floor during the reception, a seamstress must install a series of hidden buttons, loops, ties, or hooks to lift the train off the ground. A simple one-point American or over-bustle requires less labor, whereas an intricate French or under-bustle with five to twenty pick-up points requires extensive balancing and reinforcement to support the weight of heavy satin or layered organza.
How Fabric Type, Lace, and Boning Complicate Bridal Alterations
The architectural complexity and raw materials of your gown dictate how long each alteration takes, which directly drives the labor fee. Working on a minimalist crepe sheath or plain mikado silk gown involves clean seam lines, but any slight stitching irregularity shows immediately. In contrast, voluminous ballgowns made from dozens of yards of horsehair-lined tulle or delicate chantilly lace demand hours of meticulous pinning and micro-stitching. When an alteration requires shortening an intricate lace skirt, the seamstress often has to detach the entire lace applique pattern, cut the underlying structure, and reconstruct the applique pattern seamlessly by hand.
Internal gown engineering also dramatically impacts tailoring difficulty. Modern couture and structured bridal gowns frequently include internal corsetry, waist stay bands, and integrated metal or plastic boning channels designed to support the dress from the hips upward. Modifying the fit of a corseted dress means opening several layers of lining, trimming boning pieces without leaving sharp edges that could poke the skin, and re-anchoring the foundation so the garment distributes weight evenly across your torso without pinching or slipping down.
Boutique In-House Tailors Versus Independent Bridal Specialists
When planning your alteration workflow, you will generally choose between your bridal salon's in-house alteration service and an independent custom seamstress. In-house boutique alterations provide convenience because the salon manages the delivery, initial try-on, and fitting schedule in one location. Many salons operate on tiered flat-rate packages that bundle standard adjustments such as hemming, taking in the sides, and a basic bustle under a single comprehensive price ceiling. While predictable, flat-rate pricing can sometimes cost more if your dress only requires minimal tweaks like shortening straps and adding cups.
Independent bridal tailors and private seamstresses typically charge strictly by the service item or by an hourly rate for custom modifications. Working with an independent specialist gives you direct communication with the artisan physically cutting and stitching your dress, which is invaluable for complex custom design changes like lowering a backline, creating detachable sleeves, or merging heirloom garments. However, selecting an independent professional requires you to vet their previous bridal portfolio, verify their studio insurance, and transport your dress between appointments yourself.
Hidden Alteration Expenses and Timeline Rush Surcharges
Beyond the baseline structural fitting, several overlooked line items can expand your final alteration invoice. Custom design modifications are a frequent source of budget creep. Adding modesty panels, sewing custom off-the-shoulder straps from surplus fabric, converting a zip-up back to a lace-up corset closure, or integrating vintage heirloom lace from a family veil requires advanced pattern drafting beyond standard alterations. If you decide during fittings to modify the neckline shape or lower the armscyes for better range of motion, expect additional design fees reflecting the extra time required.
Timing and delivery schedules also introduce significant financial premiums. The standard bridal alteration cycle spans two to four months across three or four separate fittings. If you purchase an off-the-rack sample gown close to your wedding date or experience unexpected delivery delays from the dress manufacturer, you may require an expedited timeline. Bridal ateliers charge substantial rush fees for work requested on turnaround windows shorter than four to six weeks because staff must work overtime or rearrange other scheduled client fittings to meet your deadline.
Final garment preparation steps can also carry separate charges if they are not explicitly bundled into your alteration agreement. Professional bridal pressing, delicate steaming of multi-tiered tulle, fabric spot-cleaning after fittings, and specialized moisture-resistant breathable storage bags can add incremental expenses to your final pickup. Always confirm whether hand-pressing and final preparation are included in your quote or billed as separate post-alteration line items.
Practical Strategies to Lower Your Total Fitting Bill
Controlling your alteration budget starts long before your first fitting appointment. When shopping for your gown, carefully evaluate the dress size you order against your body's largest measurement. It is far more straightforward and affordable for a seamstress to take in a dress that is slightly too roomy than it is to let out a tight gown, especially if the manufacturer did not leave generous interior seam allowances. Ordering a size that accommodates your hips or bust avoids the need for labor-intensive inset panels or fabric matching.
Paying close attention to gown construction during shopping appointments can also prevent costly tailoring challenges. If you want to keep tailoring costs manageable, look for dresses with continuous side seams that do not run through heavy clusters of three-dimensional lace appliques or hand-placed beadwork. Additionally, selecting a gown with a clean raw-edge tulle hem or a plain crepe finish eliminates the multi-hour process of unpicking and repositioning heavy embroidered borders.
You can also control costs by maintaining consistent footwear and body foundation choices from day one. Bringing your exact wedding day shoes, shapewear, and undergarments to your initial alteration consultation guarantees that measurements are accurate on the first attempt. Changing your heel height or swapping an unlined bra for a padded bustier between the first and second fittings forces the tailor to undo previous stitches and re-measure your hem or bust line, resulting in duplicate labor charges.
The Three-Fitting Milestone Schedule and Payment Milestones
Bridal alterations progress through a deliberate sequence of fittings designed to refine fit gradually without making irreversible cuts prematurely. Your first fitting should ideally take place roughly eight to twelve weeks before your wedding day. During this appointment, the seamstress pins the core foundation: adjusting the bodice along side seams, leveling the shoulder structure, positioning internal bust cups, and setting the initial hem length against your wedding shoes. At this stage, you will typically receive a detailed itemized estimate and pay an initial deposit, commonly 50 percent of the projected labor.
The second fitting takes place roughly three to four weeks before the event. Here, you try on the gown with the structural changes basted or stitched into place to evaluate how the garment moves, sits, and breathes. The tailor will pin the final bustle system during this session, testing each pick-up point to ensure the skirt drapes symmetrically and securely. Any minor adjustments to the bust apex or waist tightness are refined during this meeting before the seamstress makes permanent cuts to excess internal fabric.
Your third and final fitting occurs one to two weeks before the wedding date. This appointment serves as the quality check where you inspect all completed stitches, practice fastening and unfastening the bustle with your maid of honor or planner, and ensure the zipper or button loops operate smoothly. Once you approve the final silhouette, you settle the remaining balance and take the freshly pressed dress home in a protective garment bag.
Questions to Ask at Your First Bridal Fitting Consultation
Securing a transparent, binding quote requires asking clear technical and policy questions before you leave your dress in the atelier's care. Begin by asking whether the seamstress charges a flat package fee or an itemized per-service rate. If they charge by the item, request an itemized breakdown showing specific prices for the hem, side seam adjustments, shoulder modifications, and each individual bustle point so you understand exactly what you are paying for.
Next, inquire about policies regarding weight fluctuations and subsequent adjustments. Ask if minor fit refinements between your second and final fittings are covered under the initial quote or if every additional pinning session triggers a new labor fee. Finally, confirm what safety protocols and insurance policies the studio carries in the rare event of garment damage, water leaks, or studio emergencies while your gown is in their custody.
Frequently asked questions
How much should I set aside in my wedding budget for alterations?
A sensible guideline is to allocate roughly 15 to 25 percent of your dress purchase price, or maintain a dedicated alterations buffer in your overall bridal attire budget. Gowns with extensive hand-beading, multiple layers of horsehair trim, or complex internal corsetry will require a larger budget allocation than simple minimalist crepe gowns.
Can a wedding dress be altered if it is two sizes too large or too small?
Taking a dress down by two sizes is generally achievable for an experienced bridal tailor, though it may require recutting the armholes and repositioning bust darts. Letting a dress out two full sizes is significantly harder and is only possible if the manufacturer left sufficient seam allowances inside the gown, or if you agree to have matching side panels or a corset back inserted.
When should I schedule my first wedding dress alteration appointment?
You should reach out to book your fitting calendar roughly three to six months in advance, especially if your wedding falls during peak bridal season from May through October. The actual first hands-on fitting typically occurs eight to twelve weeks prior to your wedding date to account for natural body changes while leaving plenty of time for multiple fittings.
What must I bring with me to every wedding dress fitting?
You must bring the exact shoes you plan to wear on your wedding day so the seamstress can pin the hem to the precise millimeter. You should also bring your planned day-of undergarments, shapewear, petticoats, and any jewelry or veils to assess the complete balance of the final look.
Your next step
Schedule your initial fitting consultation with a vetted bridal tailor eight to twelve weeks before your wedding date, and bring your exact day-of shoes and shapewear to secure a firm, itemized written estimate.