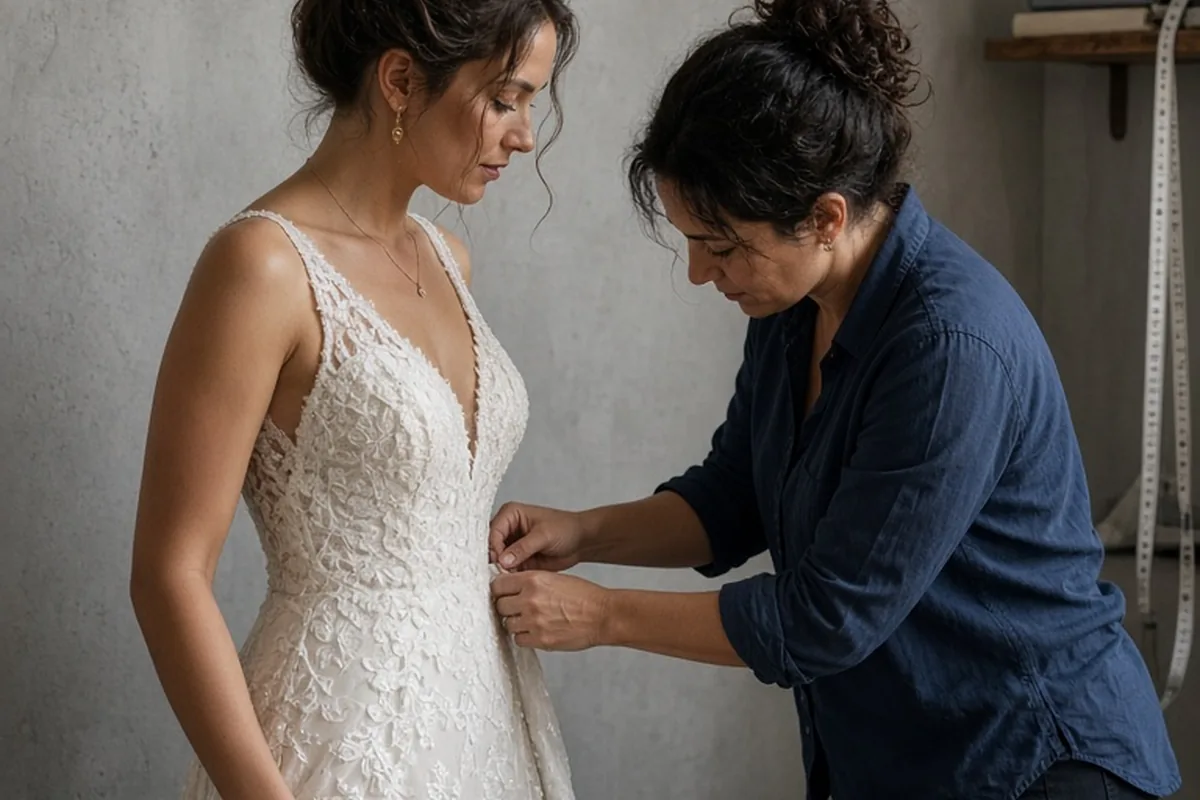
To complete wedding dress alterations on a budget, minimize complex structural modifications by selecting a gown that closely matches your current body measurements, especially across the shoulders and ribcage. Prioritize essential tailoring such as basic hem adjustments and securing the bodice over intricate design overhauls. Compare quotes from independent local seamstresses rather than locked-in salon packages, bring your exact wedding shoes and undergarments to the initial consultation, and finalize alterations within a standard fitting window to avoid rush fees.
Bridal tailoring transforms a standard manufactured gown into a customized garment that moves comfortably, flatters your frame, and supports you throughout the wedding day. Approaching the alteration process strategically allows you to achieve a polished fit without accumulating unexpected sewing expenses.
Evaluating Gown Construction Before Purchase to Limit Future Tailoring
The overall cost of altering a wedding dress is largely determined before you ever visit a tailor. Gowns with intricate construction details require far more manual labor to adjust than simpler designs. When browsing dresses, pay close attention to the hemline, the placement of lace appliqués, and the distribution of beadwork. If a dress has an elaborate scalloped lace border along the bottom, the seamstress must carefully detach the lace by hand, shorten the underlying fabric layers, and painstakingly reattach the lace to preserve the pattern. Similarly, heavy beading along side seams must be removed before stitching and then hand-sewn back into place so needles do not break during machine sewing.
Choosing a gown that fits the most difficult areas of your body to alter will save substantial time and money. Altering the bust and ribcage structure is far more labor-intensive than taking in a skirt or adjusting straps. If you are choosing between sizes, it is generally easier and less expensive to take a slightly larger dress in at the natural side seams than to let out a tight dress that lacks sufficient seam allowance. When purchasing a sample sale dress or a pre-owned gown, inspect the interior seams to confirm whether previous alterations trimmed the excess fabric, which would limit your ability to expand the garment without adding gussets.
Independent Bridal Seamstresses Versus Bridal Salon Packages
Bridal boutiques often offer in-house alteration services that bundle fittings into a flat-rate package or assign a standard price tier based on the gown style. While convenient, flat-rate alteration packages can be uneconomical if your gown only requires minor adjustments, such as shortening shoulder straps and adding a simple bustle. In-house salon services also carry higher overhead expenses, which are frequently reflected in their baseline alteration pricing structures.
Working with an independent local tailor or dressmaker who specializes in bridal and formalwear often provides greater financial flexibility. Independent seamstresses typically price their work on an itemized basis, charging specifically for the exact seams they touch or the labor hours required for your specific adjustments. When considering independent professionals, ask to view examples of their finished bridal work, verify their experience with delicate fabrics like silk crepe or multi-layered tulle, and confirm whether they carry business liability insurance to protect your garment while it is in their care.
Cost-Effective Approaches to Hemming, Bustling, and Bodice Adjustments
Hemlines and bustles represent two of the most common alterations, yet their complexity varies widely based on garment design. A gown with multiple gathered skirts of horsehair braid, crinoline, and satin lining requires each layer to be marked, cut, and finished individually. To keep hem costs manageable, consider simpler skirt silhouettes or select a shoe heel height that allows the front hem to skim the floor naturally without requiring deep fabric removal. If your dress features a raw-edge tulle skirt, shortening it involves precise rotary cutting rather than rolled-edge machine stitching, significantly reducing labor time.
Bustle design also directly influences the final sewing bill. An over-bustle, often called an American bustle, uses external hooks and eyelets or fabric loops to lift the train above the skirt and is generally straightforward to install. An under-bustle, or French bustle, uses color-coded ribbons beneath the skirt to fold the train inward, creating a tiered effect that requires more anchor points and precise placement. Discussing straightforward bustling options with your tailor early in the process ensures you get a secure, functional lift that matches your movement needs without adding unnecessary anchor points.
Why Exact Shoes and Foundation Undergarments Prevent Costly Refittings
A major source of unexpected alteration costs is the need to redo previously completed work because foundation garments or footwear changed between appointments. The height of your shoes directly establishes the hemline measurement. Switching from a high heel to a low block heel or flat sandal after the hem has already been pinned or cut will result in a dress that drags on the floor, requiring a completely new hem adjustment and doubling the labor charges.
Similarly, the specific bra, shapewear, or waist cincher you plan to wear dictates the bodice fit and strap tension. Changing undergarments between fittings alters your torso profile, bust height, and posture. To protect your budget, purchase your final footwear and foundation pieces before your initial fitting, and bring them consistently to every subsequent appointment. If you plan to have bra cups sewn directly into the dress bodice to eliminate the need for a separate strapless bra, request this during the first fitting so the tailor can position them before taking in the side seams.
Clear Boundaries for DIY Alterations and When to Rely on Professionals
Attempting home adjustments can be tempting when working with a tight budget, but it is critical to evaluate which tasks are safe for personal handling and which risk permanent fabric damage. Small, non-structural tasks are generally approachable if you have basic hand-sewing proficiency. These include reattaching a loose decorative button, securing an existing hook-and-eye closure, steaming fabric layers to release wrinkles, or tacking down a small section of loose decorative appliqué.
Structural changes, however, should remain in the hands of an experienced bridal tailor. Altering boning channels, cutting delicate illusion netting, reshaping armholes, or resizing a structured bodice require specialized industrial equipment, tension settings, and fine fabric handling. A mistake on delicate materials like silk charmeuse or beaded organza can cause irreversible puckering, fabric runs, or mismatched grainlines that cost far more to repair than the original professional alteration fee would have been.
How to Request Itemized Estimates and Structure Your Fitting Schedule
Before committing to a tailor, schedule a preliminary consultation where the specialist pins the dress while you wear it and provides a written, itemized estimate. This document should distinctly separate the cost for the hem, side seams, shoulder adjustments, cups, and bustle points. An itemized breakdown allows you to make informed trade-offs, such as choosing to skip an optional decorative adjustment if the total approaches your limit. Always ask the tailor what happens if additional minor tweaks are needed at the final pickup and whether those adjustments are covered under the initial quote.
Timing is equally critical for financial control. Standard bridal alterations generally occur across two to three fittings spaced over several months, with the final fitting occurring a few weeks before the wedding. Booking your seamstress well in advance secures your spot on their production calendar. If you delay until the final month, tailors frequently apply substantial rush fees to accommodate the tight turnaround alongside their existing workload. Contact potential specialists as soon as you have your dress in hand to establish a stress-free fitting schedule.
Smart Design Modifications That Lower Labor Without Sacrificing Visual Impact
If a gown needs to be adjusted across multiple sizes, explore design-oriented solutions that simplify the sewing process. For a gown that is too tight in the ribcage, converting a traditional zipper closure into a lace-up corset back is often less expensive than opening side seams, releasing boning, and inserting side gusset panels. A corset back uses a modesty panel and laced loops, which naturally accommodates body fluctuations and eliminates the need for millimeter-precise side seam tapering.
Another practical modification involves simplifying neckline or sleeve treatments. If a dress has ill-fitting sleeves with intricate button cuffs and shoulder gathers, converting the gown into a sleeveless or cap-sleeve style can sometimes require fewer labor hours than completely rebuilding the armscye and sleeve cap. Discuss creative alternatives with your tailor, as skilled professionals can often suggest minor visual changes that achieve your desired silhouette while bypassing the most labor-intensive construction steps.
Frequently asked questions
How many fittings are typically needed for wedding dress alterations?
Most bridal alterations require two to three separate appointments. The first fitting involves pinning the foundational seams and hem, the second checks the adjusted fit and pins the bustle, and the final appointment verifies the finished garment before you take it home.
Can a wedding dress be altered if it is two sizes too large?
Yes, a dress can generally be taken down by up to two full sizes without distorting the original proportions or shifting the bust cups and side seams awkwardly. Taking a gown in beyond two sizes often requires completely deconstructing the bodice, which significantly increases labor expenses.
What is the best way to avoid rush fees on bridal tailoring?
Reach out to bridal tailors three to four months before your wedding date to schedule your fitting timeline. Starting the initial consultation approximately eight to ten weeks prior to the event allows ample time for multiple fittings without triggering expedited processing charges.
Should I purchase my wedding shoes before scheduling the first alteration fitting?
Yes, bringing your exact wedding shoes to the very first fitting is essential. The tailor relies on your precise heel height to measure and pin the hemline correctly, and changing shoes later will require re-pinning and re-hemming the skirt.
Your next step
Gather the exact shoes and undergarments you plan to wear on your wedding day, then contact two independent local bridal seamstresses to schedule in-person consultations for itemized estimates.